

Tracking After Rain: How to Read and Photograph Animal Tracks

Introduction: Tracking Animals After Rain
Tracking animals after rain is one of the easiest ways to start reading wildlife activity in the landscape. Walk along a muddy woodland track after a spell of rain and you may find that a place which seemed empty the day before is suddenly full of animal tracks and signs. A line of deer slots crosses the path. Badger footprints disappear beneath the hedge. A fox has followed the edge of the track, while much smaller prints appear briefly in a patch of fine mud before vanishing again into the leaf litter.
The animals themselves may be nowhere to be seen, but their movements are still there to read.
I’m still very much a student of tracking, but learning how to identify and interpret animal tracks has changed the way I look for wildlife. Instead of simply walking through a landscape hoping to encounter an animal, I increasingly use tracks and other field signs to work out where animals have been, how they are moving through an area and which places they are using repeatedly. Rain can make this considerably easier.
It softens otherwise difficult tracking surfaces and may remove or obscure older signs, so fresh tracks left afterwards can sometimes give you a clearer picture of recent activity. For a wildlife photographer or watcher, that information can be far more useful than simply identifying which animal made a footprint. Tracks can help you discover a regularly used route, choose where to place a trail camera, or decide where it might be worth quietly returning another morning.
In this guide, I’ll show you where to look for animal tracks after rain, what features to record before attempting an identification, and how to photograph tracks so that the images remain useful when you examine them later.
Why Tracks Can Be Easier to Read After Rain
Rain can partially reset a tracking surface, obscuring older impressions and creating fresh mud or silt in which subsequent tracks may register clearly. If you know when the rain stopped and can establish that it altered the tracking surface, a clear print made on top of that surface may give you a useful upper limit on its age. Beyond that, estimating track age from appearance alone becomes much less reliable.
Regardless, for a wildlife watcher or photographer, even a partial reset can be gold: it tells you which routes animals are currently using, where to set cameras, and when to return.
The hours after rain are when the countryside speaks clearest.
Where to Look for Tracks After Rain
Good tracking starts with good terrain. Focus on soft, muddy ground or sandy ground that holds shape:
Damp forest rides, gateways, and footpaths
Bare soil around field edges or livestock troughs
Silt banks along rivers and ponds
The shaded sides of slopes that stay wet longest
These areas act like wildlife crossroads. On my patch in the Wye Valley, badger paths cross deer trails, while foxes, squirrels, and birds leave layered stories on the same short stretch of woodland track.
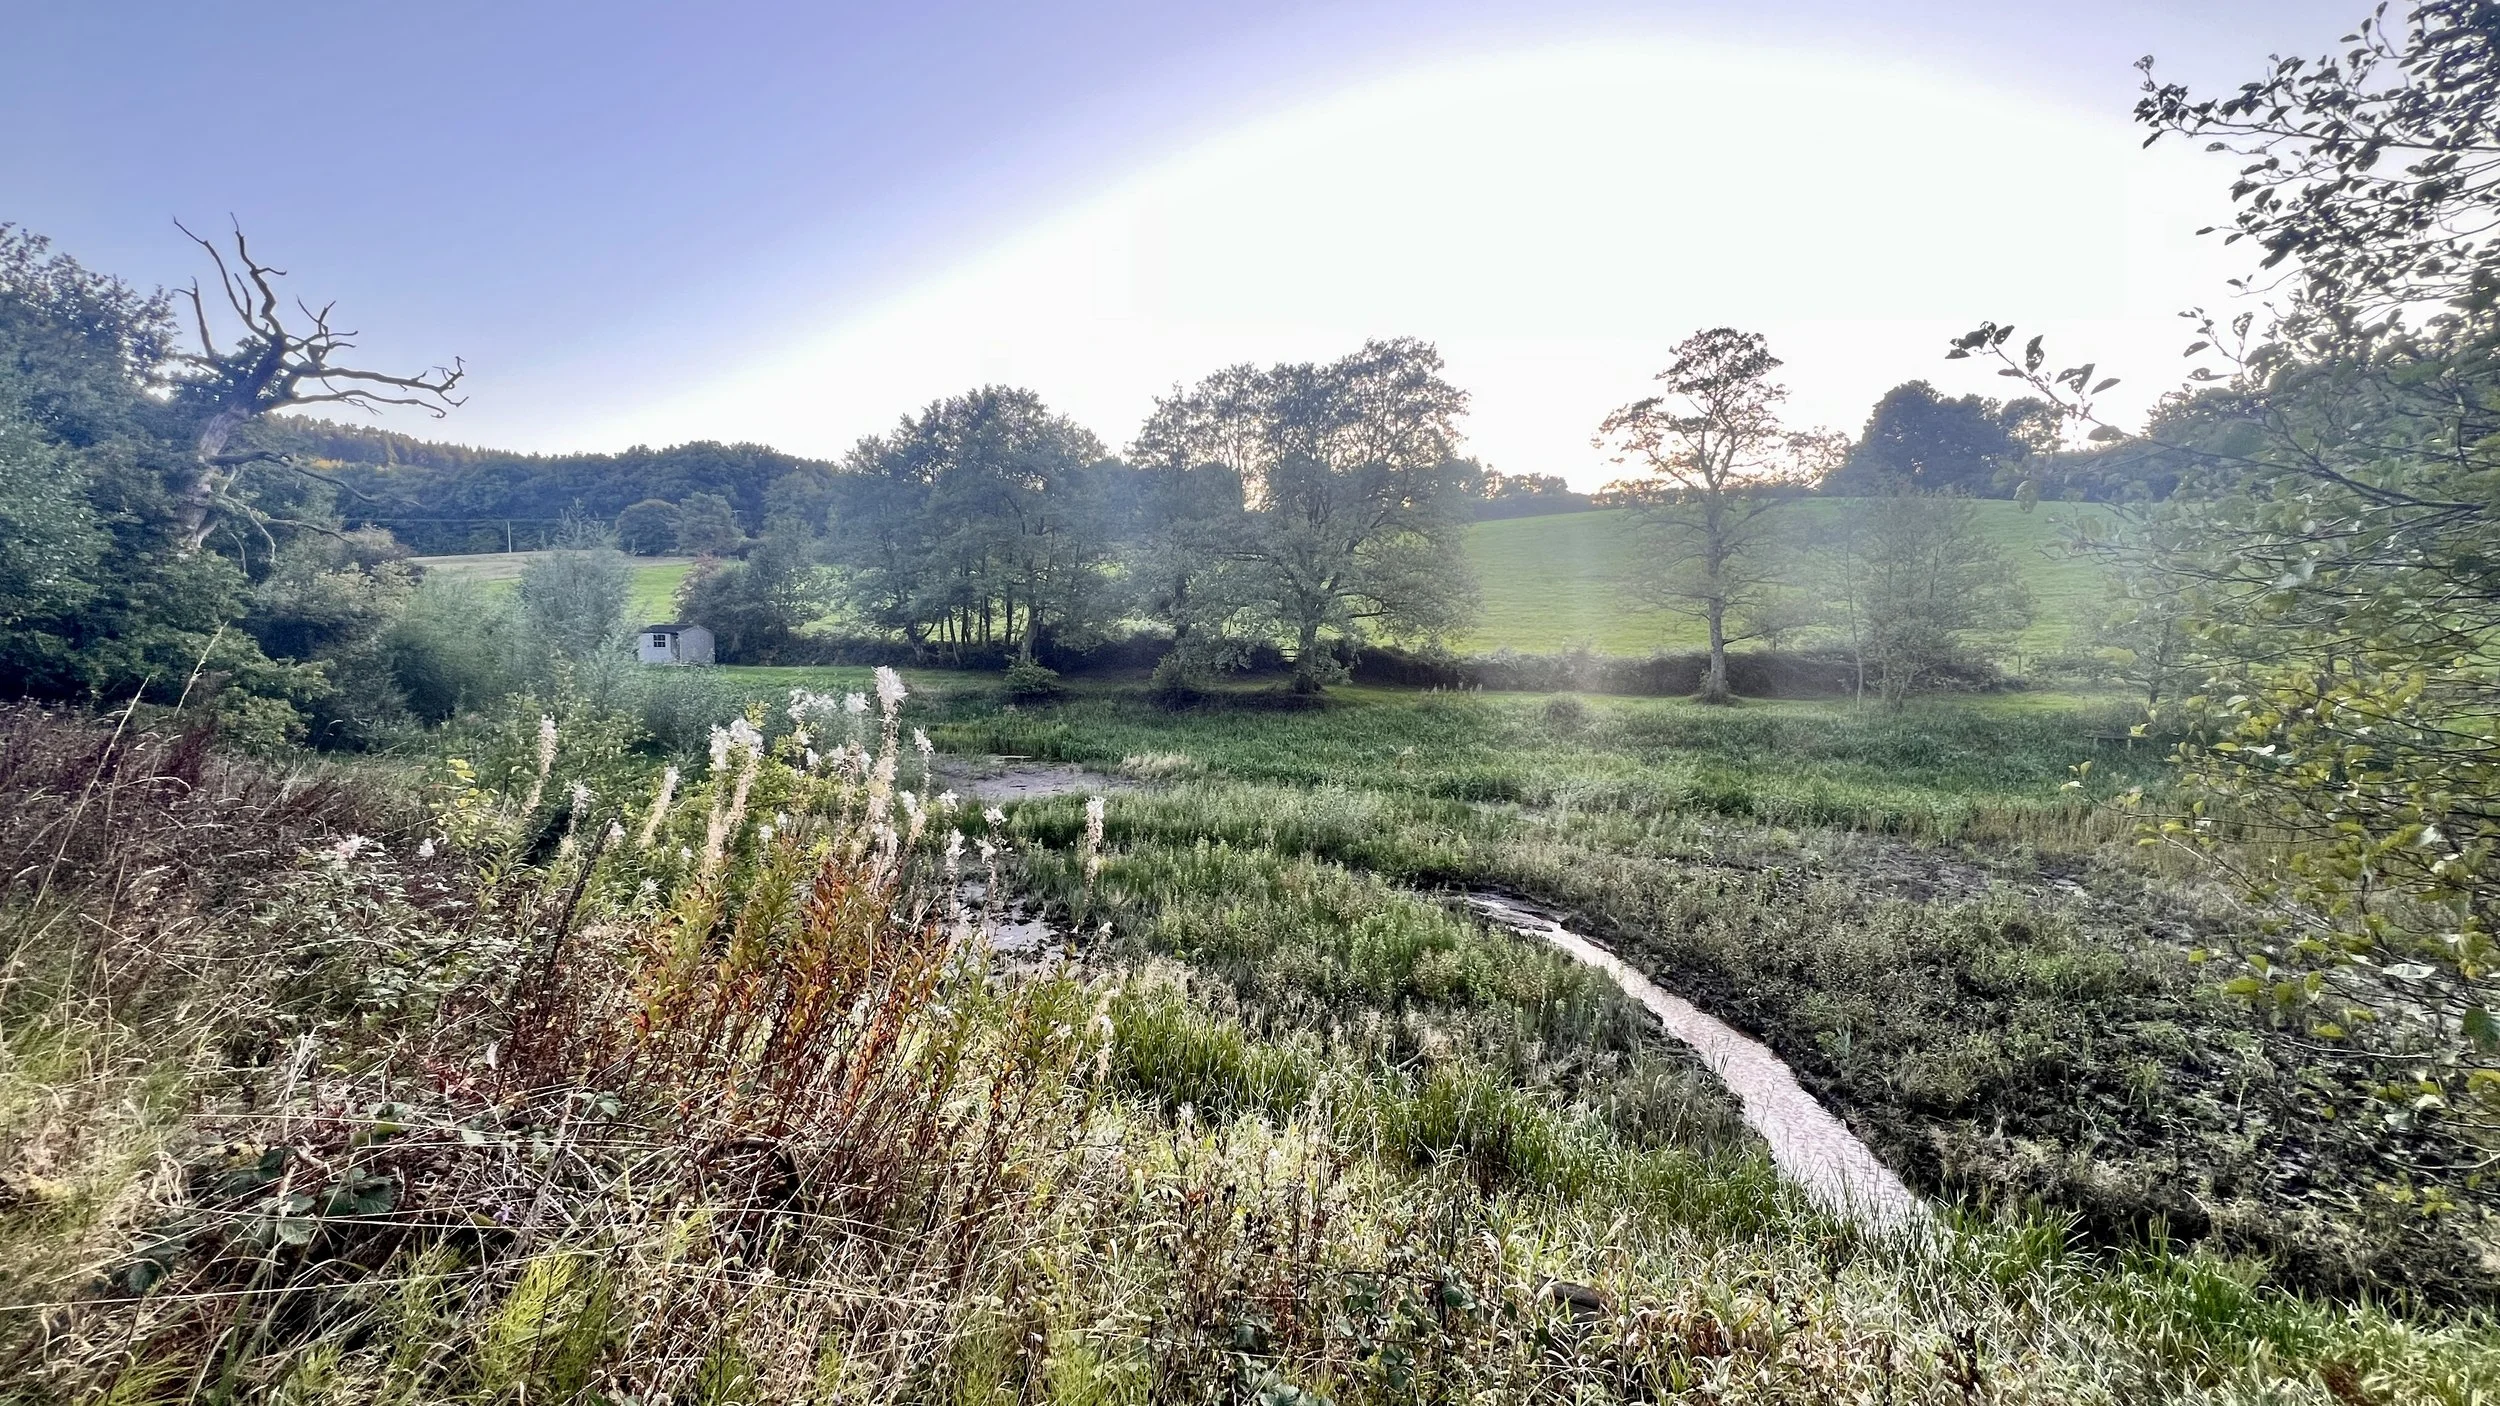
When starting out you can increase your chances of seeing tracks by targeting wetter habitats, or visiting woodland paths, gateways and other potentially muddy areas after rain.
Common UK Tracks: What to Look For
Each species leaves its own signature in size, shape, and rhythm. The more you study them, the clearer their stories become.
Large Mammals
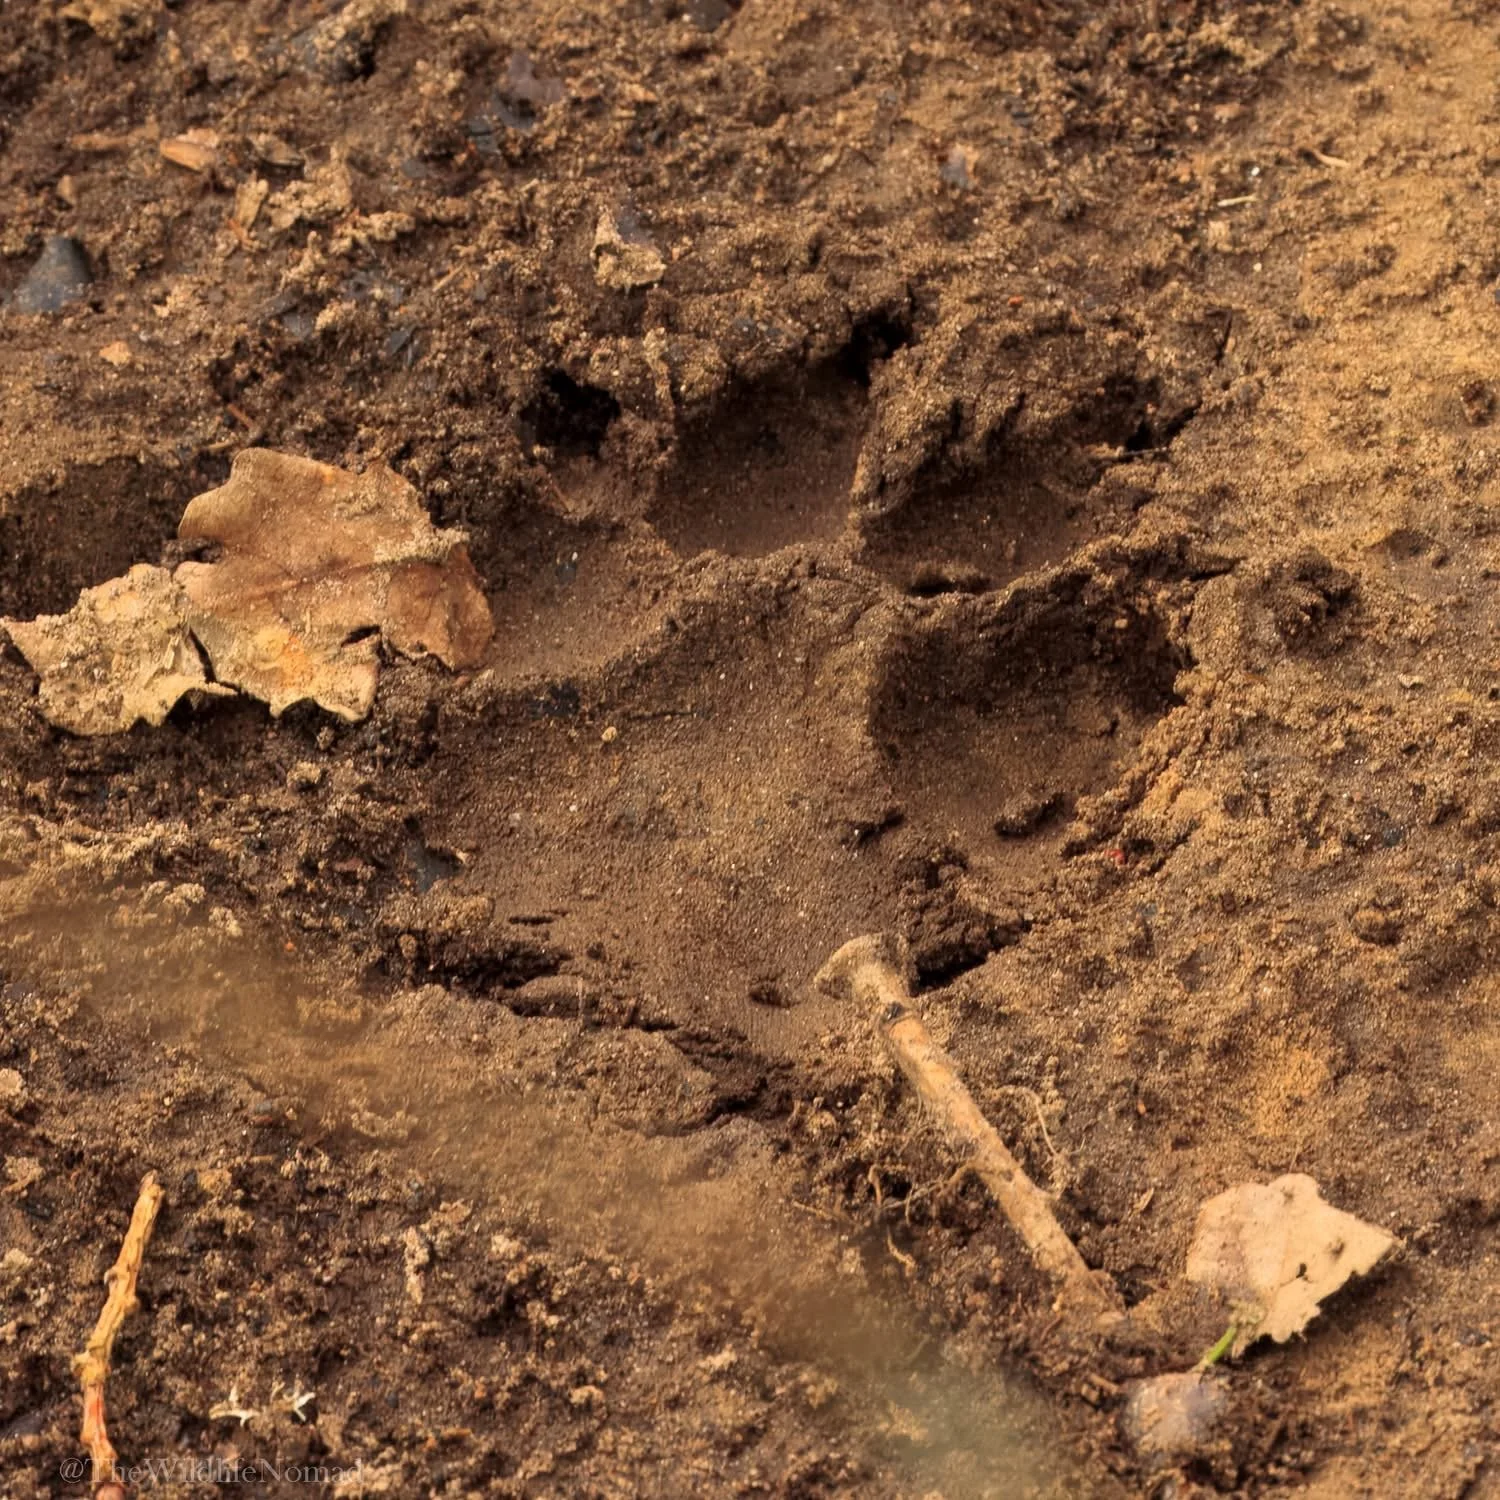
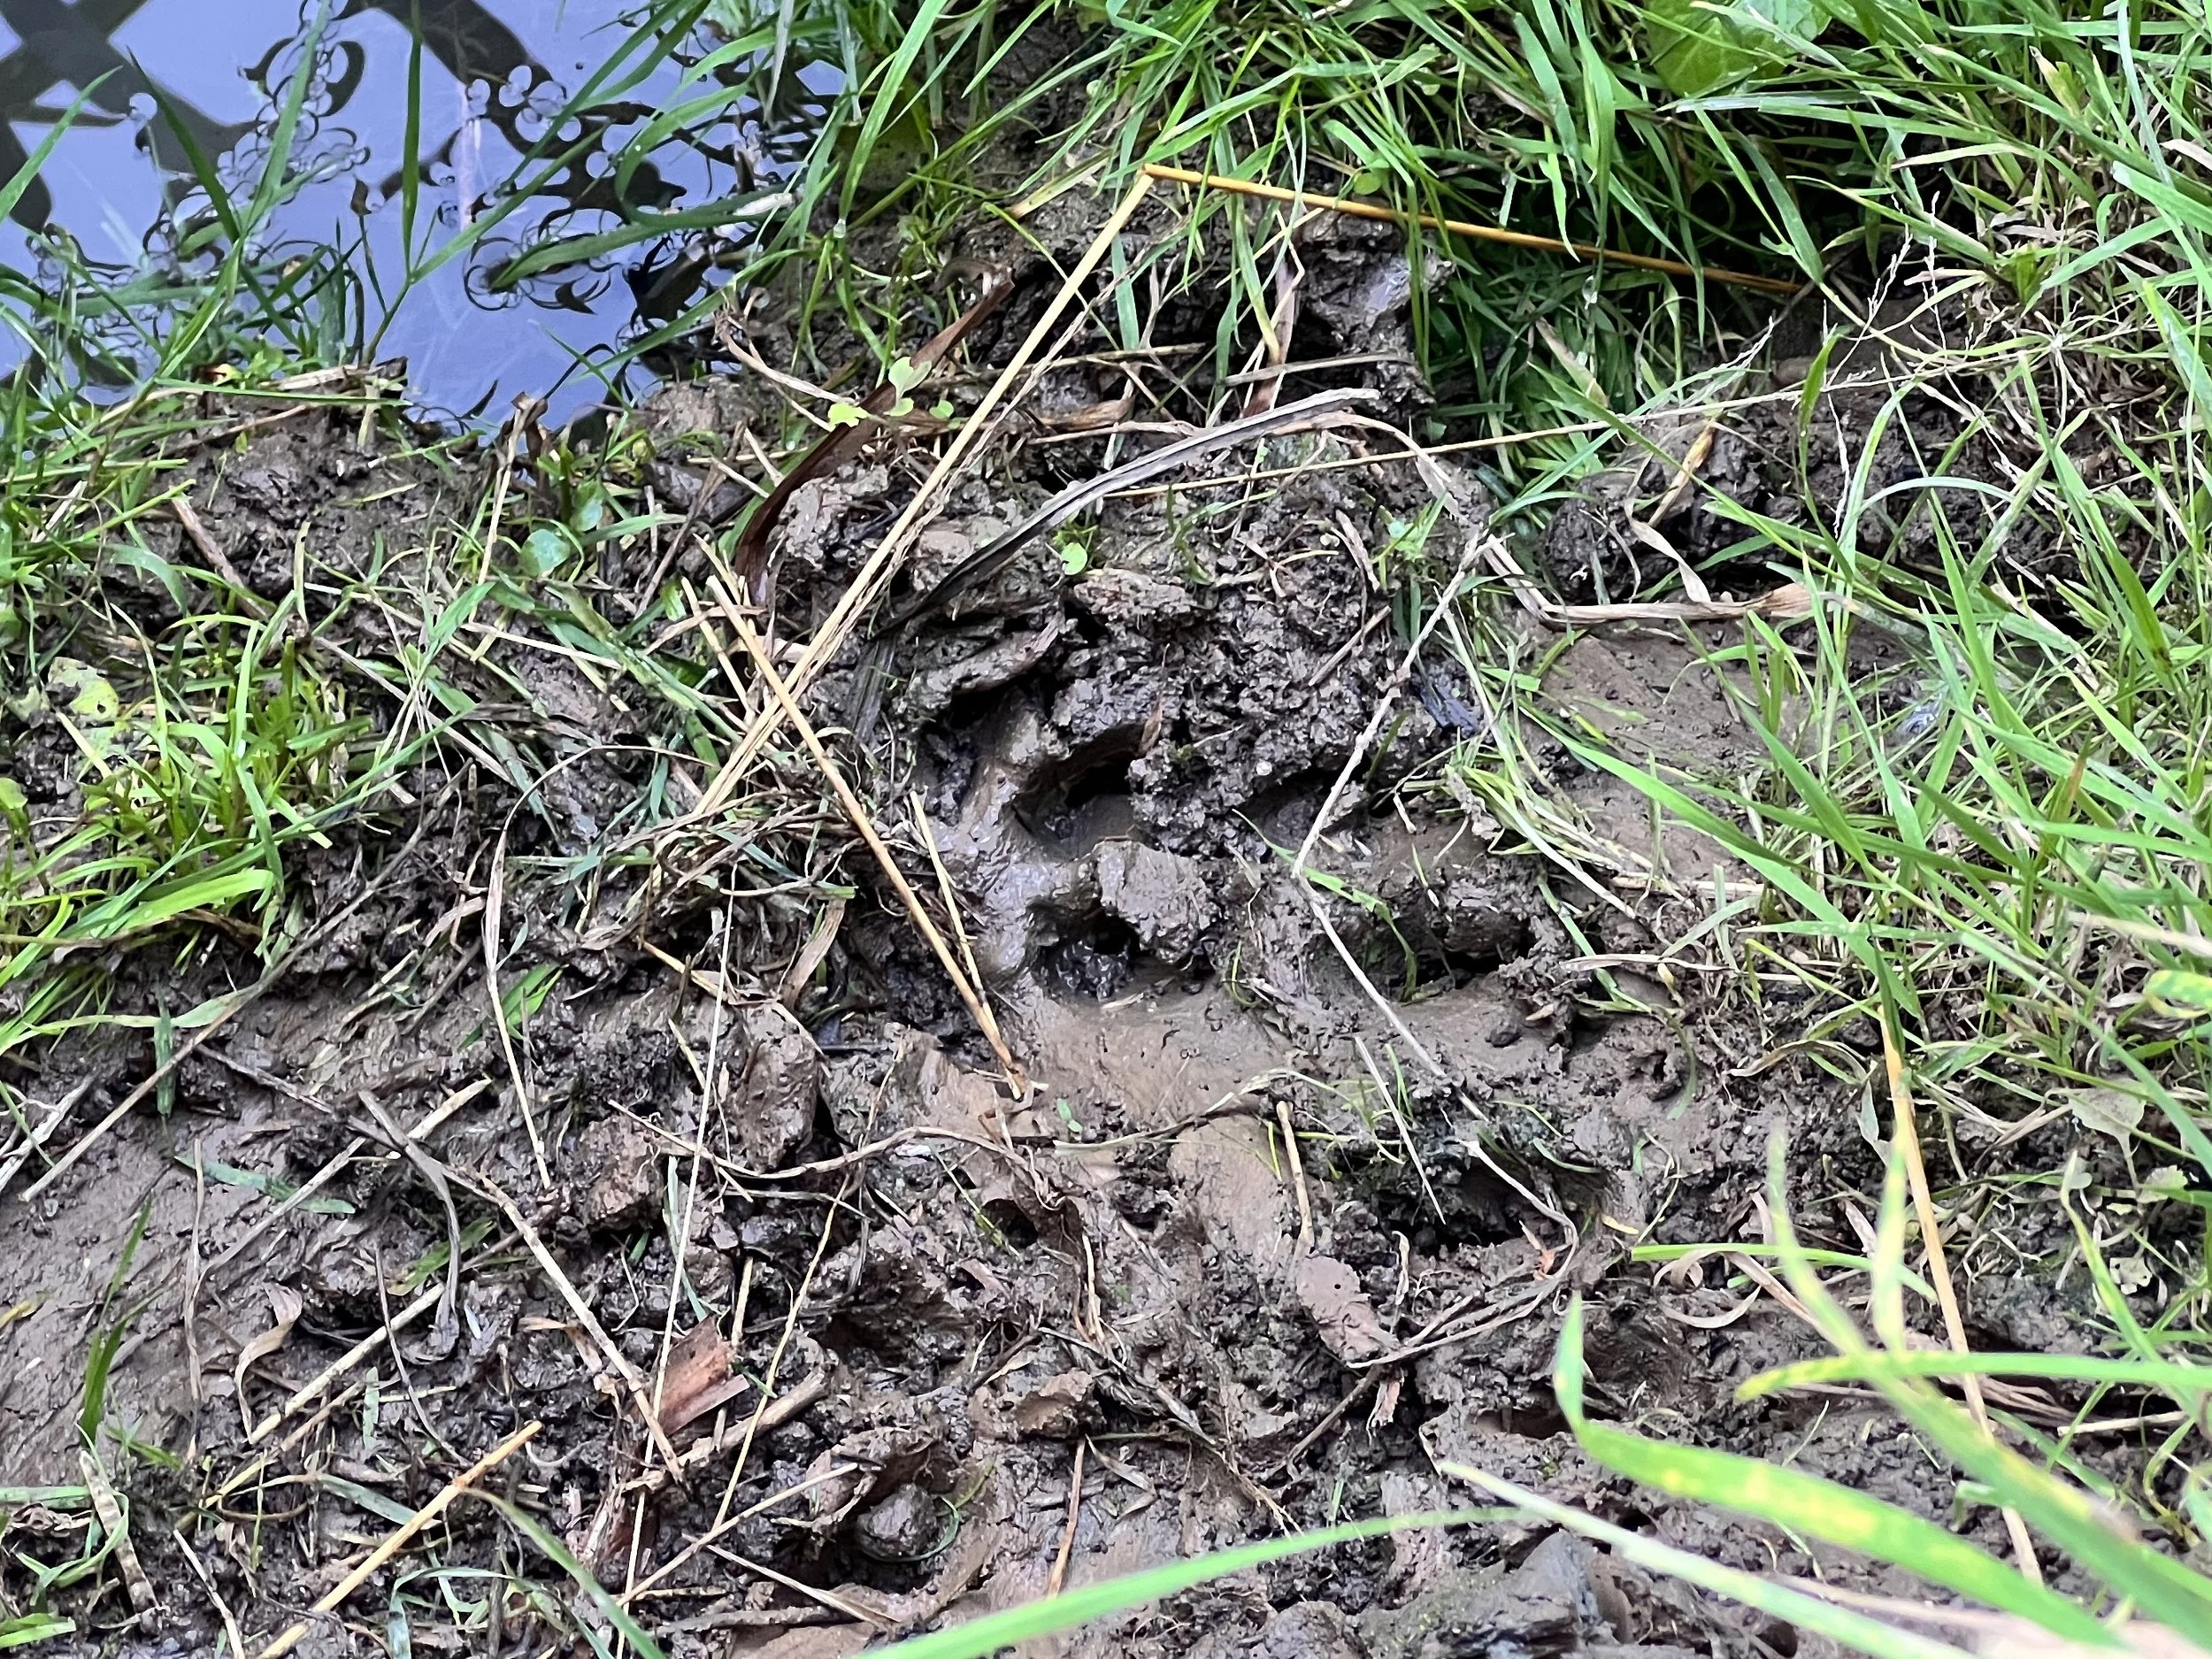
Fox: Four toes, often with claw marks, producing a relatively narrow, compact print around 5 cm long. A sequence of fox tracks frequently forms a fairly direct trail, but use several prints rather than a single footprint when separating fox from domestic dog.
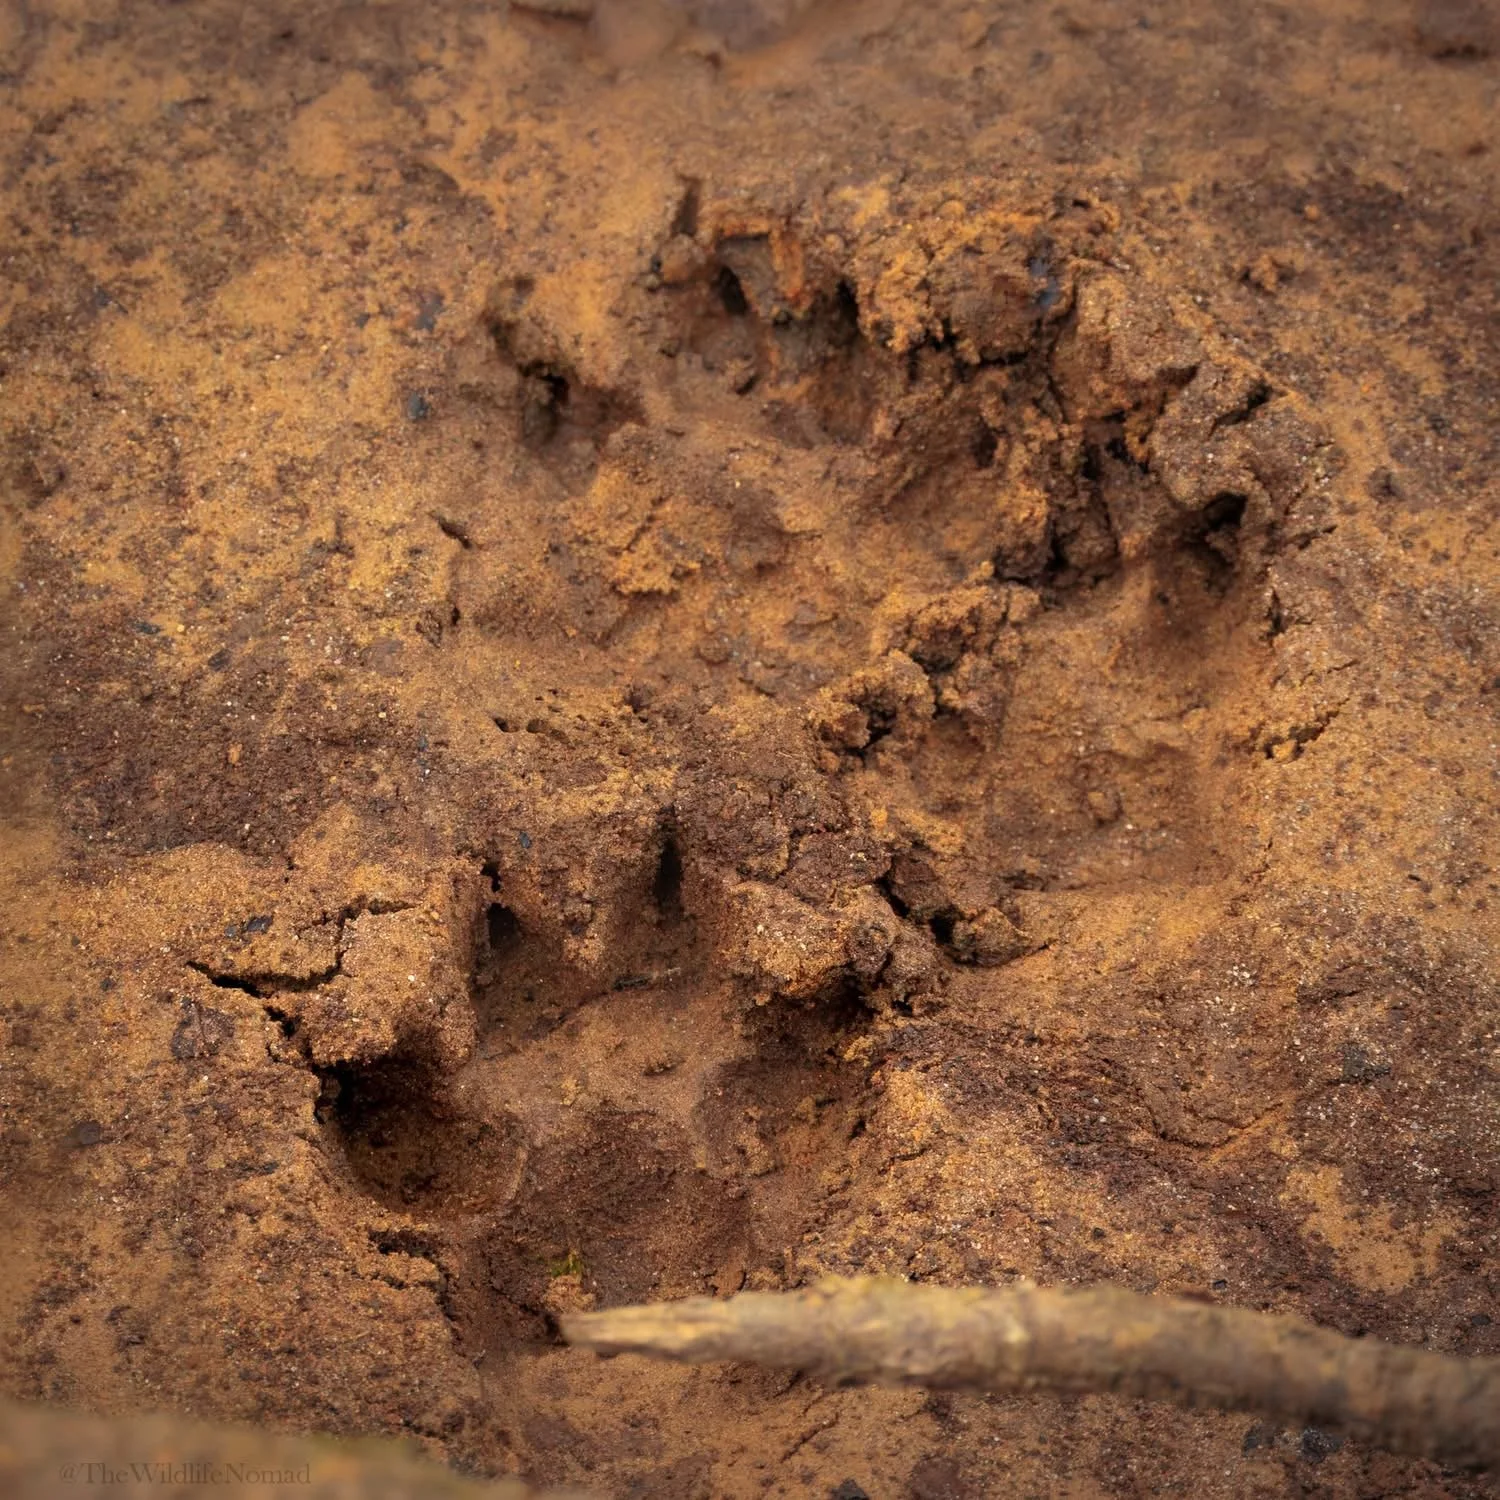
Badger: Broad, five-toed print with long front claws showing. Often beside snuffle holes or dung pits. Badger toes are characteristically arranged relatively side-by-side across the front of the pad, and the fifth toe doesn't always register. The front claws are usually substantially more obvious. The Mammal Society gives a width around 4.5–6.5 cm and notes that incomplete tracks can appear four-toed.
Roe or Fallow Deer: Two cloven hoof impressions with generally pointed tips (think heart-shaped slots with the points forward); don't try to read gait from a single hoofprint. Step back and examine several consecutive tracks.
Medium-Sized Mammals
Otter: Rounded, asymmetrical prints approximately 4–8 cm across. Five toes are present anatomically, although not all necessarily register, and webbing is sometimes visible in particularly good impressions.
Rabbit: Hind feet long and narrow (7–9 cm), placed ahead of the smaller, round forefeet in a “Y” pattern when hopping. be aware that often the hind feet do not entirely register and can produce much smaller prints.
Brown Hare: Similar to rabbit but larger (10–14 cm) and more elongated. Often spaced further apart, showing longer bounds.
Grey Squirrel: Hind feet longer than forefeet. Front feet four toes, hind feet five toes. In bounding gait the hind prints land ahead of the fore, forming a neat four-print cluster. Look under trees and log piles where ground stays soft.
Small Mammals
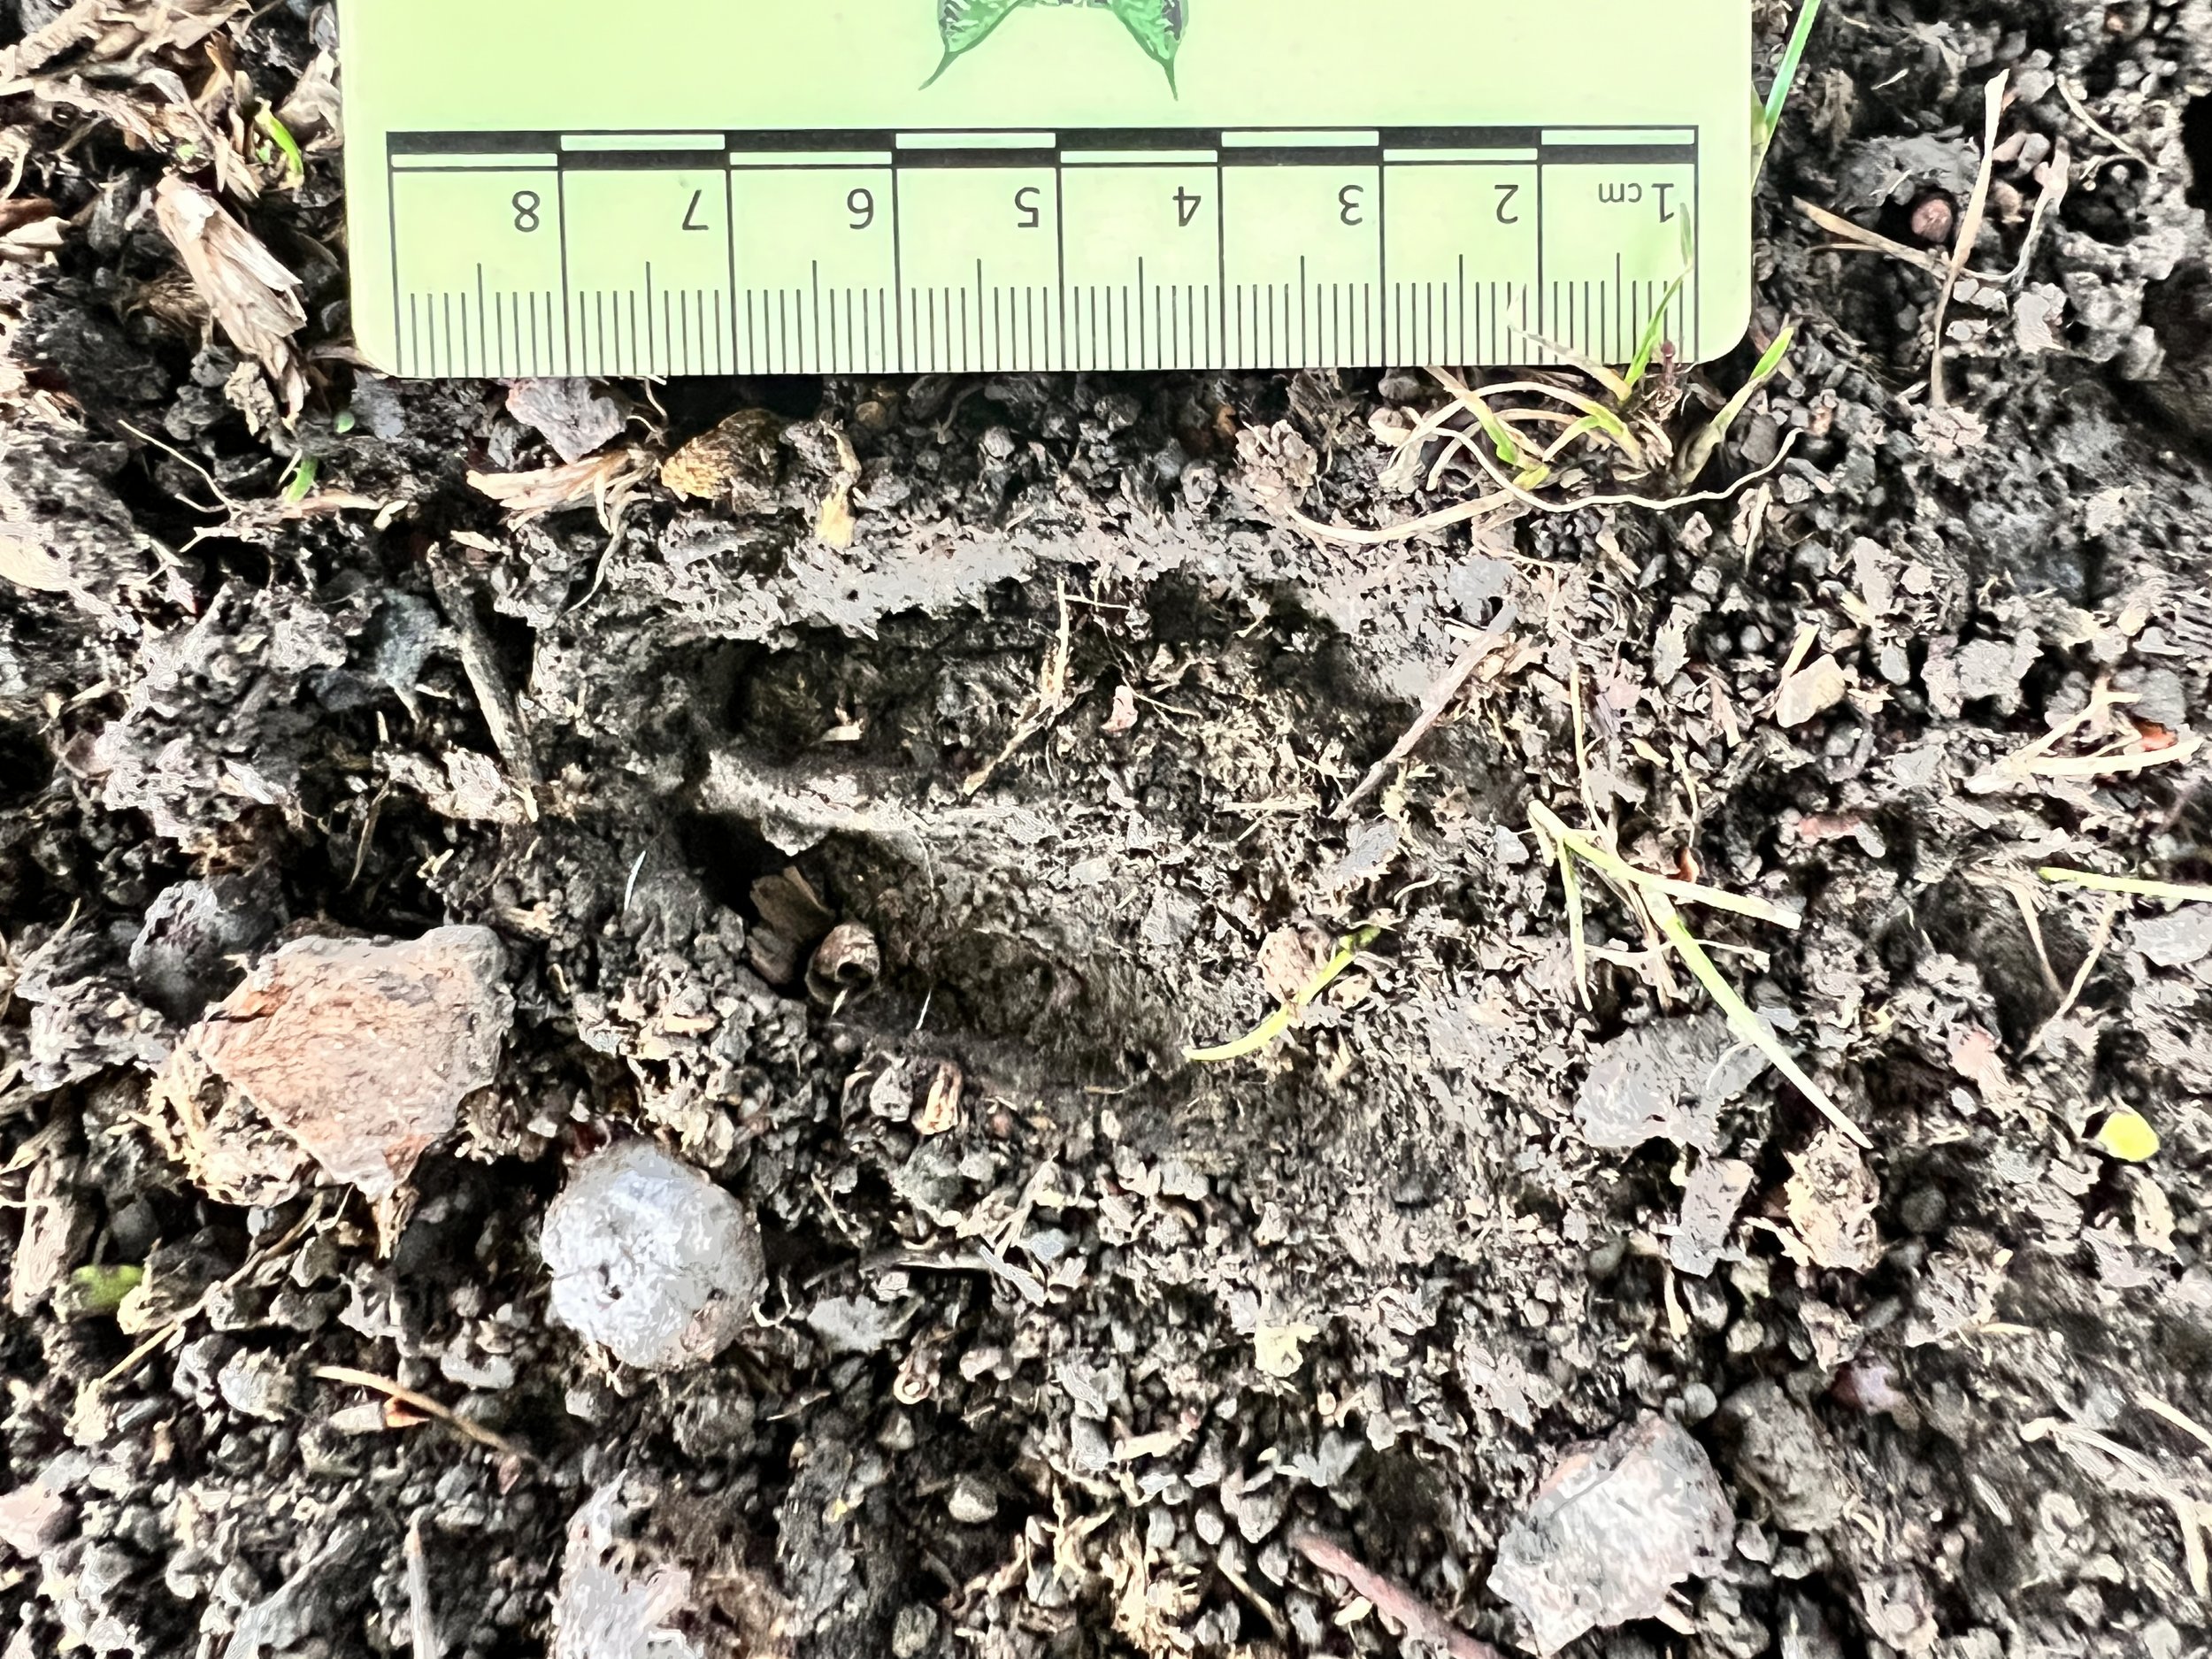
Hedgehog: Tiny (2–3 cm) with five short toes and a wide, almost circular pad. Best seen on smooth mud near paths or compost heaps.
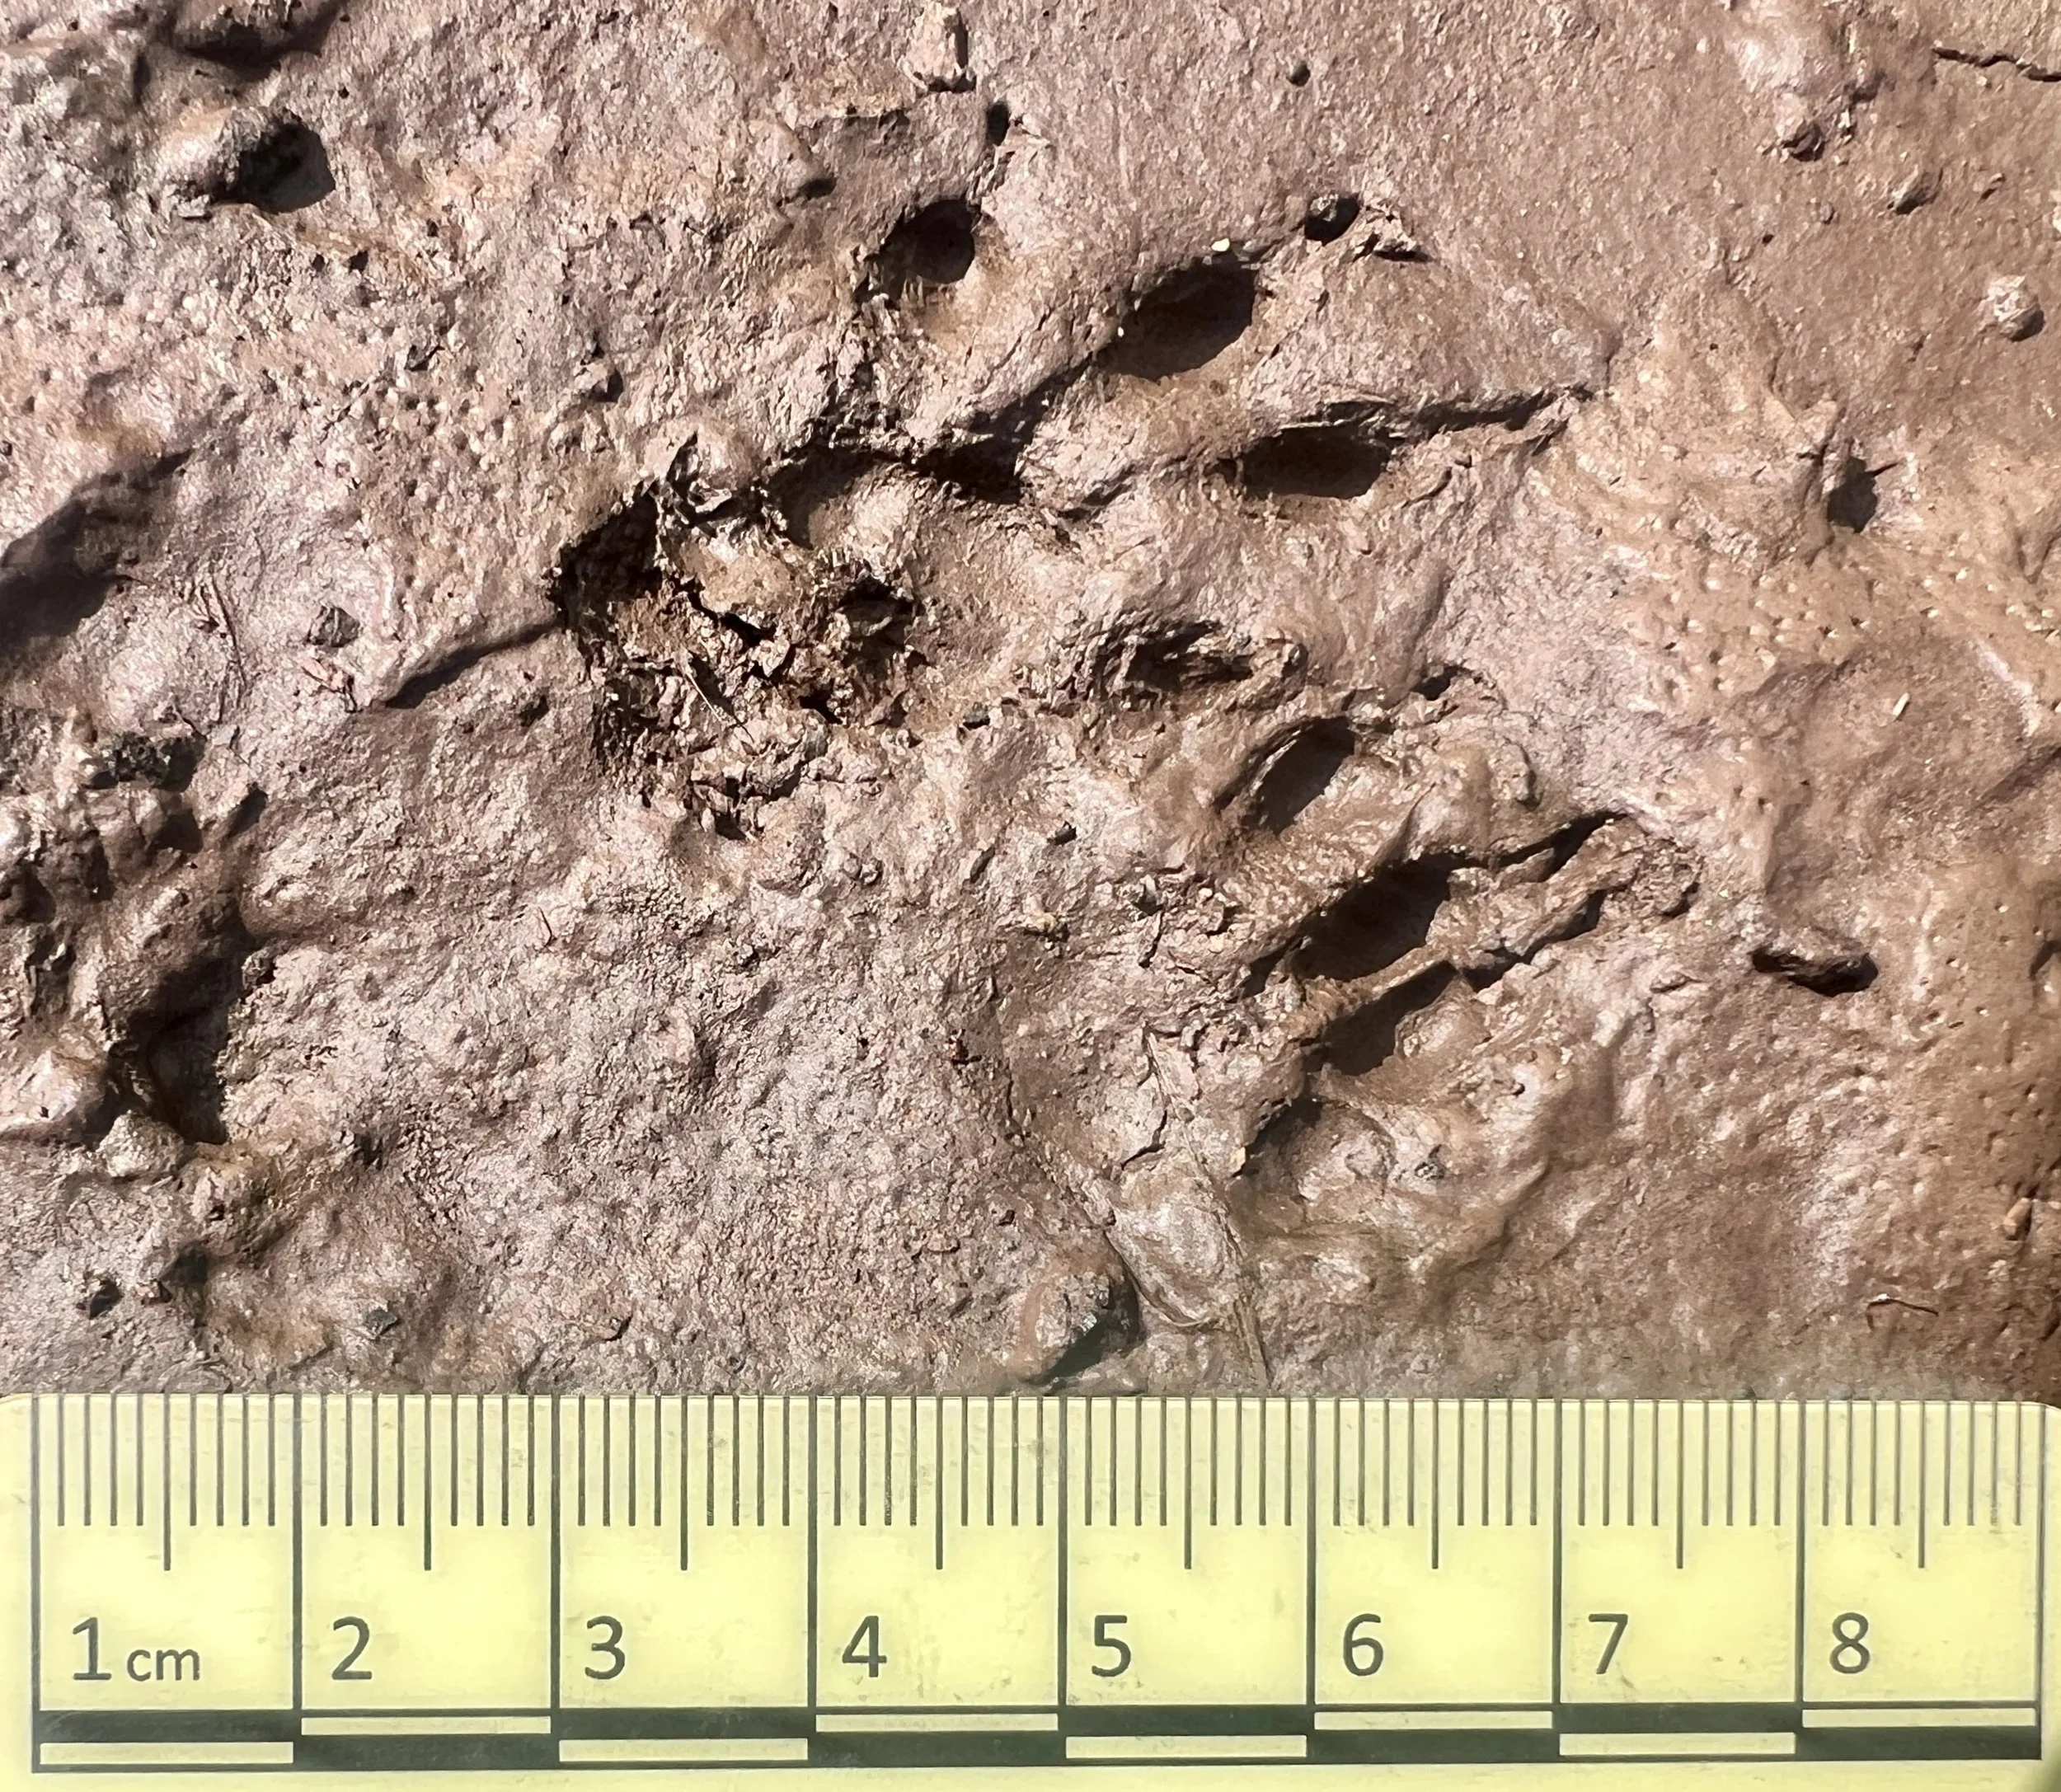
Wood Mouse: Less than 2 cm long; forefeet show four toes, hind feet five. Often appear as small paired dots with tail drags between.
Weasel or Stoat: Elongated sets of paired prints (2–4 cm), sometimes in a bounding pattern; sharp claws often visible (a very clear print may allow a tentative identification, but don't force a species name onto a poor mustelid track. Measure it, photograph the sequence and look for additional evidence).




How to Photograph Animal Tracks Properly
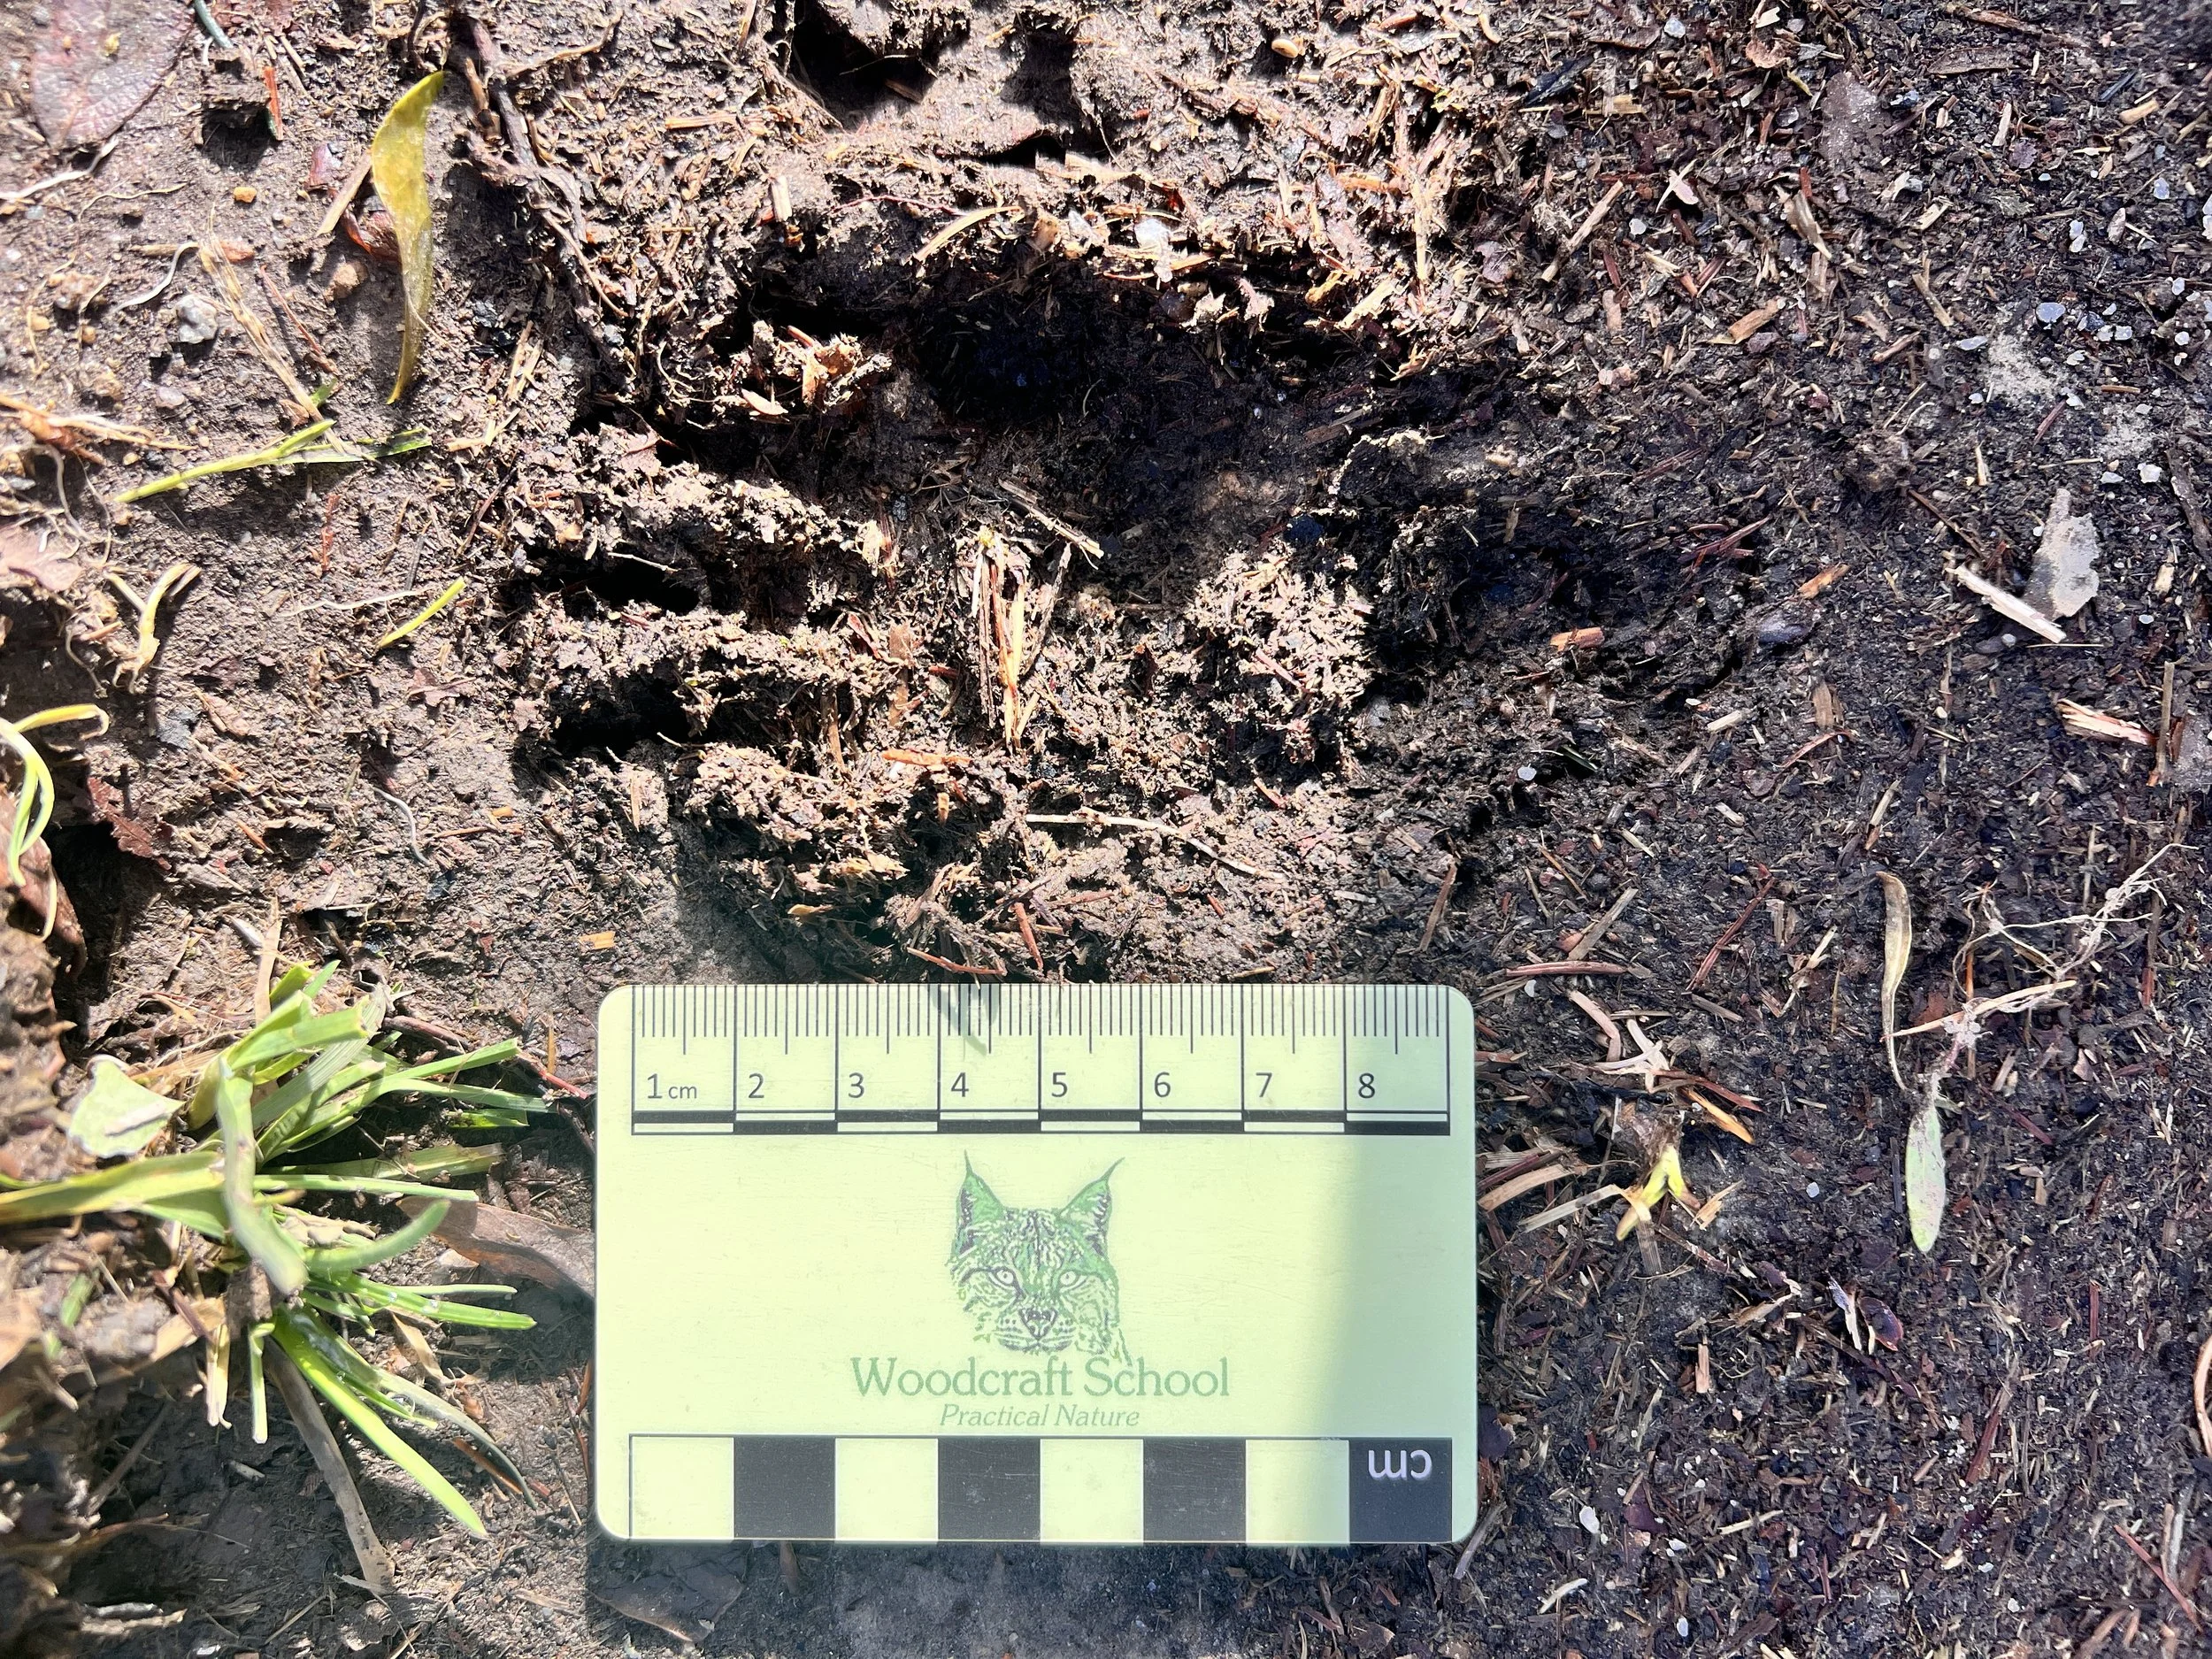
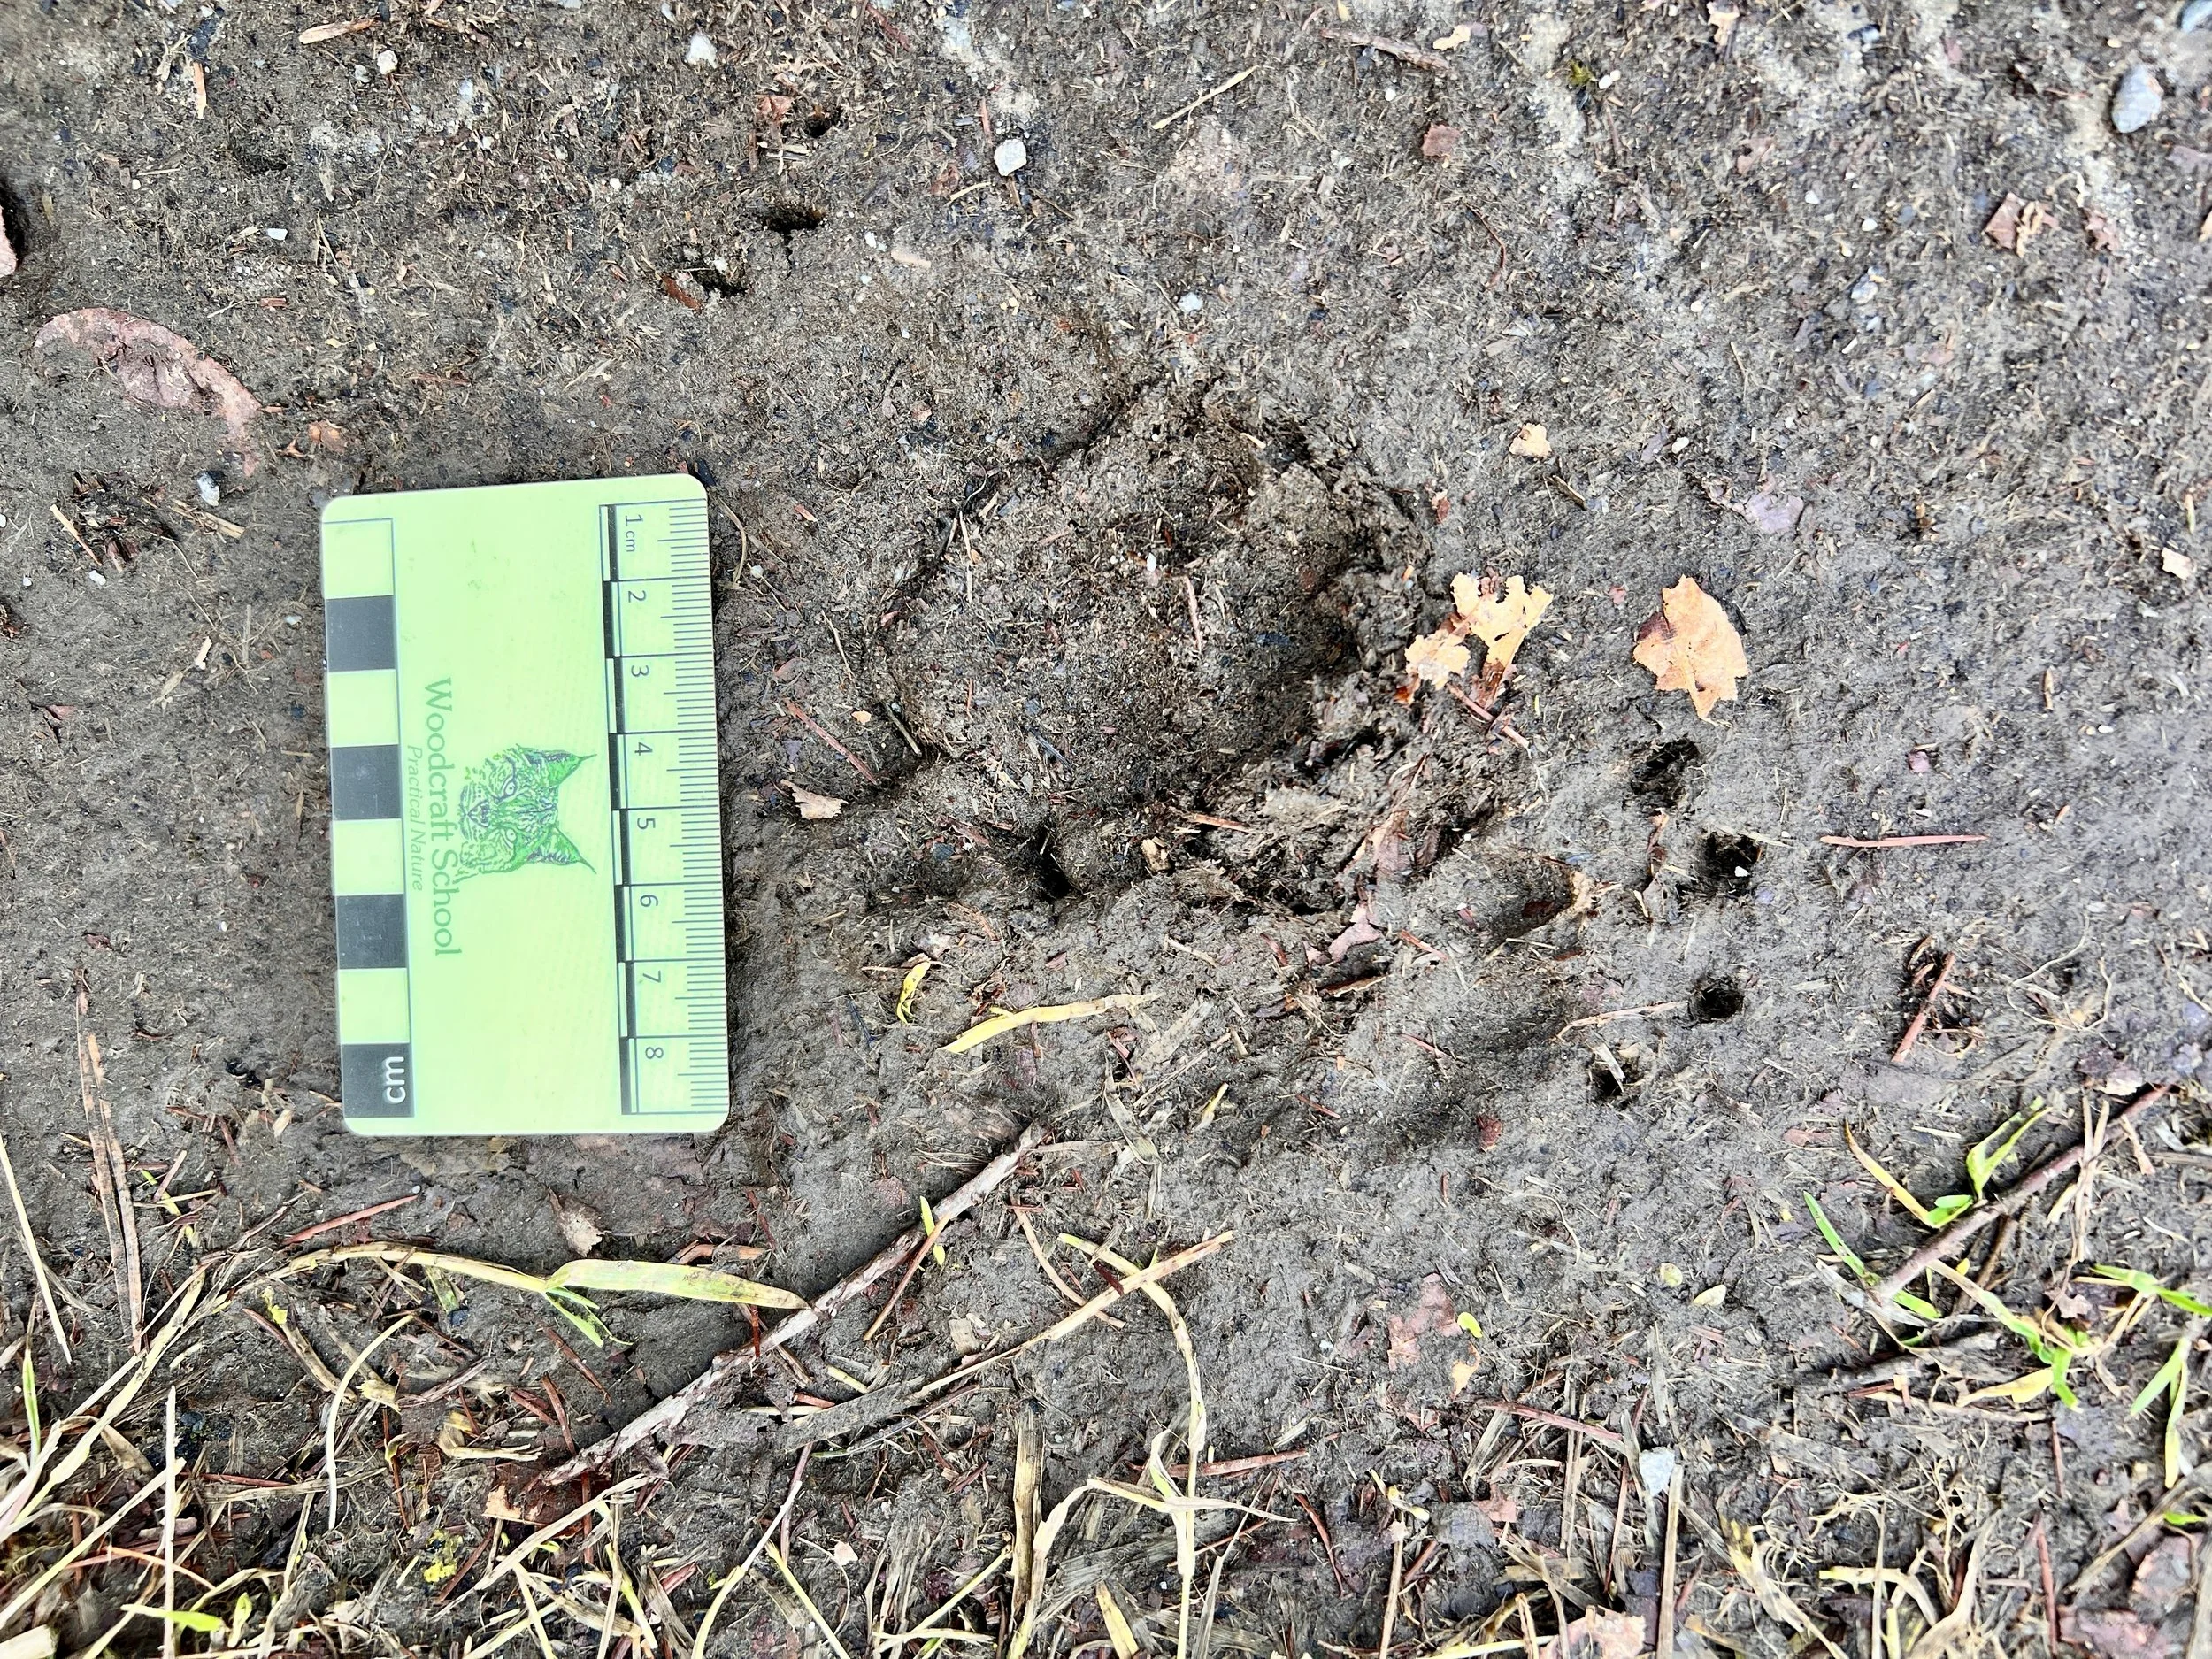
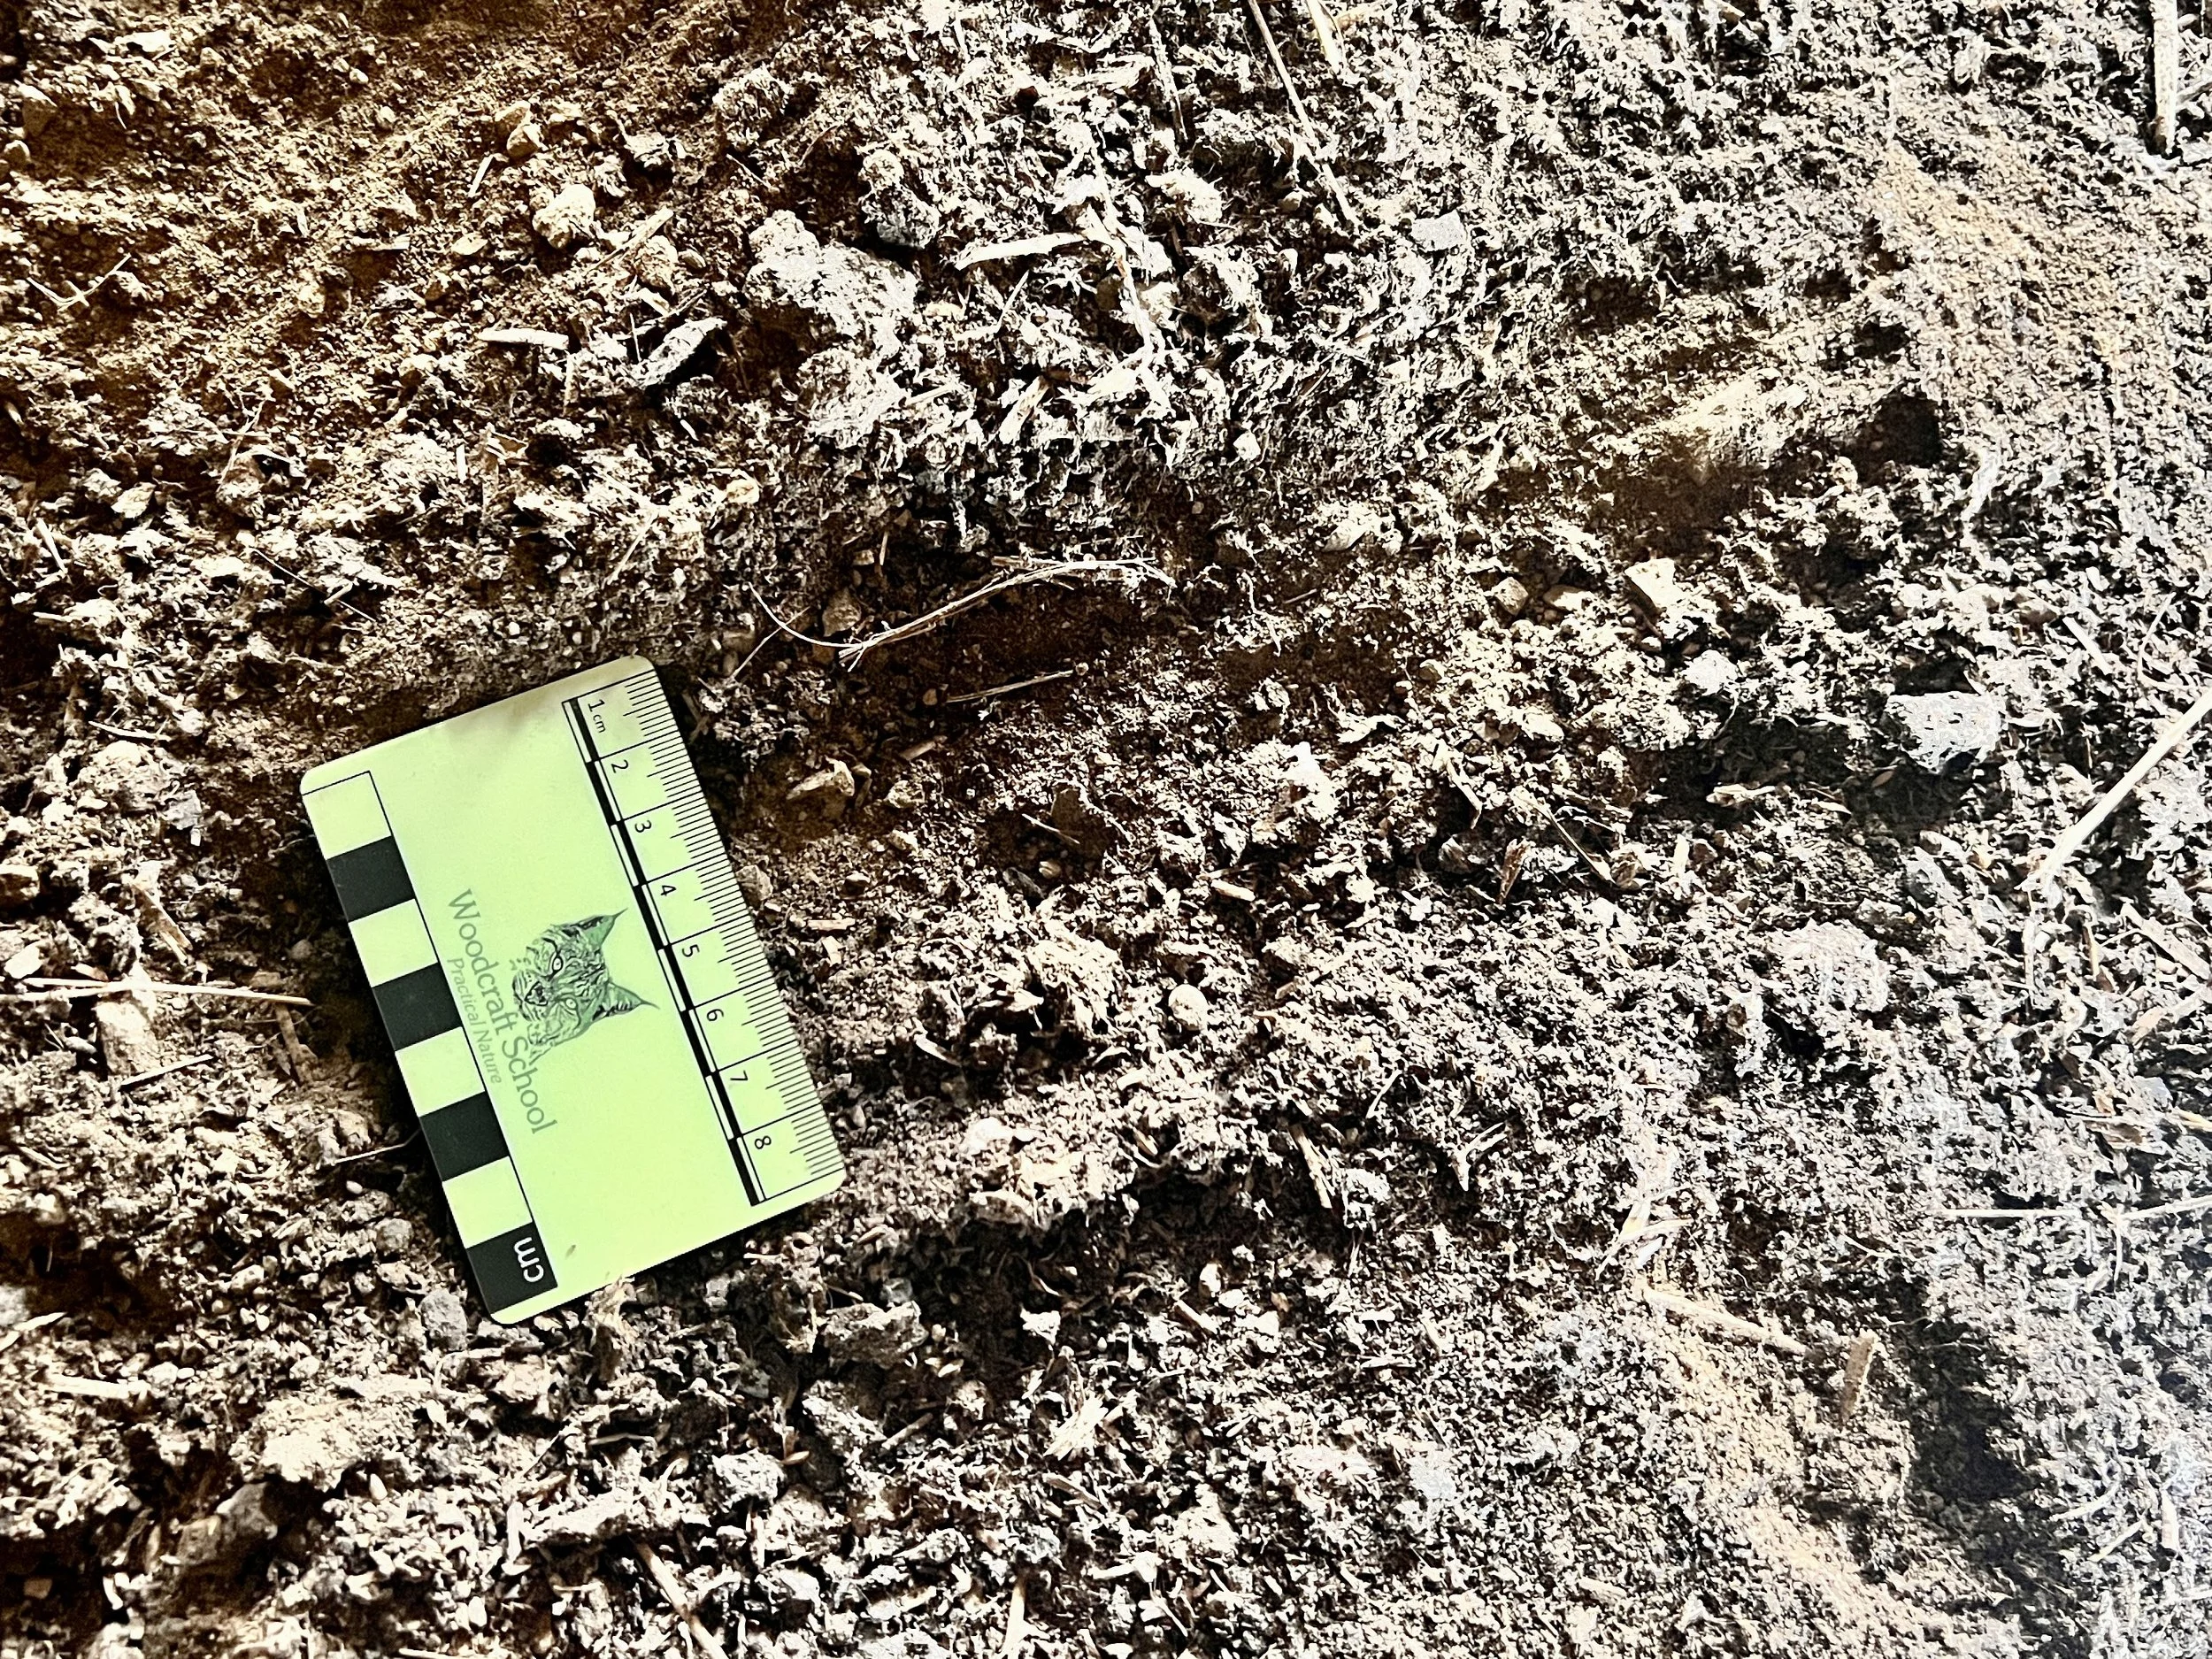
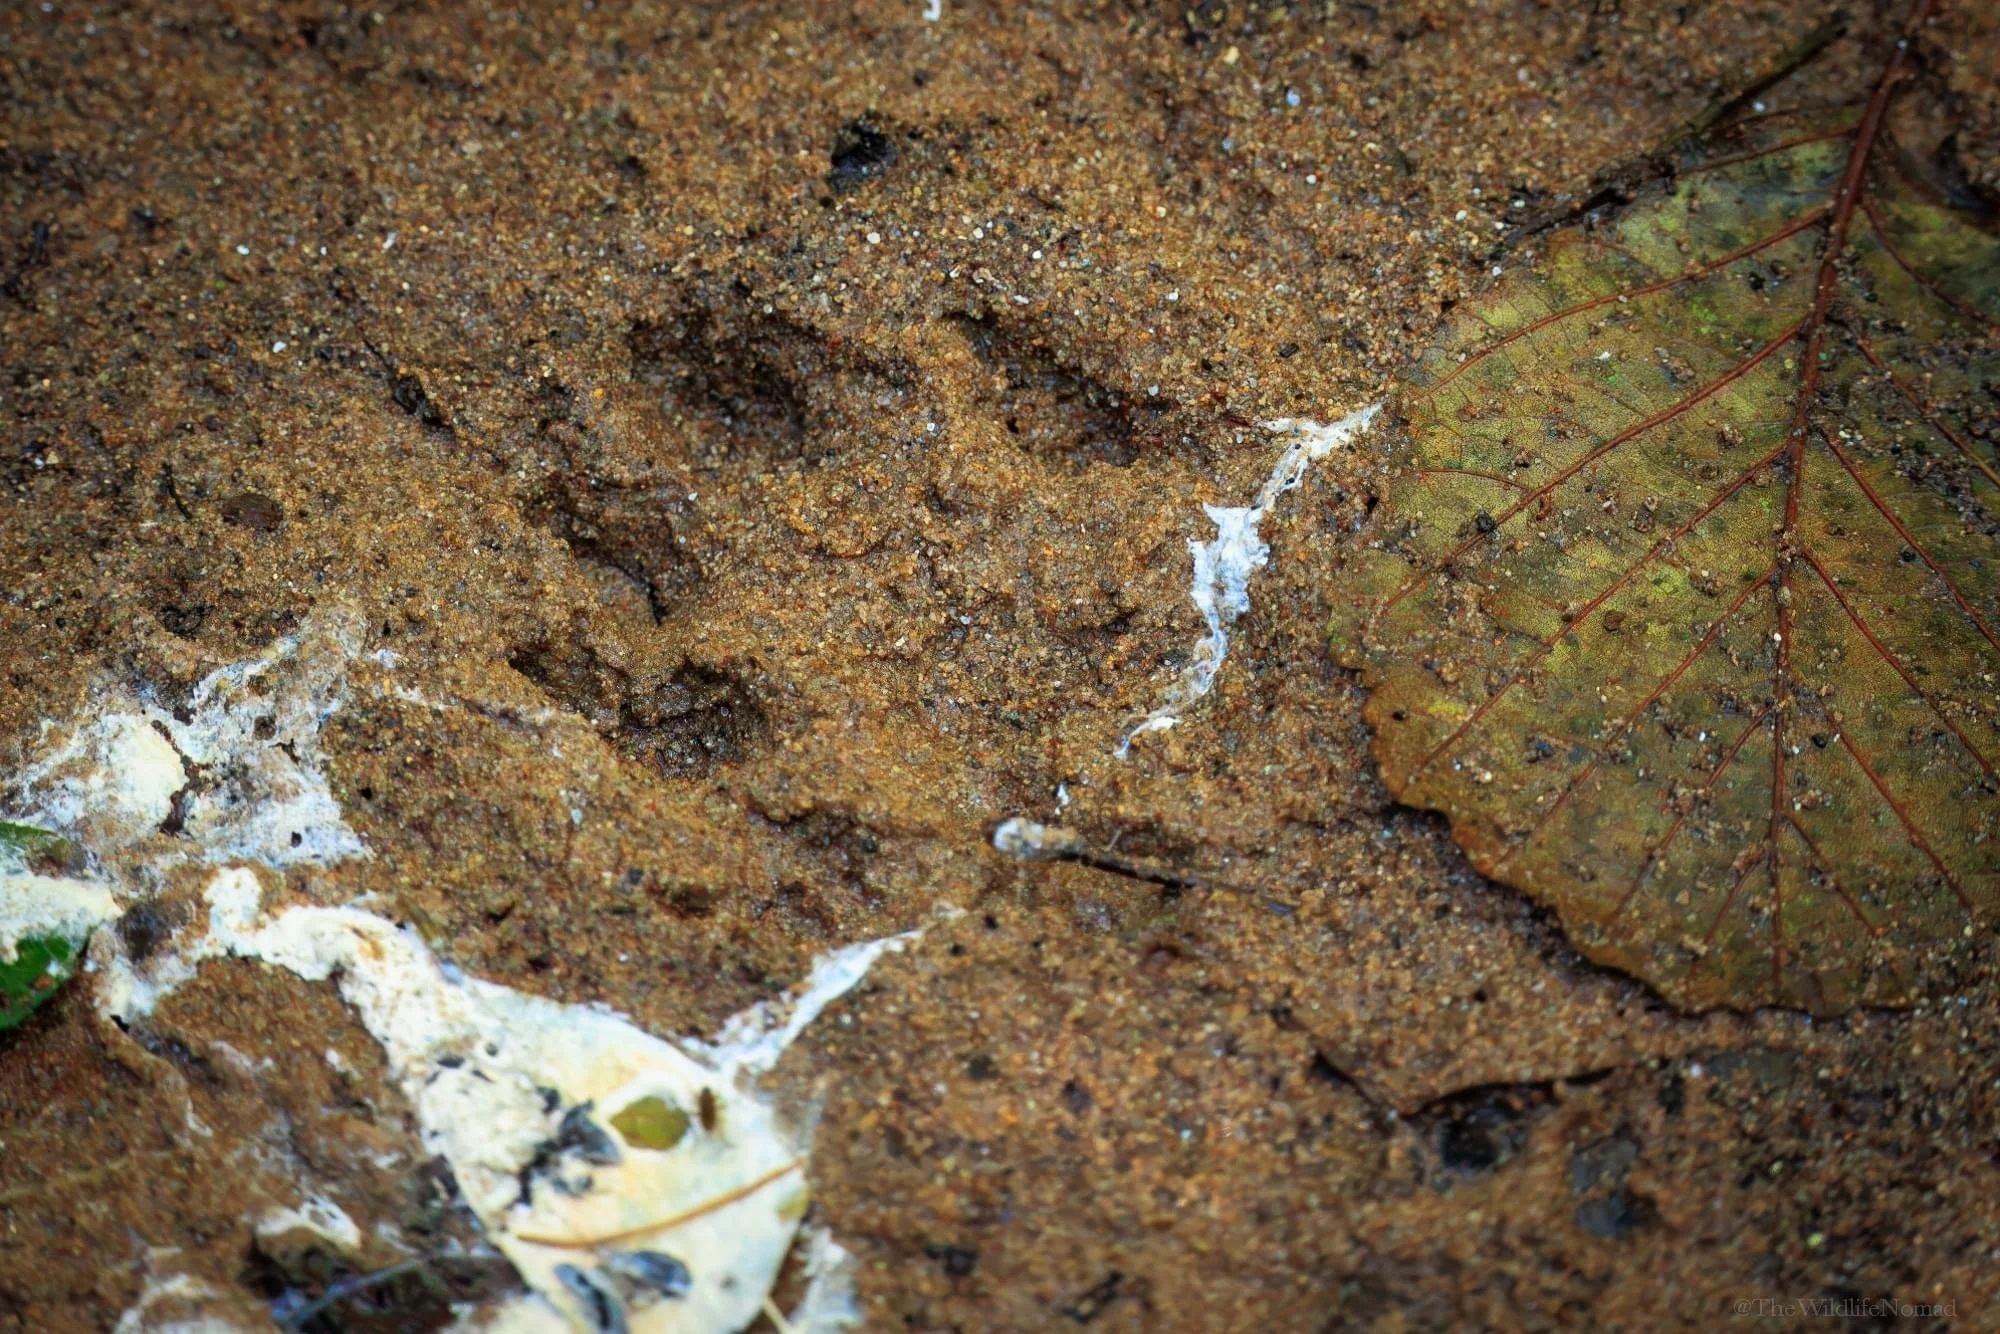
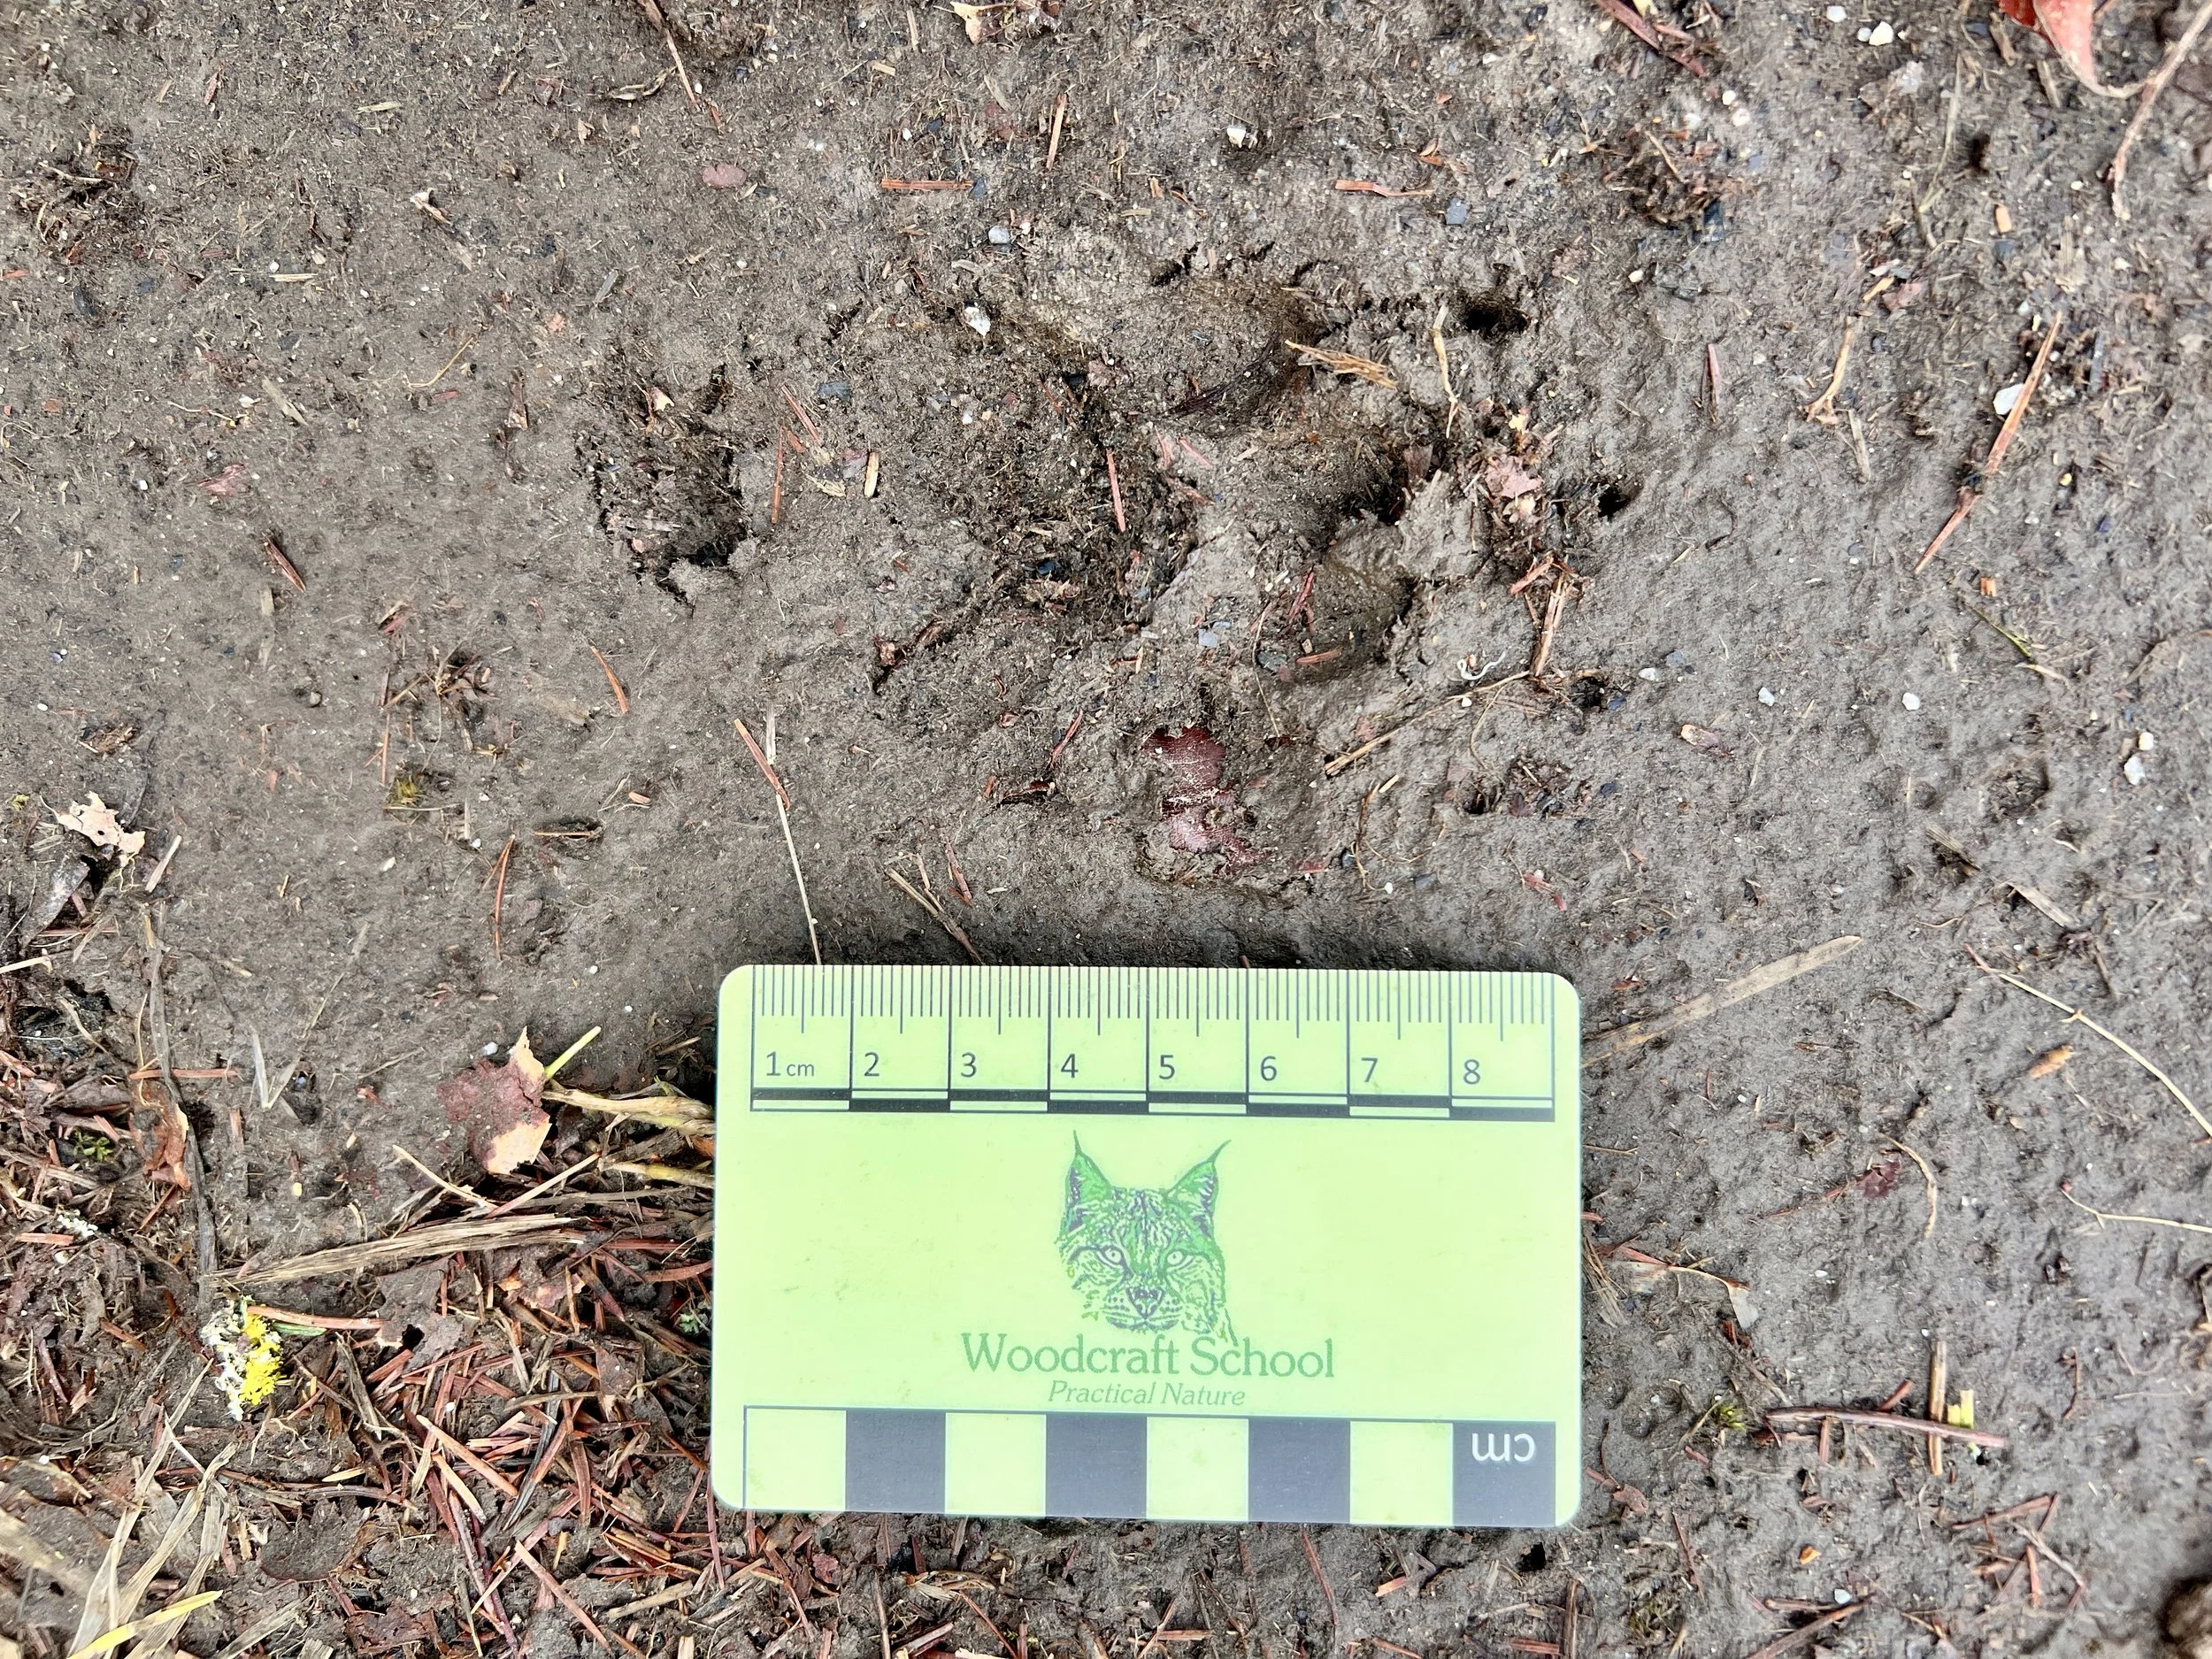
Photographing a track is not just about making an attractive image. If you want to identify it later, compare it with other tracks or build up a useful record of animal activity, the photograph needs to preserve evidence. A smartphone is completely adequate for most track recording. You do not need a macro lens or specialist camera. What matters far more is photographing the track clearly, including scale and recording enough context to understand what you are looking at later.
I try to take at least three photographs whenever I find a useful track.
Take an identification frame
Photograph the footprint from directly above, with the camera as close to perpendicular to the ground as practical.
Include the whole print and place a ruler, scale card or another object of known size beside it. The scale needs to be in roughly the same plane as the track, rather than several centimetres above or below it, otherwise perspective can distort the apparent size.
This is the photograph you will use to examine details such as:
overall length and width
number and arrangement of toes
shape of the heel or metacarpal pad
presence or absence of claw marks
symmetry
hoof shape
relative position of individual toes
Avoid filling the frame so tightly that part of the print is lost. A little surrounding substrate is useful because it helps you judge where the actual edge of the impression lies.
Photograph the trackway
Next, step back and photograph several consecutive footprints. A single print can tell you something about the animal's foot. A sequence of tracks can tell you much more about how the animal was moving.
Try to include enough of the trail to show:
direction of travel
stride length
spacing between prints
whether the feet are registering directly or offset
changes in gait
changes in direction
This is particularly useful with animals whose individual footprints can be difficult to separate from similar species.
Do not assume that one isolated print tells you how an animal was moving. Gait is read from the trackway, not from a single footprint.
Take a context frame
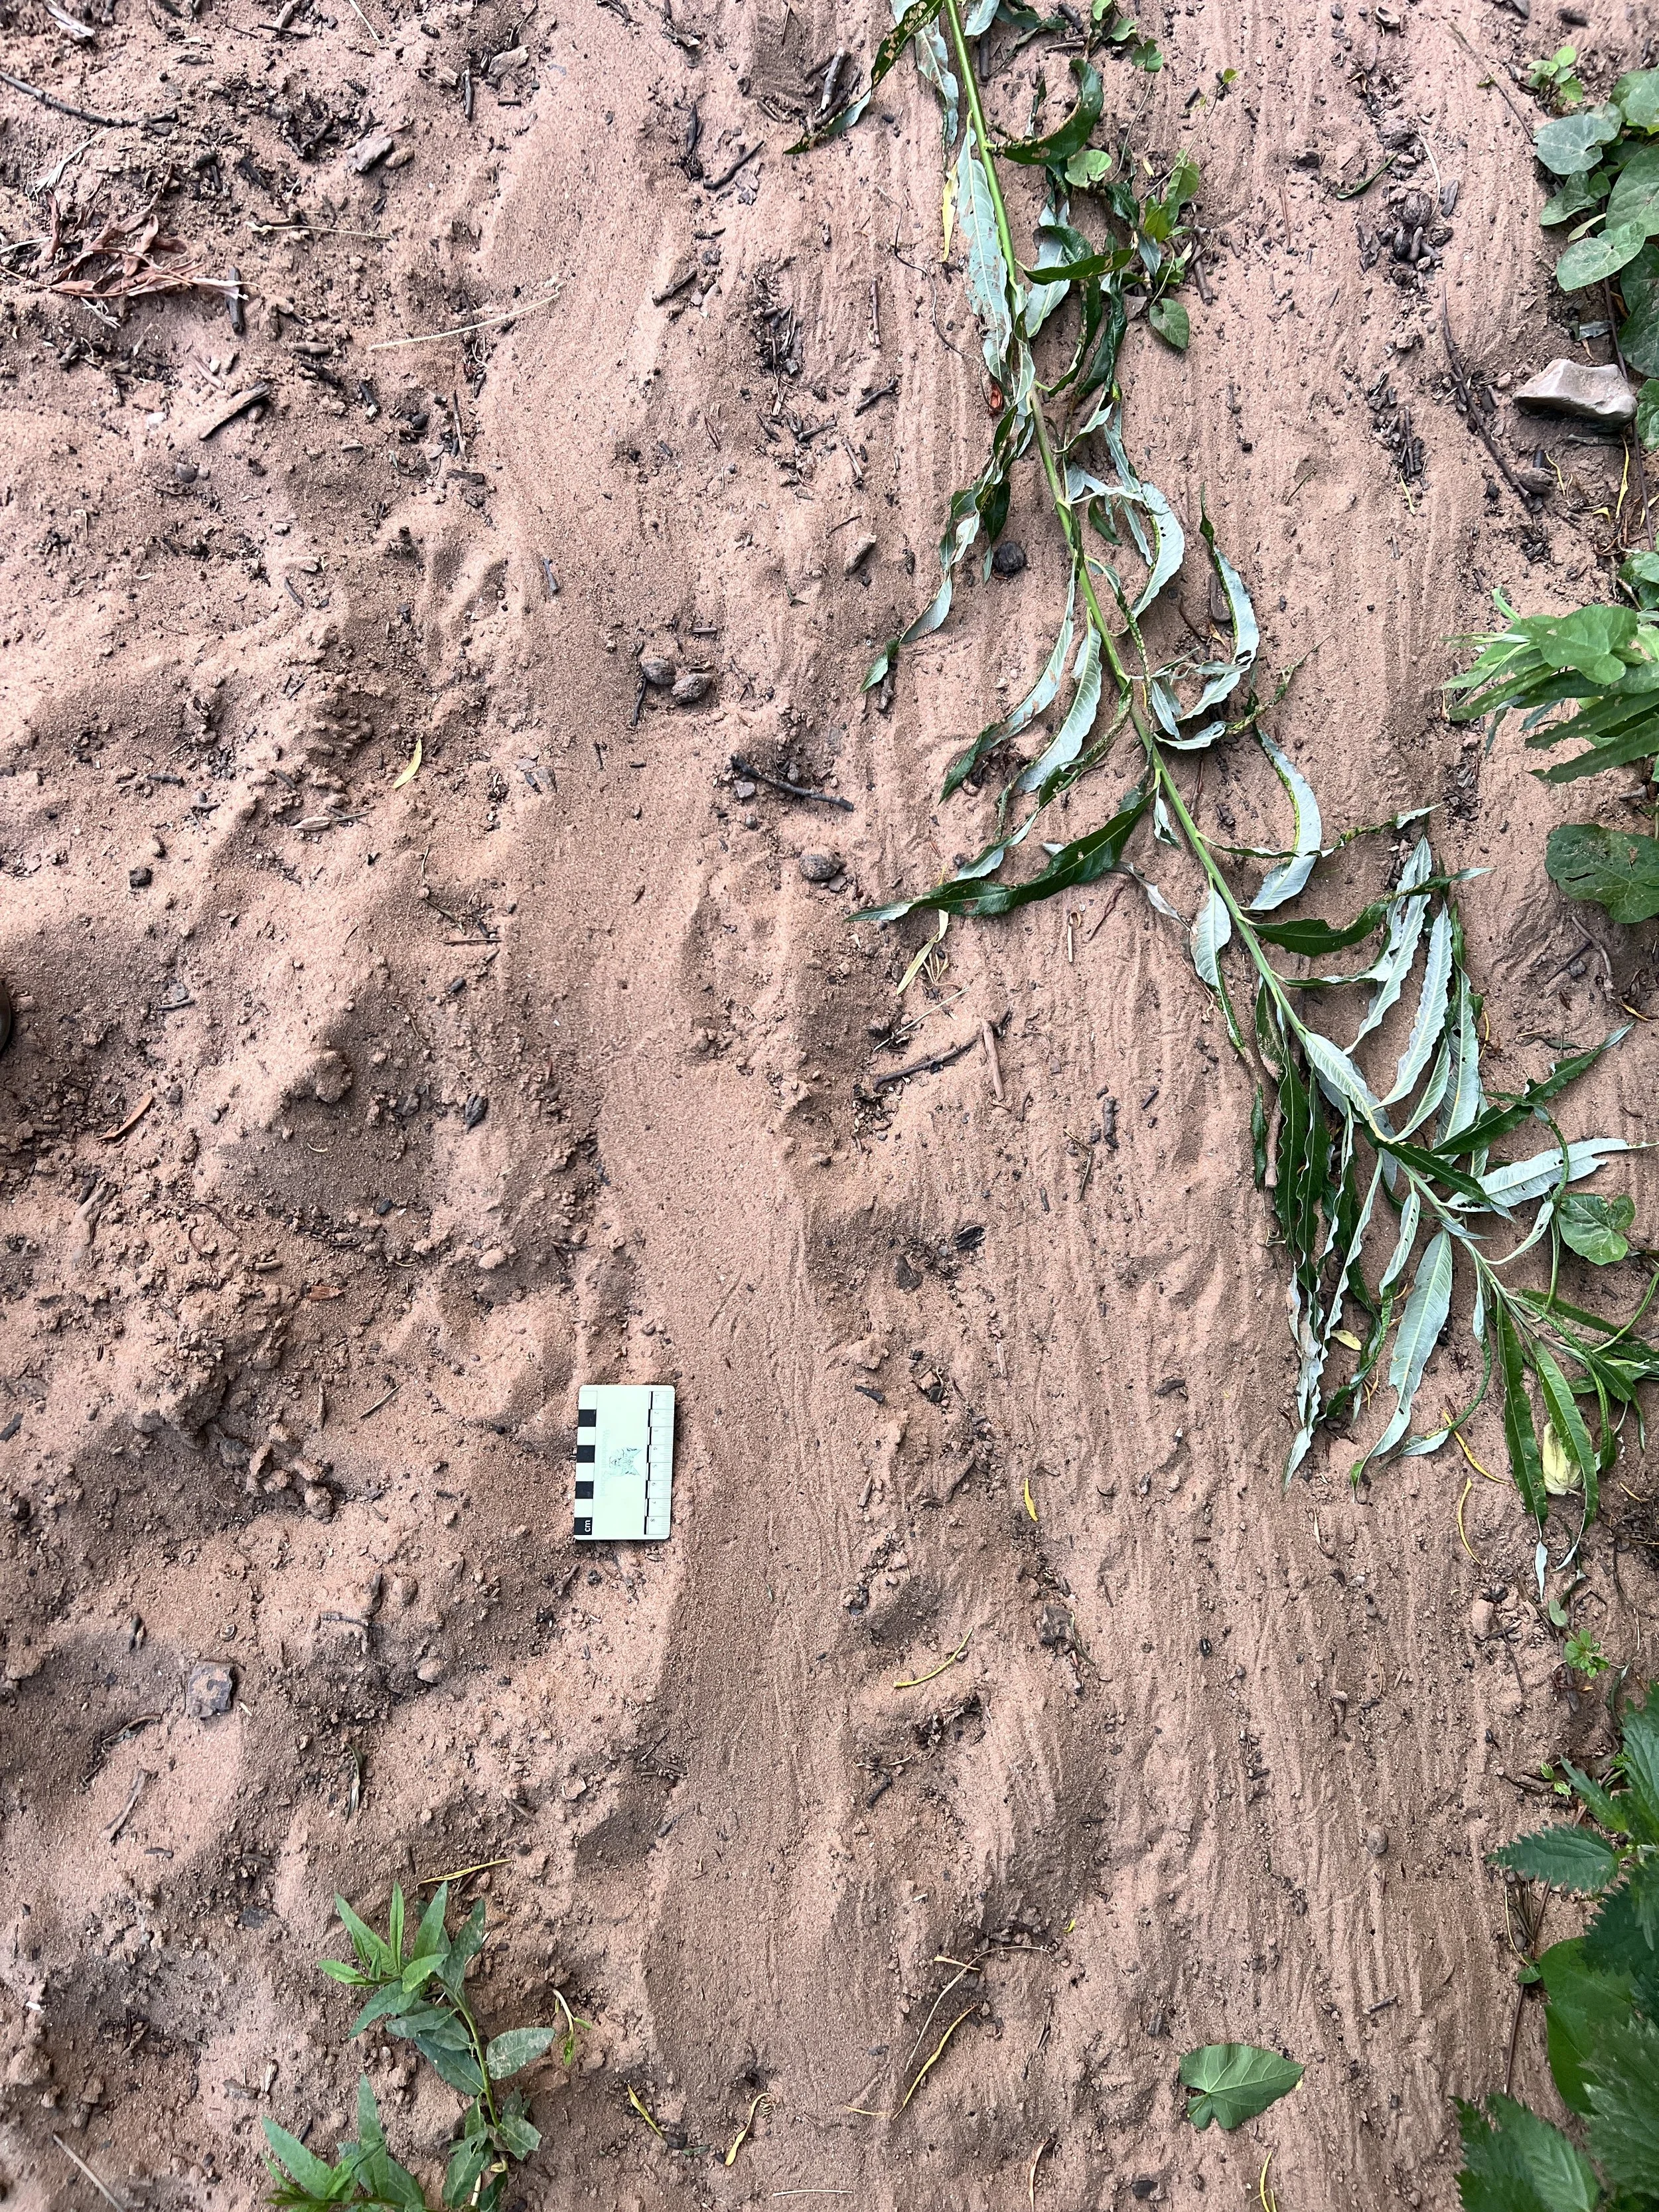
Then photograph the track in the wider landscape. Show where it lies in relation to features such as a woodland path, hedge, gateway, riverbank, ditch, puddle margin, fallen tree or animal trail. This photograph may seem less important at the time, but it often becomes the most useful one later.
A footprint beside a stream means something different from an identical-looking print in the middle of a dry woodland ride. Repeated tracks appearing at the same gateway, ditch crossing or river margin can also begin to reveal patterns of movement through the landscape.
PTES recommends including an object for scale when photographing tracks and recording the location of sightings. Over time, that contextual information can help reveal patterns in where mammals are using an area.
Add an oblique or detail photograph if useful
Once you have recorded the identification, trackway and context frames, take an additional angled photograph if the print contains useful three-dimensional detail.
Low side lighting can reveal:
toe impressions
pad edges
claw marks
depth differences
subtle ridges in soft mud
overlapping prints
Natural light from a low angle often works well. You can also use a torch held to one side of the track rather than shining directly down onto it.
An oblique photograph can make a track much easier to interpret, but it should supplement the overhead identification frame rather than replace it. Angled photographs distort dimensions and are therefore less useful for accurate measurement.
Record evidence, not just pictures
The aim is to leave the site with enough information to reconstruct what you saw.
For a useful track record, I try to come away with:
one overhead identification photograph, one trackway photograph and one wider context photograph.
If the track is particularly interesting, I will add close-ups or angled photographs afterwards.
That simple sequence has made my track photographs far more useful. Instead of returning home with a single attractive footprint and trying to remember where it was or how the surrounding tracks were arranged, I have a small set of evidence I can examine properly……..and that is really the point. Photographing animal tracks is not simply about documenting that a footprint exists. It is about preserving enough information to test your identification and understand how the animal was using the landscape.
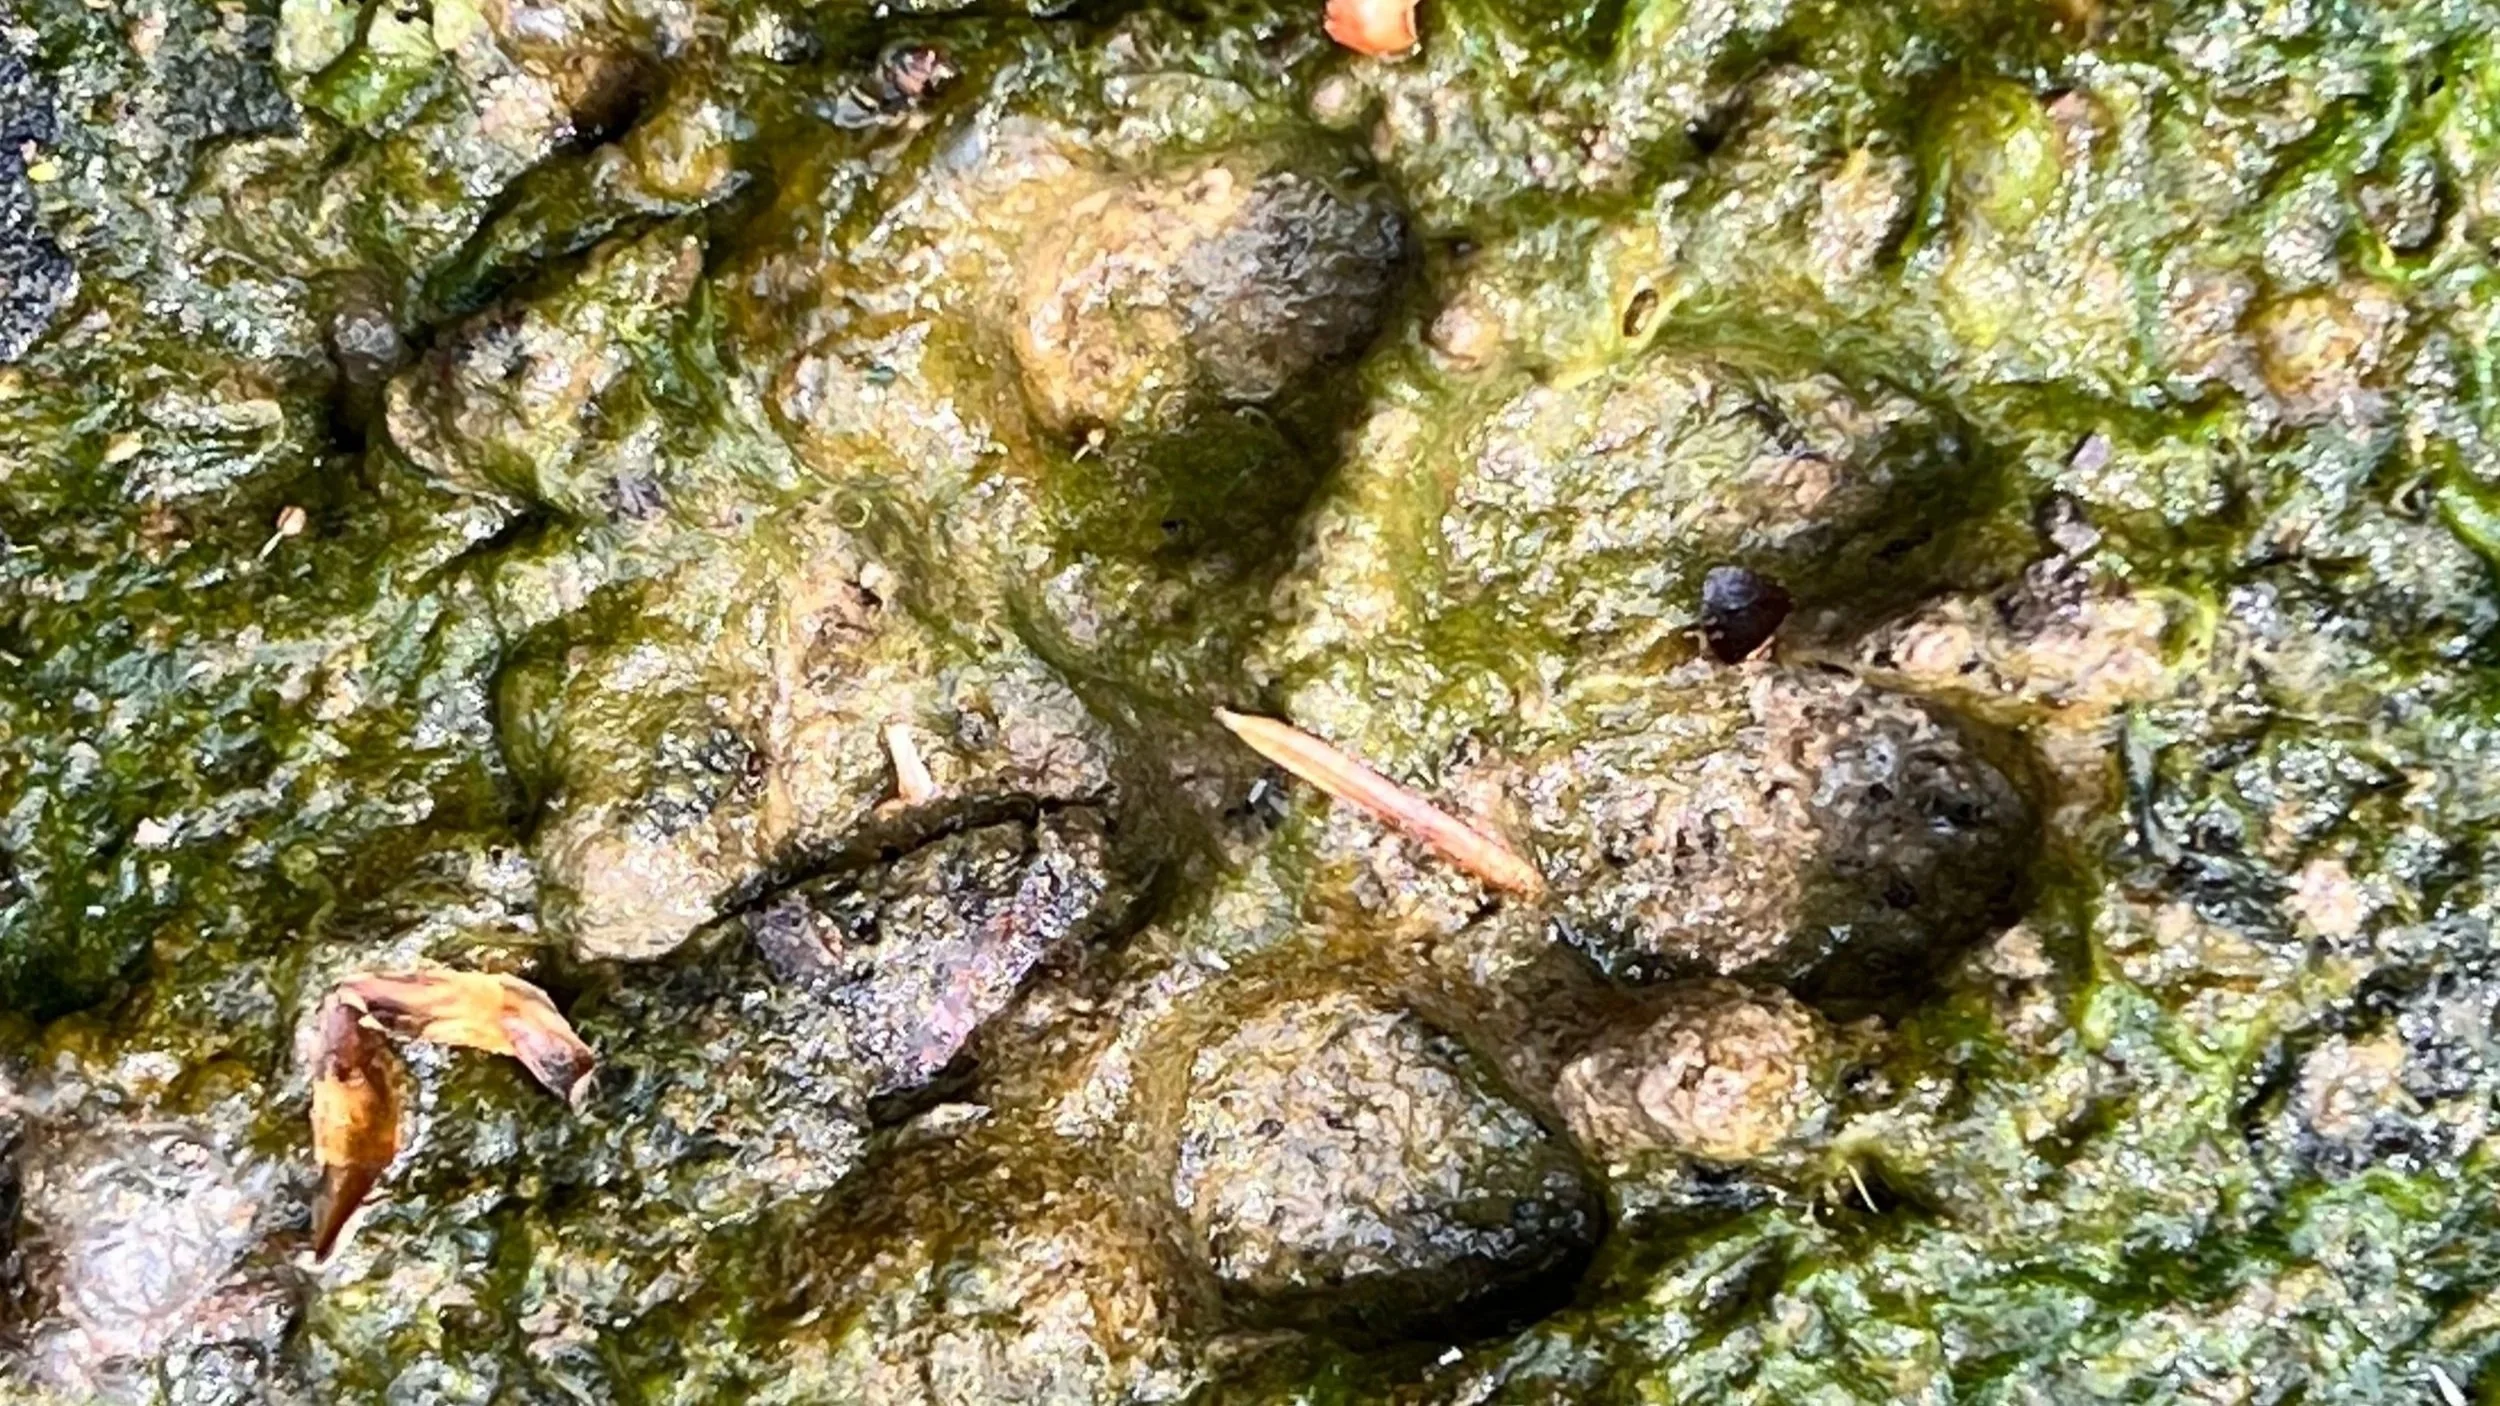
What Animal Tracks Can Tell You, and What They Cannot
A footprint can tell you that an animal was present. A sequence of tracks can tell you much more. The important thing is not to jump too quickly from a track to a story. A fox print on a muddy path is evidence that a fox stepped there. A line of prints may show the direction it travelled and, if the trackway is clear enough, give clues to its gait. Repeated tracks along the same route may suggest that the path is used regularly.
What those tracks do not prove, by themselves, is that the fox was hunting, patrolling a territory or heading towards a den. Those may all be reasonable hypotheses, but they need supporting evidence.
The same applies to other species.
A squirrel’s bounding track pattern tells you how it was moving, not necessarily what it was doing. If those tracks lead to split hazelnuts, stripped cones or a feeding stump, you can begin to make a stronger inference about feeding behaviour.
A group of deer slots beside a stream may indicate a regular crossing point. If the tracks repeatedly enter and leave the water at the same place, that tells you more than a single isolated hoofprint ever could. Whether the deer were drinking, crossing or simply moving along the bank may still remain uncertain.
This is why I try to separate three things when reading tracks:
What I can observe: the size and shape of the print, direction of travel, gait, number of animals, substrate and surrounding signs.
What I can reasonably infer: perhaps that a route is being used repeatedly, that an animal slowed down in one place, or that several signs belong to the same episode of activity.
What remains a hypothesis: why the animal was there, what it was intending to do, or where it was ultimately heading.
The more independent clues you can bring together, the stronger the interpretation becomes. Tracks combined with feeding remains, droppings, hair, scent marks, disturbed vegetation, burrows, resting places or trail-camera footage can turn a tentative idea into a much more convincing explanation.
That is where tracking becomes particularly useful for wildlife photography and watching. You are no longer simply asking, “Which animal made this print?” You are asking, “How is this animal using this place, and what evidence supports that conclusion?”
That shift makes you much less likely to overinterpret a single sign, and much more likely to recognise genuine patterns of wildlife movement through the landscape.
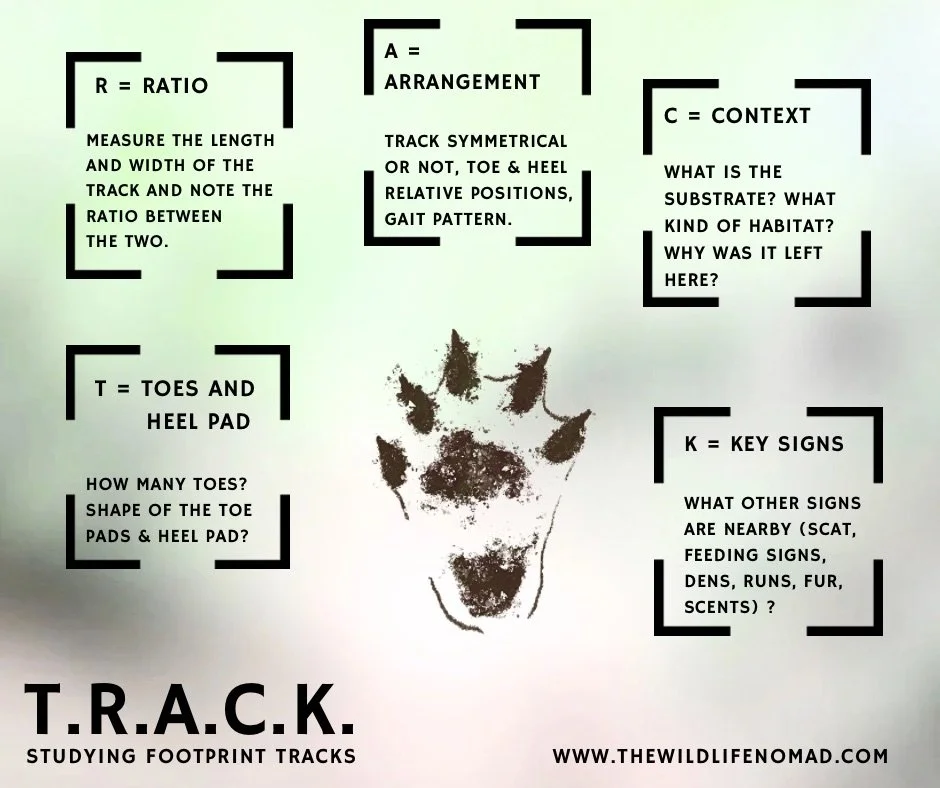
The TRACK mnemonic: a simple checklist for examining animal tracks.
How to Read Animal Tracks: The TRACK Mnemonic
The TRACK mnemonic is a simple checklist for examining an animal track before trying to identify it. It prompts you to record the track’s key features systematically rather than jumping straight to a species. Using the same process each time makes tracks easier to compare, improves identification and reduces the risk of overlooking important details.
Ethics: Leave Only Patience Behind
A good tracker leaves no trace but understanding. Avoid following fresh tracks too closely or lingering where animals might rest. Your presence, scent, or prints can alter their behaviour. Make a note, take a photograph, then retreat: learning from what the land offered without taking more than knowledge.
Let wildlife reveal itself to you.
Conclusion
After the next spell of rain, don't try to identify everything you see. Choose one clear trail, photograph it properly, measure three or four prints and follow its direction with your eyes before deciding what made it.
More to Explore:
Animal Trails & Wildlife Pathways: How to Read Them
Who’s Poo Is This? A Fieldcraft Guide to Identifying UK Mammal Scats Using the POOPS Method
Animal Dens, Burrows and Resting Places: How to Read Where Mammals Shelter and Rest
Back to the Tracks & Signs hub
————————————————————
FAQ: Tracking After Rain – Top Questions for Wildlife Photographers and Watchers
How can I tell how fresh an animal track is after rain?
Fresh tracks have sharp, clean edges and retain moisture or sheen in soft ground. Debris hasn’t yet collected inside, and the surrounding soil still looks recently disturbed. If the print is crisp with no crumble or drying, it’s likely from the past few hours. Rain effectively wipes the slate clean, so new tracks stand out clearly against the smoothed surface.
What camera lens is best for photographing animal tracks?
For close-up track photography, use a macro or 35–50 mm prime lens that allows you to focus close and capture fine detail. Shoot at f/8–f/11 to emphasise texture and depth. Keep your camera low to the ground — a small tripod or beanbag helps — and always photograph from the side to avoid stepping into or shading the track.
Which types of ground show footprints best after rain?
The best tracking surfaces are damp but firm. Muddy forest rides, bare soil in gateways, and silty stream edges hold prints well. Mossy hollows and shaded paths also preserve detail because they stay moist longer. Avoid puddles or saturated ground where prints collapse quickly. These areas are perfect for both wildlife photography and quiet observation.
What small mammal tracks can I find after rain?
After rain, fine detail appears in small prints that usually go unnoticed:
Squirrel: Five-toed hind feet landing ahead of the forefeet.
Rabbit: Long hind feet and smaller forefeet forming a Y-shaped pattern.
Hedgehog: Round pads with five tiny toes and short claws.
Stoat or Weasel: Pairs of small bounding prints with visible claws.
Wood Mouse: Tiny paired dots, often with a faint tail line between.
Each is a chance to practise close-focus photography and sharpen your eye for movement.
Why is rain such a good time for tracking wildlife?
Rain softens the soil and erases older signs, leaving a fresh canvas for new activity. After rain, newly made tracks can sometimes stand out particularly clearly against a recently wetted or disturbed surface. For wildlife photographers, this helps your understanding of where and when to position yourself for ethical, informed shots.
Wildlife Tracks & Signs UK: Identify Animal Clues — The Wildlife Nomad