
How to Start Wildlife Photography:
A Beginner’s Guide to Ethical Fieldcraft and First Shots in the Wild
Wildlife photography isn’t about chasing trophies or buying the biggest lens. It begins with something much simpler, learning to see.
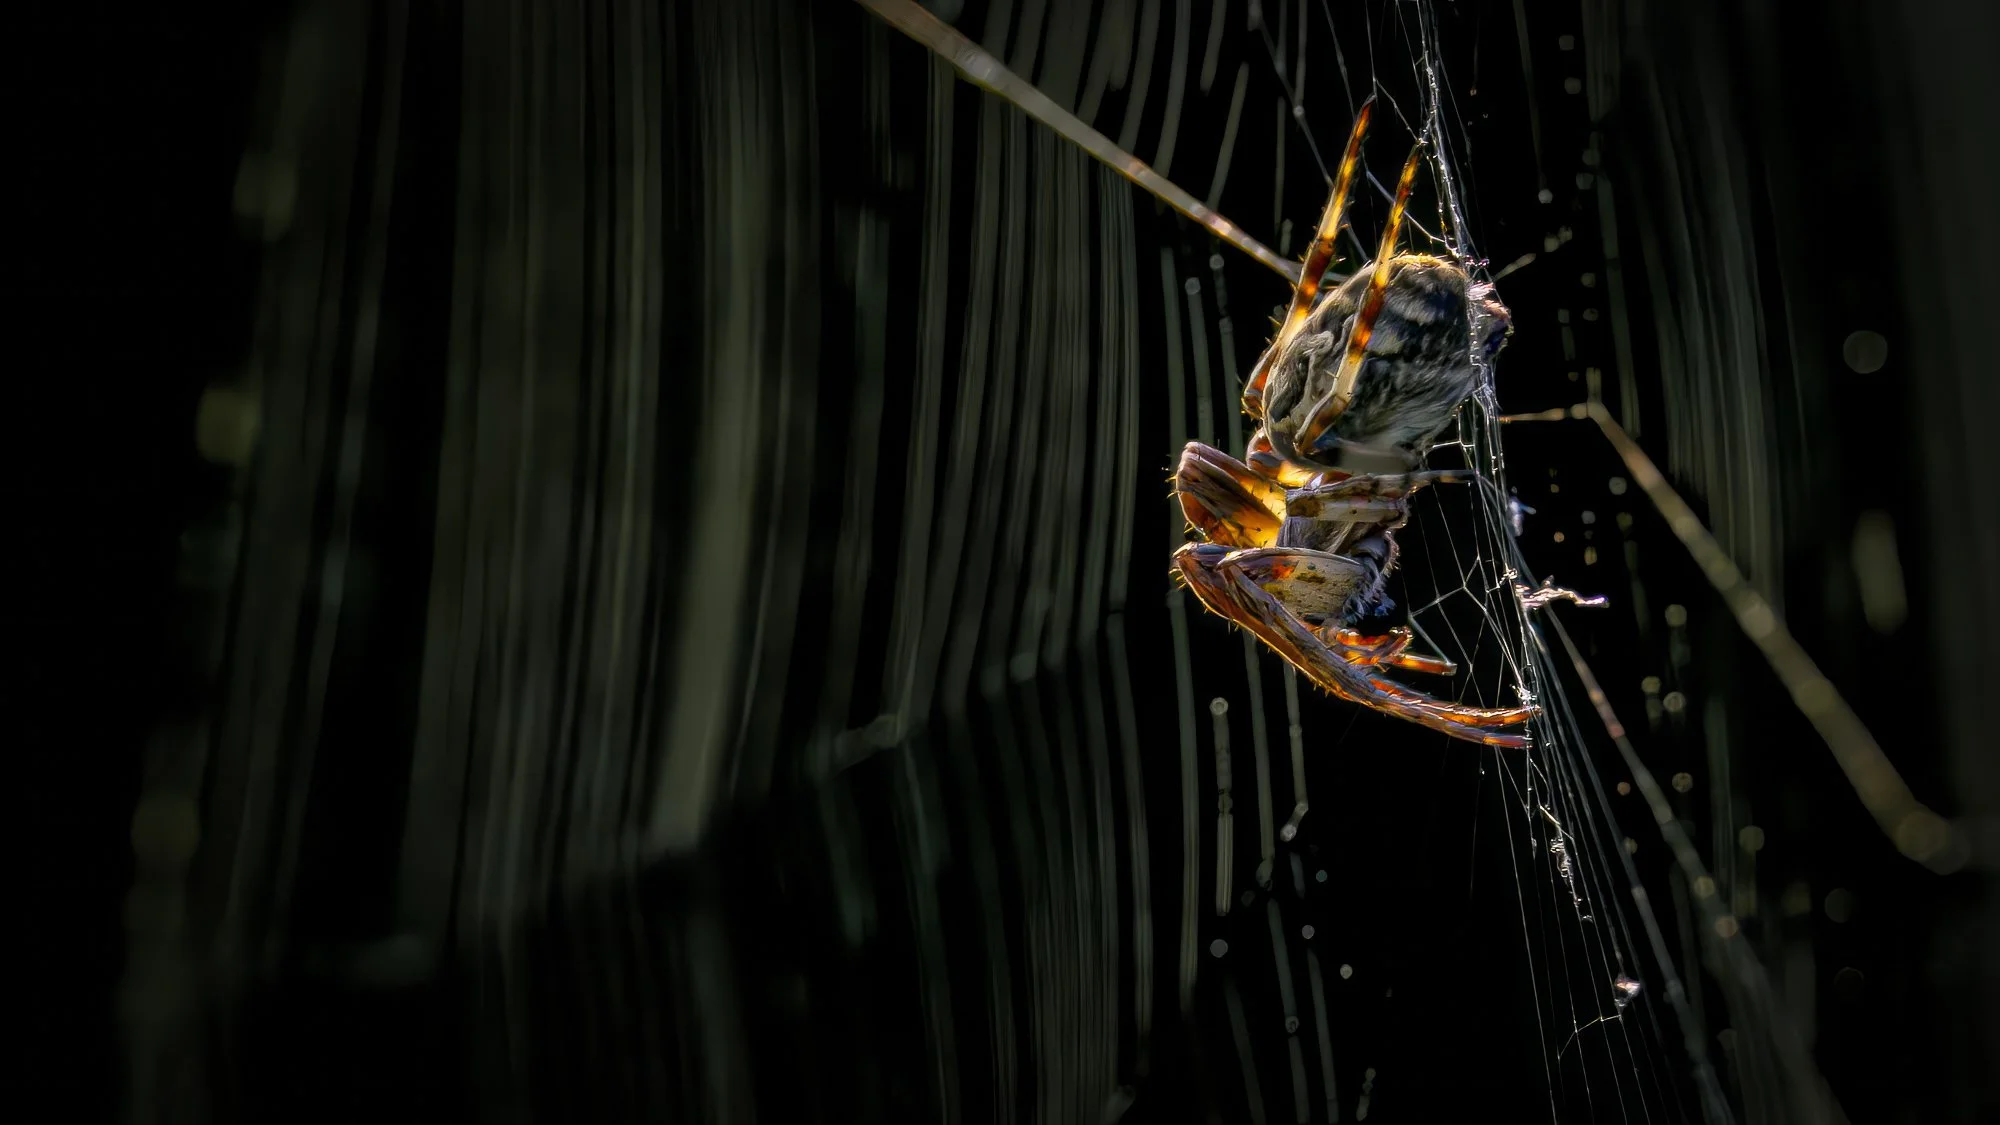
Every naturalist remembers the first spark: a deer crossing a misty field, the flick of a wren in a hedge, a kestrel hovering above autumn stubble. Those moments draw you closer to nature and eventually to a camera. But before you press the shutter, you need to understand how to move, watch and listen. If you’re wondering how to start wildlife photography as a beginner, this guide will walk you through everything you need: from basic camera gear and settings to ethical fieldcraft, practice routines, and mindset. It’s written for anyone who wants to capture authentic wildlife moments without disturbing the animals that make them possible.
Why Start with Fieldcraft, Not Equipment
The first mistake many newcomers make is assuming wildlife photography is all about kit. In truth, the best images come from understanding your subject and being patient in the field. Expensive gear can help, but fieldcraft opens the door.
Fieldcraft means learning to move quietly, read the wind, notice tracks, and recognise when an animal feels at ease or alarmed. These are the foundations of ethical wildlife photography (and they’re free to learn). Start with observation before you start with the camera. Spend time watching the animals in your garden, local park or nearest woodland edge. Notice patterns: what time birds feed, which way a rabbit bolts when startled, how light changes in a favourite meadow.
Once you learn to anticipate behaviour, even a modest camera will begin to feel like a natural extension of your eye.
Choosing Your First Wildlife Photography Gear
You don’t need to spend thousands. Start with what you have — even a smartphone or an entry-level DSLR or mirrorless body will do. The real goal is to learn how to handle a camera comfortably in the field.
Camera Bodies
Entry-level DSLR or mirrorless models like the Canon R50, Nikon Z50 or Sony a6400 are ideal starting points. They’re lightweight, responsive, and perform well in low light.
Look for good autofocus tracking and manual exposure control. You’ll eventually want to use manual mode with auto ISO — the most versatile setup for changing light.
Lenses
A zoom lens around 100–400 mm offers flexibility for most subjects.
A 70–300 mm works for garden birds and deer at distance.
Don’t worry about wide apertures yet — you’ll learn far more from positioning and light than gear specs.
Support
A sturdy monopod or beanbag helps steady shots.
A tripod is useful for static subjects or hide work, but not essential at first.
Consider a sling bag or small backpack — comfort matters more than brand labels.
Accessories
Spare batteries and memory cards are vital.
A rain cover (or a bin bag) keeps kit dry.
Binoculars are your most valuable accessory — they teach you to find subjects before lifting a camera.
As you progress, invest in upgrades that solve real problems — not ones that just sound impressive. Every piece of equipment should serve your story, not your ego.
Learning Camera Basics
Before diving into advanced setups, get comfortable with the core building blocks: shutter speed, aperture and ISO. These three form the exposure triangle that defines every image.
Shutter Speed
This determines whether motion freezes or blurs.
Start around 1/1000 s for birds in flight.
1/500 s suits walking mammals.
1/250 s or slower can capture a sense of movement in water or wings.
Aperture
Controls how much of your image is sharp.
Use f/4–f/5.6 to blur backgrounds and isolate subjects.
Try f/8–f/11 when you want the animal and its environment both in focus.
ISO
Controls sensitivity to light. Higher ISO helps in low light but adds grain.
Set auto ISO with a limit around 6400 so you can shoot confidently through the gloom of dawn and dusk.
Shooting Mode
Many beginners start with aperture priority, but learning manual mode with auto ISO will soon give you full creative control. It lets you decide shutter and aperture while the camera balances exposure automatically — perfect for Britain’s variable skies.
Mastering these basics gives you the freedom to focus on what matters: behaviour, light and composition.

Fieldcraft Basics for New Wildlife Photographers
If photography is the art, fieldcraft is the philosophy that underpins it. It’s what separates the patient observer from the casual snapper.
Move Quietly and Deliberately
Walk slowly, place each foot carefully, and pause often. Sudden movement alarms animals far more than quiet presence.
Watch the Wind
Most mammals rely on scent before sight. Always approach with the wind in your face so your smell doesn’t carry ahead.
Use Natural Cover
Hedgerows, trees and ground contours are your allies. Blend in by standing in shadow or sitting low against vegetation rather than in open ground.
Wait, Don’t Chase
The more time you spend still, the more wildlife will reveal itself. It’s better to watch one relaxed fox for ten minutes than to startle five by rushing.
Know the Signs
Learn to recognise footprints, feeding marks and droppings. These tell you where to wait, what direction animals travel, and when they’re most active.
Respect Territory
Every step into the wild has impact. Stay on paths where possible and avoid trampling sensitive ground or disturbing dens and nests.
These habits form the ethical spine of your practice. They keep animals safe — and they also get you closer to them.
The Ethics That Define Your Photography
Ethical wildlife photography isn’t optional — it’s essential. As you learn how to find and approach wildlife safely for photography, remember that your first responsibility is to the subject, not the shot.
No Baiting, No Calls, No Disturbance
Baiting alters behaviour and risks animals’ health. Avoid playback calls, especially during breeding season — they create unnecessary stress and can lure birds from nests.
No Flash on Nocturnal Species
Artificial light can disrupt animals’ vision and feeding. For badgers, owls and deer at night, rely on low-light capability or red-filtered torches.
Respect Breeding Sites
Never photograph at nests or dens. The stress of disturbance can lead to abandonment or predation.
Share Locations Responsibly
Think carefully before posting grid references online. Rare species and sensitive habitats are vulnerable to over-visiting.
Be the Model of Good Behaviour
If someone sees you showing patience, restraint and care, you’re educating more effectively than any lecture. Your goal is to let wildlife reveal itself, not to force encounters.
The more gently you move through a landscape, the more it opens to you.

Practising Close to Home
You don’t need a national park to practise wildlife photography. Start where you live — your garden, a nearby canal, local farmland or woodland fringe.
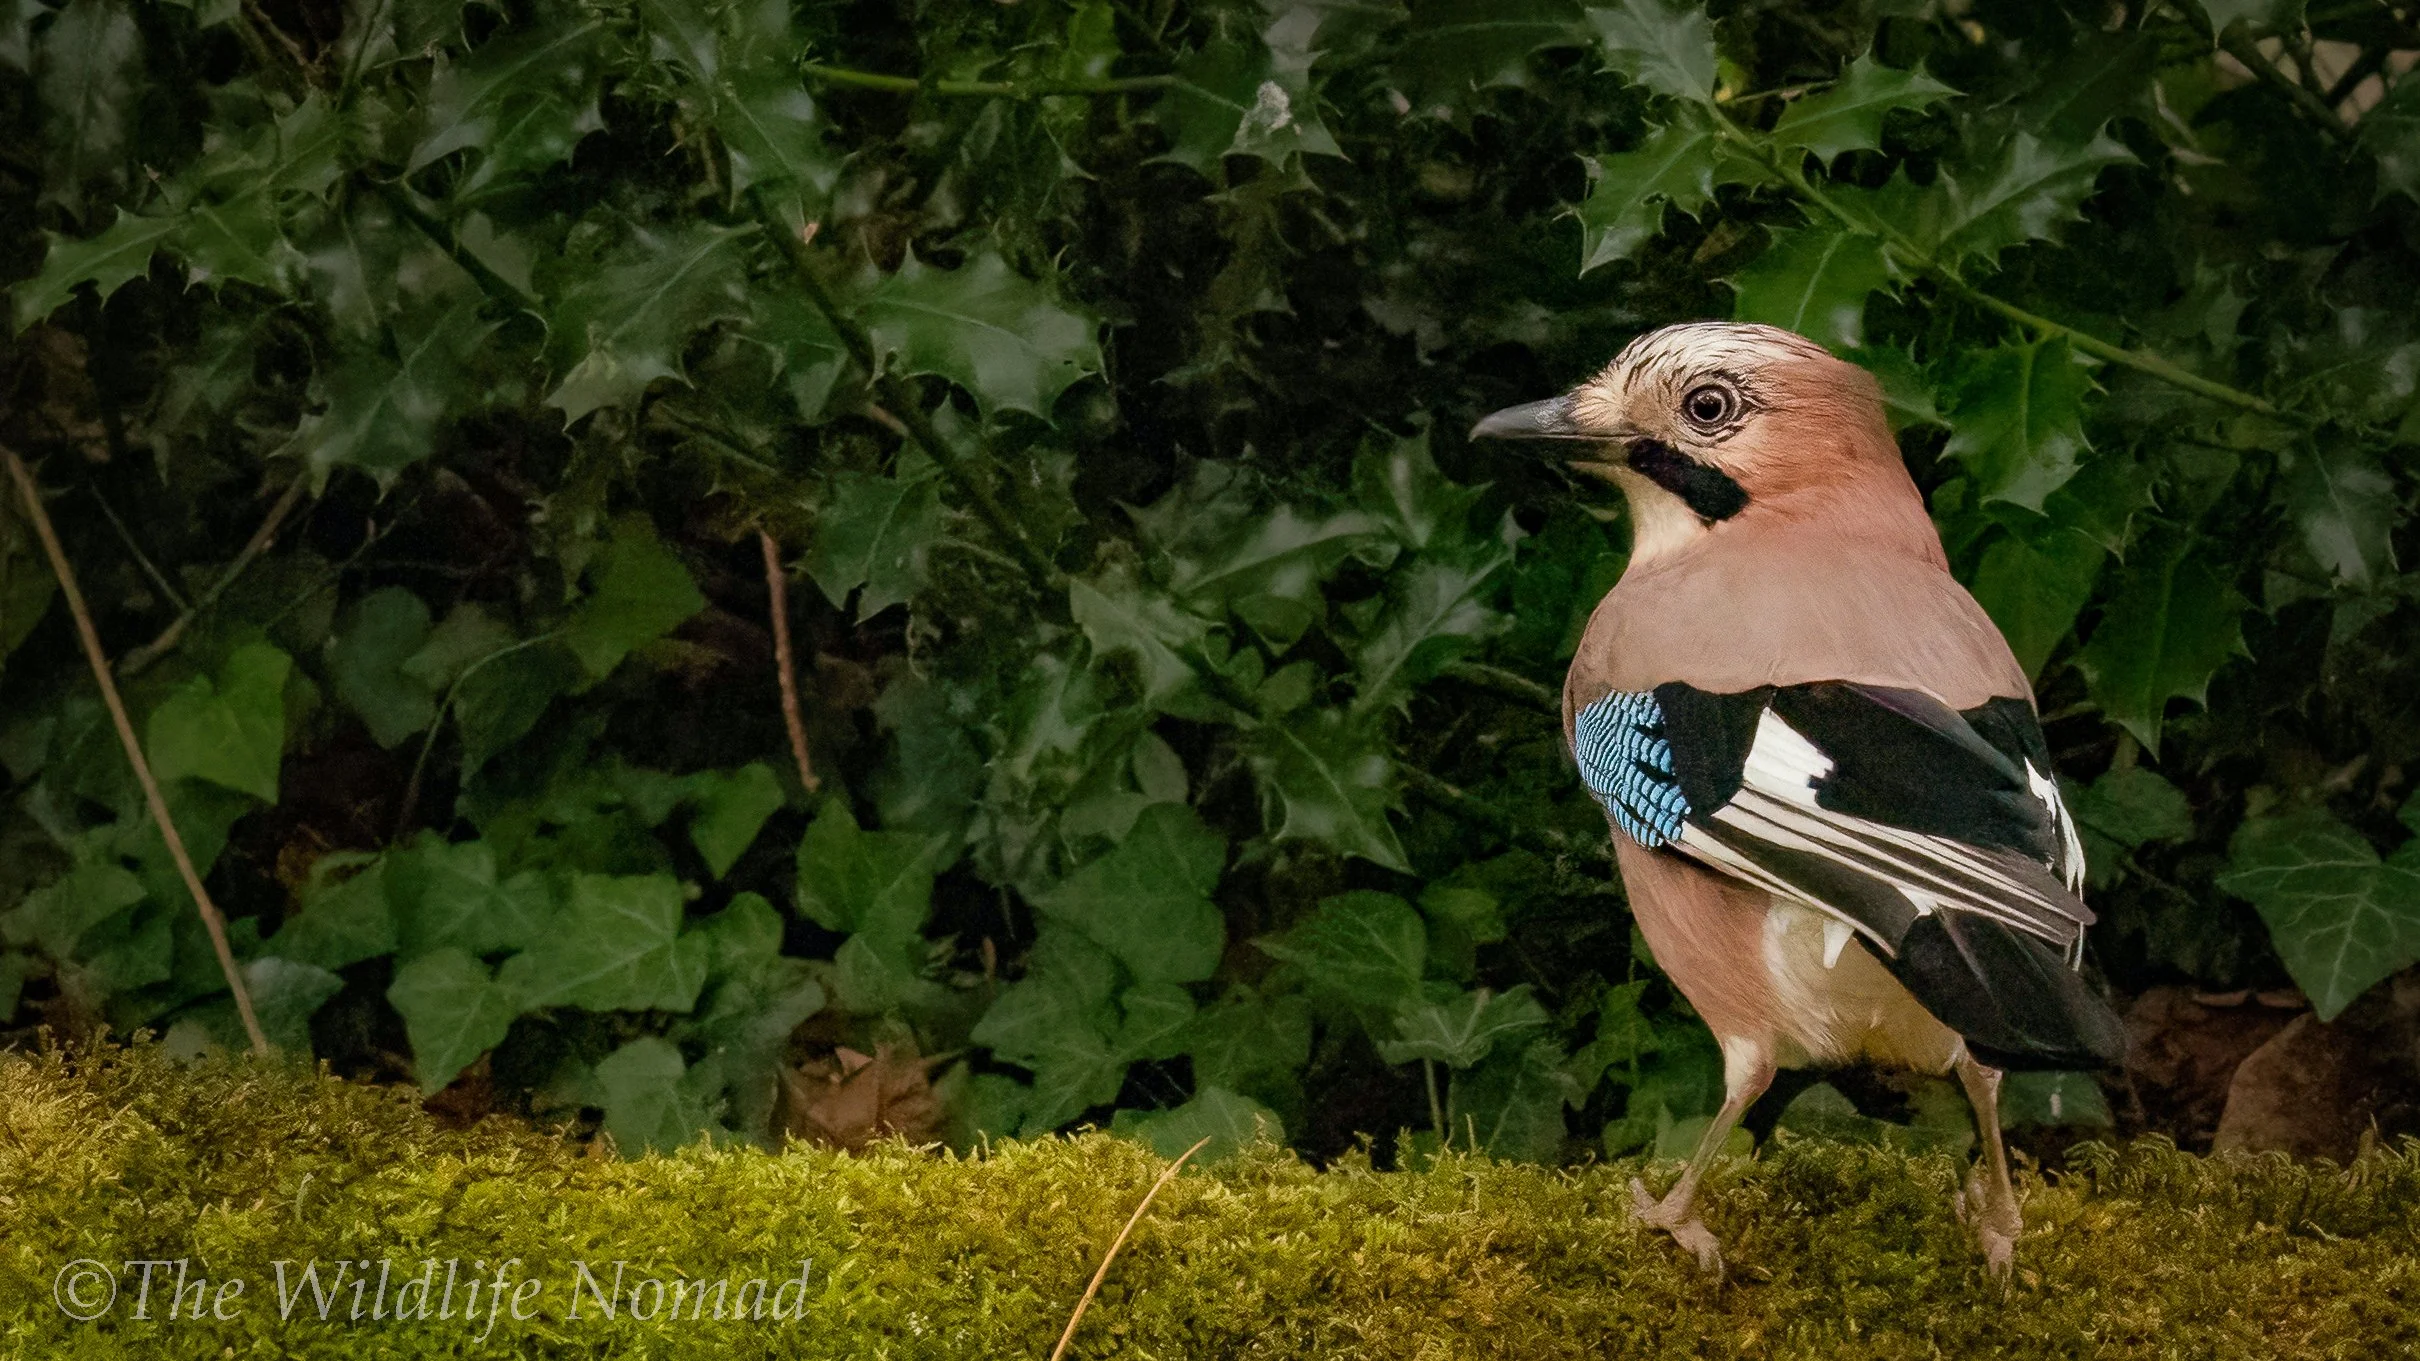
Garden or Park
Bird feeders attract finches, tits and robins that make perfect subjects for early learning. Practise focusing on the eye and experimenting with shutter speeds.
Local Patch
Adopt one small area — perhaps a riverbank or meadow — and visit it repeatedly through the seasons. You’ll start recognising individuals and predicting behaviour.
Urban Wildlife
Foxes, pigeons and even rats offer fascinating practice opportunities. Understanding urban species builds confidence and timing skills that transfer everywhere.
Seasonal Projects
Spring: garden birds nesting, frog spawn in ponds.
Summer: butterflies and dragonflies in sunlight.
Autumn: deer rut, migrating thrushes, changing foliage.
Winter: woodland mammals, frost and tracks in snow.
Learning how to practise wildlife photography close to home teaches consistency. It’s not the location that makes a photograph powerful — it’s your connection to it.

Affordable Upgrades That Actually Matter
When you’re ready to invest, focus on improvements that serve technique and comfort.
Tripods and Hides
A solid tripod or a pop-up hide allows longer observation sessions without fatigue. Stability improves sharpness far more than a new camera body.
Sound Recorders and Field Notebooks
Record calls and jot field notes. Understanding behaviour deepens both photography and appreciation.
Second-Hand Lenses
Many professionals buy used. A good 300 mm f/4 from a trusted dealer can last a decade.
Protective Clothing
Quiet fabrics, waterproof trousers and neutral tones will help you blend and stay in the field longer — worth more than an extra stop of aperture.
Camera Cleaning Kit
Invaluable and has saved many a session for me. Some simple alcohol wipes, a blower, a lint free glasses cloth, a small screwdriver. It doesn’t need to be much and ready made kits are available on Amazon.
Composition, Light and Storytelling
Technical control is only half the craft. The rest lies in seeing.
Work with the Light
In the UK, golden hours around dawn and dusk bring warmth and texture. Overcast days are perfect for soft portraits and rich colour.
Backlight can transform even common species — a haloed squirrel tail, a robin’s breath on a cold morning. Learn to expose for highlights and embrace shadow.
Think About the Story
Ask yourself what the photograph says. Is it about movement, mood, habitat, or intimacy? Framing the subject within its environment often tells a richer story than a tight crop.
Background and Line
Watch your backgrounds — clutter distracts. Use shallow depth of field or change position to simplify. Lead the viewer’s eye using natural lines like branches, paths or ripples.
Patience Over Perfection
Many of your early images will fail technically — that’s normal. What matters is learning why. Each misfire teaches you something about timing, light or behaviour.
How to Improve Without Disturbing Animals
Improvement doesn’t require closer proximity, it requires deeper understanding.
Read the land: note where food sources are, how animals move at dawn and dusk.
Work on timing: arrive earlier, stay later, let the world settle.
Observe first, photograph later: spend one outing simply watching through binoculars.
Review ethically: after each session, ask yourself whether the animal changed behaviour because of you.
Learning how to improve wildlife photography skills without disturbing animals is what sets apart the mindful photographer from the impatient one. The goal isn’t proximity, it’s trust.
Building Experience and Community
Wildlife photography can be solitary, but it doesn’t have to be isolating.
Join local nature groups or wildlife trusts. They offer workshops and access to reserves where you can practise respectfully.
Follow ethical photographers, study their approach to patience and storytelling, not just their gear.
Volunteer in conservation projects, you’ll gain field knowledge that no tutorial can replace.
Share responsibly online: credit organisations, mention conservation issues, and invite others to learn.
Every encounter you share is an opportunity to advocate for the species you photograph.
The Mindset That Sustains You
Patience is the currency of wildlife photography. Expect long waits, missed shots, and days when the woods seem empty. These are not failures; they are part of the rhythm of wild places.
To sustain your enthusiasm:
Set process goals, not outcome goals: aim to spend two quiet mornings each week observing, not to “get a photo.”
Celebrate presence: a morning of silence in a hide is never wasted.
Keep a field journal: note weather, wind, species seen. Patterns reveal themselves with time.
Remember why you began: connection, not collection.
As you grow, your photography will shift from simply recording animals to telling their stories. That’s when you’ll find your voice — and your responsibility.

Your First Ethical Photography Plan
Month 1 – Observation
Choose one local area. Visit at different times of day, take notes on light, sound and animal activity.
Month 2 – Practice
Bring your camera, work in aperture priority or manual with auto ISO. Focus on sharp eyes and clean backgrounds.
Month 3 – Fieldcraft Focus
Practise moving silently, reading wind, and using cover. Photograph less, watch more.
Month 4 – Reflection
Review your images. Which worked? Which failed? Why? Start a portfolio folder with your best five shots.
Month 5 – Ethical Refinement
Read about local species protection laws, join a conservation group, and commit to photographing without disturbance.
Month 6 – Storytelling
Create a small photo story around one species or place — your “local patch project.” Share it online with context, behaviour notes, and conservation insight.
By following this routine, you’ll have built both skill and integrity — two things that no amount of equipment can replace.
Final Thoughts: Where Ethics and Artistry Meet
Starting wildlife photography is not about instant success. It’s a slow apprenticeship — one that teaches respect as much as skill. If you take only one message from this guide, let it be this: let wildlife reveal itself to you. Spend time outdoors, learn how wind and light shape behaviour, and photograph only when the animal is relaxed. This approach yields not just better pictures but a deeper sense of connection. You don’t need to travel far. You don’t need perfect light. You only need attention — and patience……….and when you finally capture that first moment — a kestrel hovering in dawn light, a badger snuffling in leaf litter — you’ll know the image was earned honestly.
That’s where true wildlife photography begins.
Watch. Wait. Protect.
——————————————————————
Frequently Asked Questions (FAQ)
What gear do I need to start wildlife photography?
You don’t need expensive equipment to begin wildlife photography — but you do need the right tools for the job. A camera with good autofocus and a decent burst rate is ideal, paired with a telephoto or zoom lens (around 100–400 mm is a great starting point). Invest in spare batteries, large memory cards, and a comfortable bag or harness. More important than the gear itself is learning how to use it and understanding your subject’s behaviour and habitat. Fieldcraft and patience always outperform money spent on kit.
Can I start wildlife photography close to home?
Yes. Some of the best early experiences come from photographing local species — garden birds, foxes, squirrels, even insects. Wildlife photography isn’t about exotic animals; it’s about slowing down and observing what’s already around you. Working close to home also allows you to revisit locations, learn patterns, and develop your fieldcraft skills without long trips or expensive gear.
Which camera settings are best for wildlife photography?
There’s no single setting that works for everything, but a few principles help:
Shutter speed: Use fast speeds to freeze movement (1/1000 s or faster for birds or mammals).
Aperture: A wide aperture (f/4–f/5.6) isolates your subject from the background.
ISO: Keep ISO low for image quality, but raise it in poor light to maintain shutter speed.
Focus: Use continuous autofocus (AI Servo or AF-C) to track moving animals.
Manual mode with Auto ISO is an excellent option for beginners — it gives control over shutter speed and aperture while letting the camera adjust exposure automatically.
How can I make my wildlife photos more creative and compelling?
Composition separates an average photo from a memorable one.
Get down to eye level with your subject for intimacy.
Use the rule of thirds to position your subject dynamically.
Watch your backgrounds — clean, uncluttered scenes make wildlife stand out.
Focus on behaviour or context, not just portraits.
The best wildlife photographs tell a story — about the animal, the place, and the fleeting moment you shared.
How can I practise ethical wildlife photography?
Ethics are the foundation of good wildlife photography. Never disturb animals or alter their natural behaviour for a photograph. Avoid baiting, playback calls, or approaching nests, dens, or roosts. Move slowly, stay quiet, and know when to back off. Respect seasonal sensitivities — during breeding or winter survival periods, disturbance can be fatal. Leave no trace, and remember: your presence should never come at the expense of your subject’s welfare.
What are the biggest mistakes beginners make?
Common beginner mistakes include:
Focusing too much on equipment instead of observation.
Getting too close and disturbing the subject.
Shooting in harsh midday light instead of early or late in the day.
Forgetting to check the background and surroundings.
Taking hundreds of photos instead of waiting for the decisive moment.
Wildlife photography is as much about patience as it is about timing. Slow down, watch, and let wildlife reveal itself.
Can I make money from wildlife photography?
Yes — but usually not straight away. Many photographers start by selling prints, contributing to stock libraries, or writing articles alongside their images. Building a portfolio and reputation takes time, consistency, and a recognisable style. Focus first on creating meaningful, authentic images and sharing them regularly; income opportunities tend to follow as your skill and audience grow.
What’s the best way to learn wildlife photography?
Spend time in the field. Watch animals before trying to photograph them. Learn their habits, tracks, and behaviour patterns. Study light — how it changes through the day and transforms a scene. Practise composition and exposure at every opportunity. Read widely, learn from others, and review your own work critically. The more time you spend outdoors observing, the faster your photography — and your understanding of wildlife — will improve.
How do I stay motivated when I’m not seeing results?
Every wildlife photographer faces long quiet periods. Use them to practise technique, test settings, or learn new sites. Keep a field notebook, record what you notice, and celebrate small encounters. Remember: the purpose isn’t just the photograph — it’s connection, patience, and learning. Every day in nature brings you closer to your next great image.