
Fieldcraft for Photographers: How to Read Microhabitats and Find Wildlife With Confidence
Introduction: The Small Places Where Wildlife Reveals Itself
We often think of habitat on a broad scale………woodland, farmland, marsh, moor. But wildlife doesn’t use these big habitats evenly. Animals move between tiny pockets of warmth, shade, cover, food and shelter. These are microhabitats, and they shape daily behaviour far more than the wider landscape.
Once you start noticing them, the outdoors feels different. Runs make sense. Feeding patches link together. Resting places reveal patterns. The more you read these small clues, the easier it becomes to predict how wildlife will move and where it will pause, which is exactly where good photography happens.
What Is a Microhabitat?
A microhabitat is a small part of a bigger habitat where conditions shift in a way animals find useful. Slight differences in temperature, moisture, cover, safety or food can influence where an animal feeds, rests, watches or moves.
Typical examples include:
the shady, sheltered foot of a hedgerow
a warm, sunlit bank on a winter morning
a root plate offering both cover and a vantage
a tunnel through bramble
a damp patch where worms rise
an ivy-covered oak rich in berries
soft soil beneath a fallen tree
the dry top of a hummock in a wet pasture
a warm boiler outlet or chimney stack
Each one supports a particular behaviour. The task is linking the type of microhabitat with the behaviour it encourages.
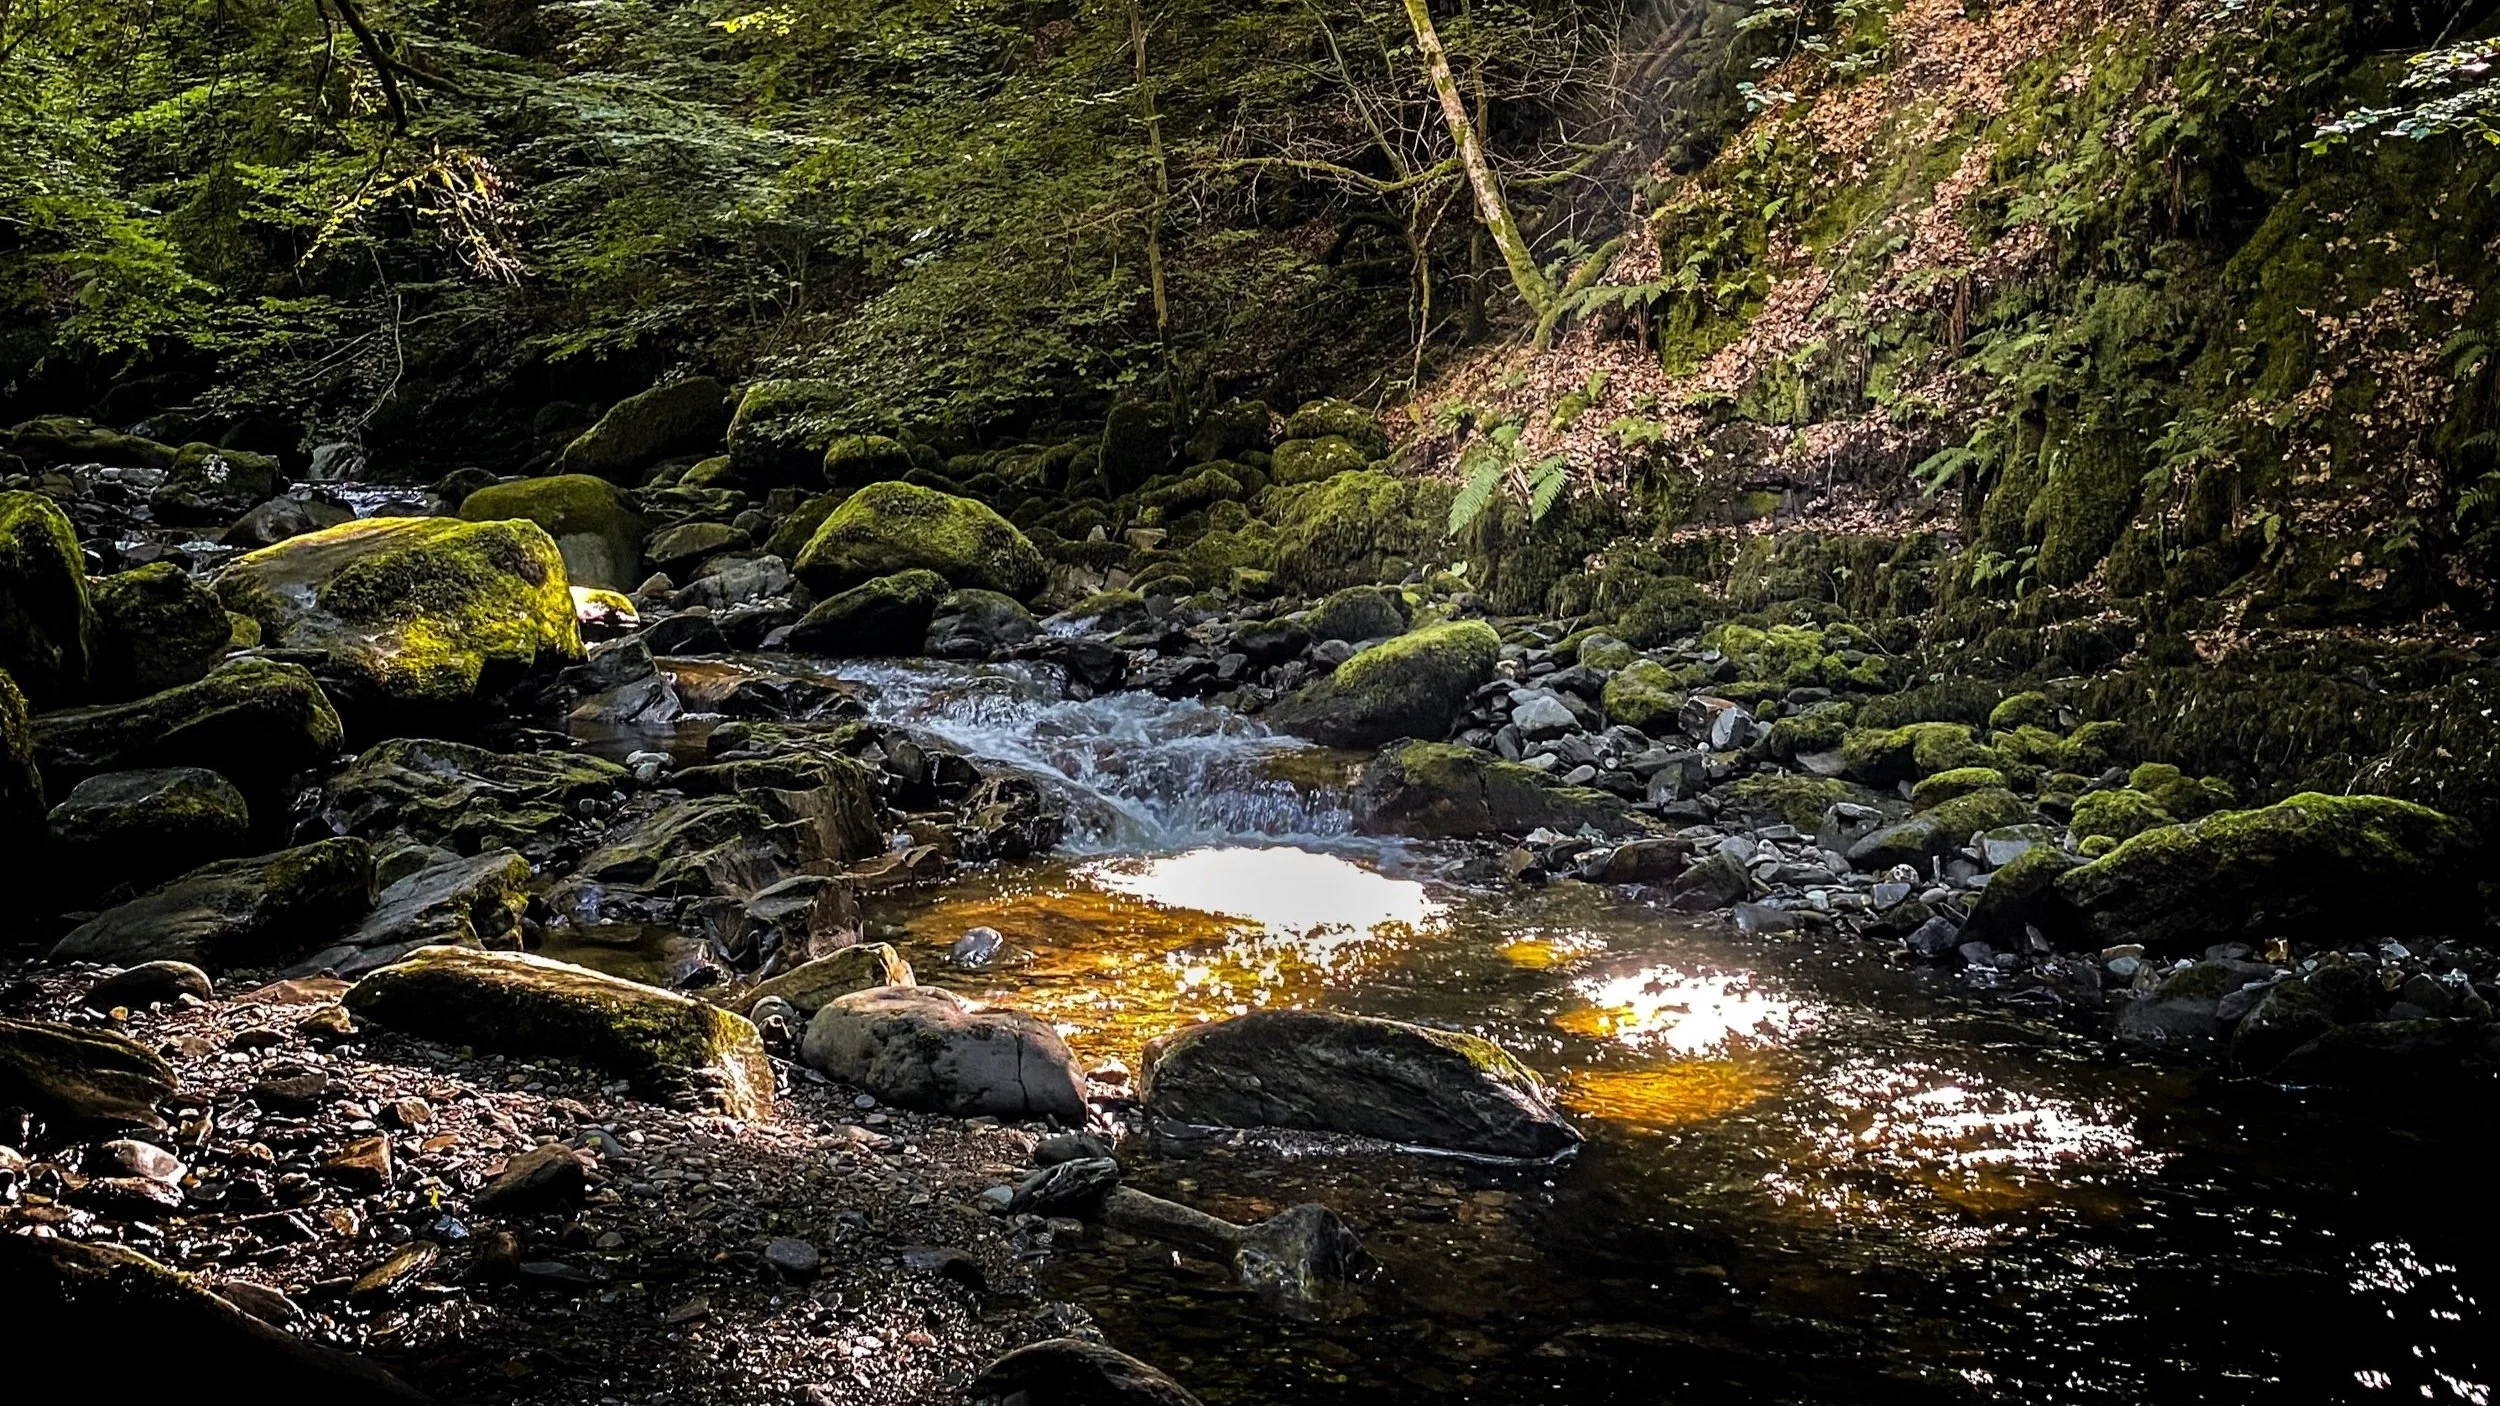
A Field Example: The Lane at Greenwood
Along the lane near our home at Greenwood, I began noticing fresh vole runs weaving through the banks. Tits and thrushes were feeding hard on the hawthorn above them. Over time, I realised this narrow strip had become a hunting corridor. Tawny owls were using it at night, and sparrowhawks drifted low along the same line during the day.
The whole sequence (voles, songbirds, then predators) was anchored to one simple microhabitat: a sheltered, food-rich lane edge. Nothing about it was immediately obvious. The pattern only revealed itself by walking slowly and paying attention to the smaller spaces.

Why Microhabitats Matter for Wildlife Photography
1. Wildlife slows down in specific places
Animals move through much of the landscape quickly. Microhabitats are where they feed, rest, listen, scent mark or pause — the exact moments a photographer hopes to witness.
2. They guide you to better vantage points
Understanding why an animal uses a spot helps you position yourself with cleaner angles, better light and lower impact.
3. They help you avoid sensitive areas
Resting places, denning cover and territorial markers all show up as microhabitats. Recognising them prevents accidental disturbance.
The Four Microhabitat Types to Focus On
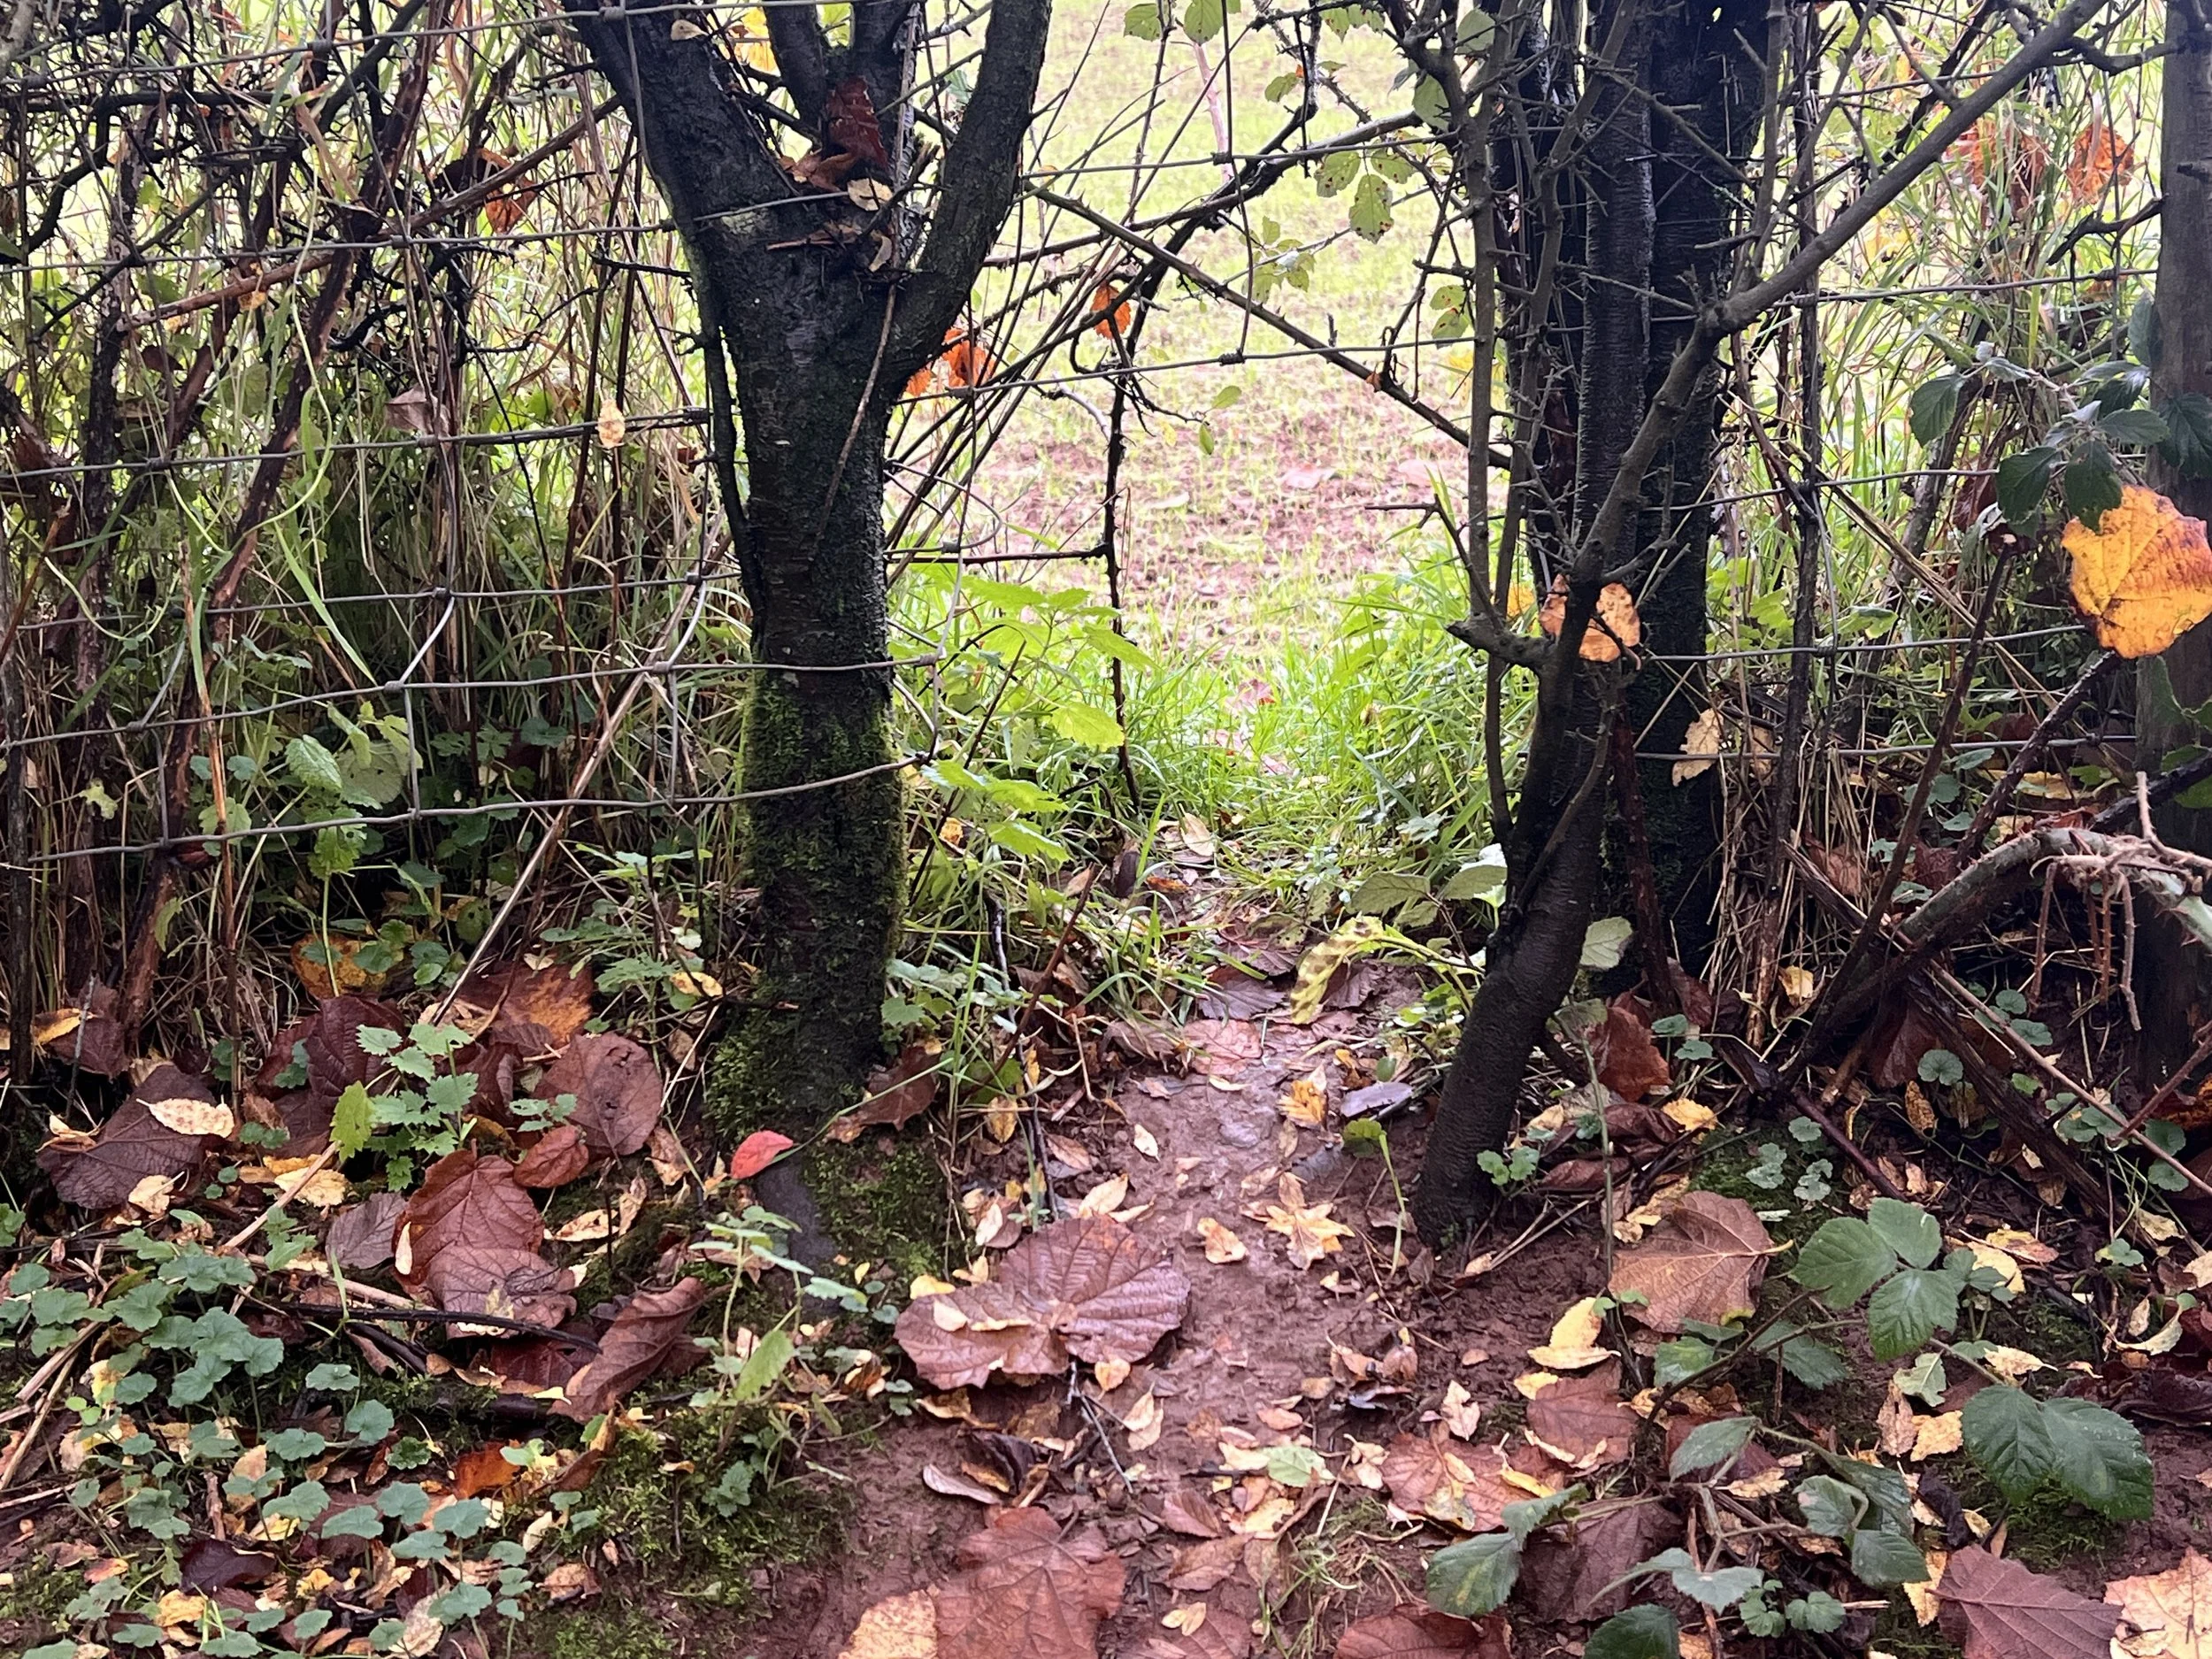
1. Movement Microhabitats — Hidden Highways
These are the routes wildlife uses to move safely and efficiently:
hedgerow bases
ditch lines
fence gaps
bramble tunnels
woodland rides
riverbanks
field margins
Typical signs:
flattened grass, narrow tunnels, fresh tracks after rain, hair on lower barbed wire, smooth soil from repeated use.
Photography potential:
Movement microhabitats reveal predictable crossing points and allow you to set up offset from a run, not on it.
A Field Example: Badger Bedding
One spring, I found a line of hay dragged across a field and into a sett entrance about 40 feet away. Badgers had collected bedding and pulled it under the fence, leaving hair on the lower wire, smooth soil patches and fresh tracks in the soft ground. By following the microhabitats (feeding patch → bedding source → fence crossing → sett approach) I could watch the clan later from a distance, without putting pressure on them. A few subtle signs were enough to map the entire routine.
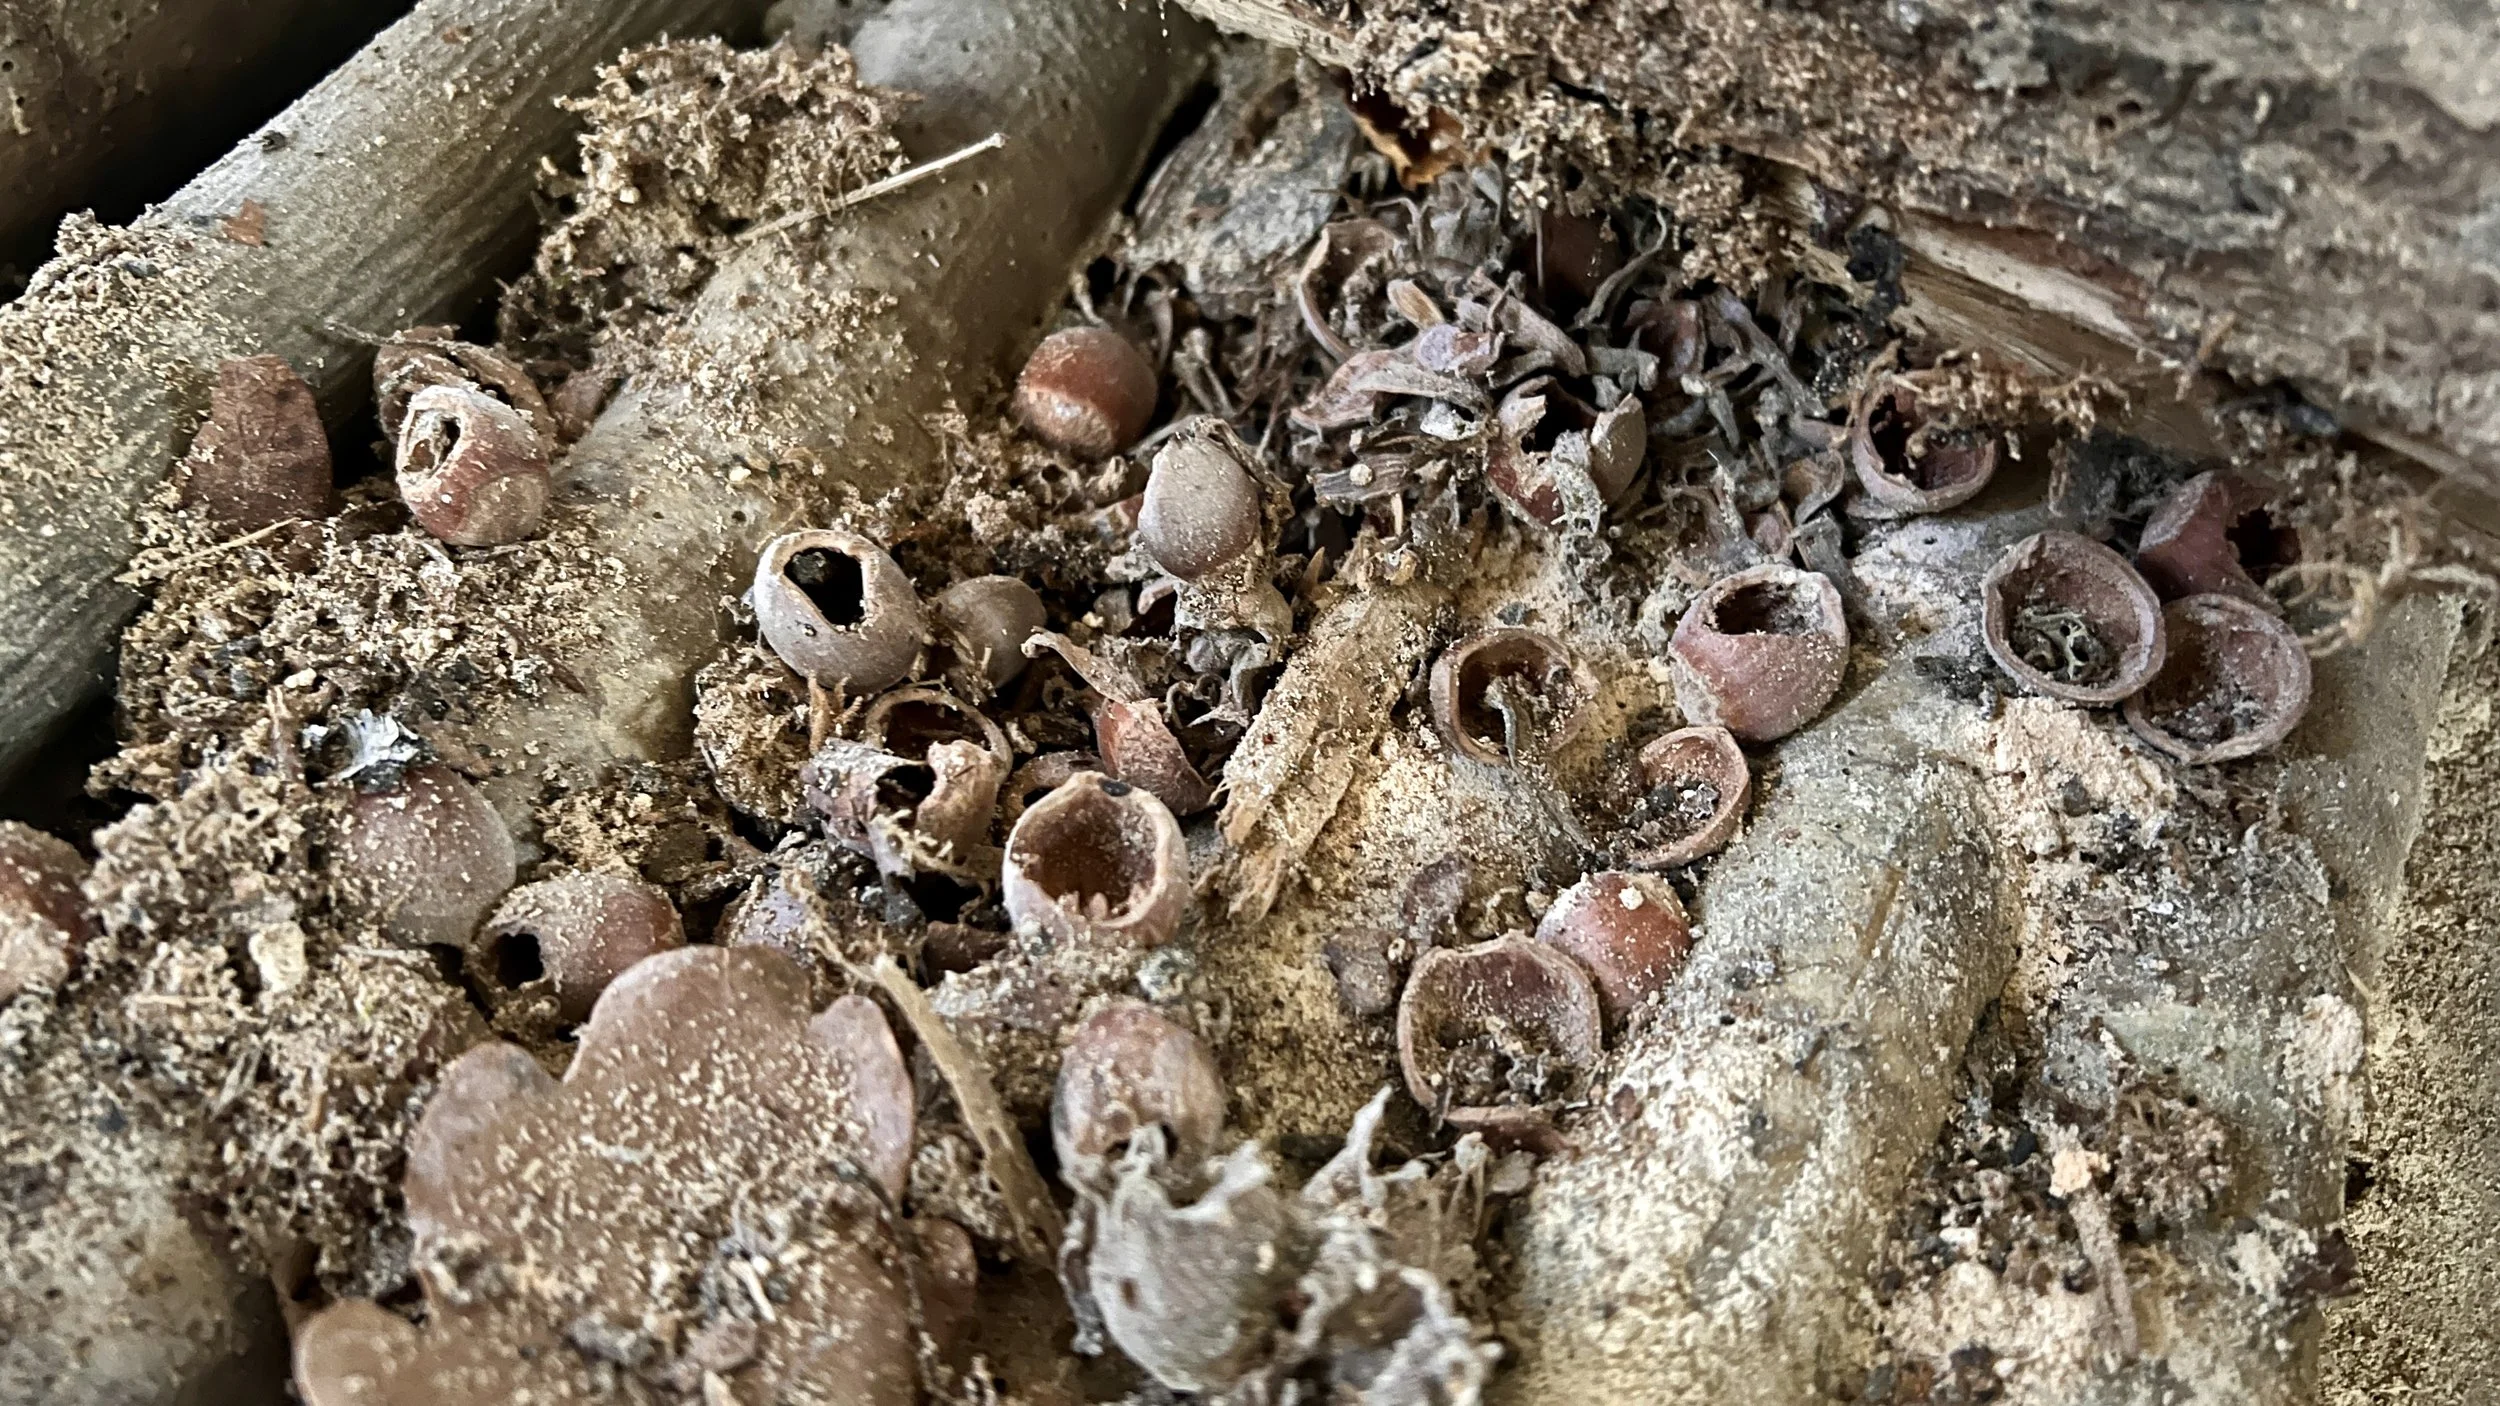
2. Feeding Microhabitats — Routine Activity Zones
These are small patches where food is predictably available:
rotting logs
mast-rich woodland floors
worm-rich damp grass
orchard edges
berry-filled bramble arcs
reedy margins
shallow muddy edges full of invertebrates
Typical signs:
Look out for feeding signs, some of which are in this blog post: Fresh digging, husks, raked leaves, stripped vegetation, partial tracks, trails leading in and out.
Photography potential:
Predators hunting, deer browsing, birds stripping berries, smaller mammals with fruit, nuts and grains in their paws. Watch for peak feeding times and get yourself positioned well before, ideally at a distance and not blocking routes in or out.
A Field Example: Pine Martens at Le Mas
At Le Mas, the ivy covered oak trees along the central ride become a focal point in late winter. When the ivy berries ripen, pine martens travel confidently between cover and open ground, bounding in that characteristic gait, to feed on the calorie-rich berries. It’s a textbook seasonal feeding microhabitat…….consistent, sheltered and resource-rich.
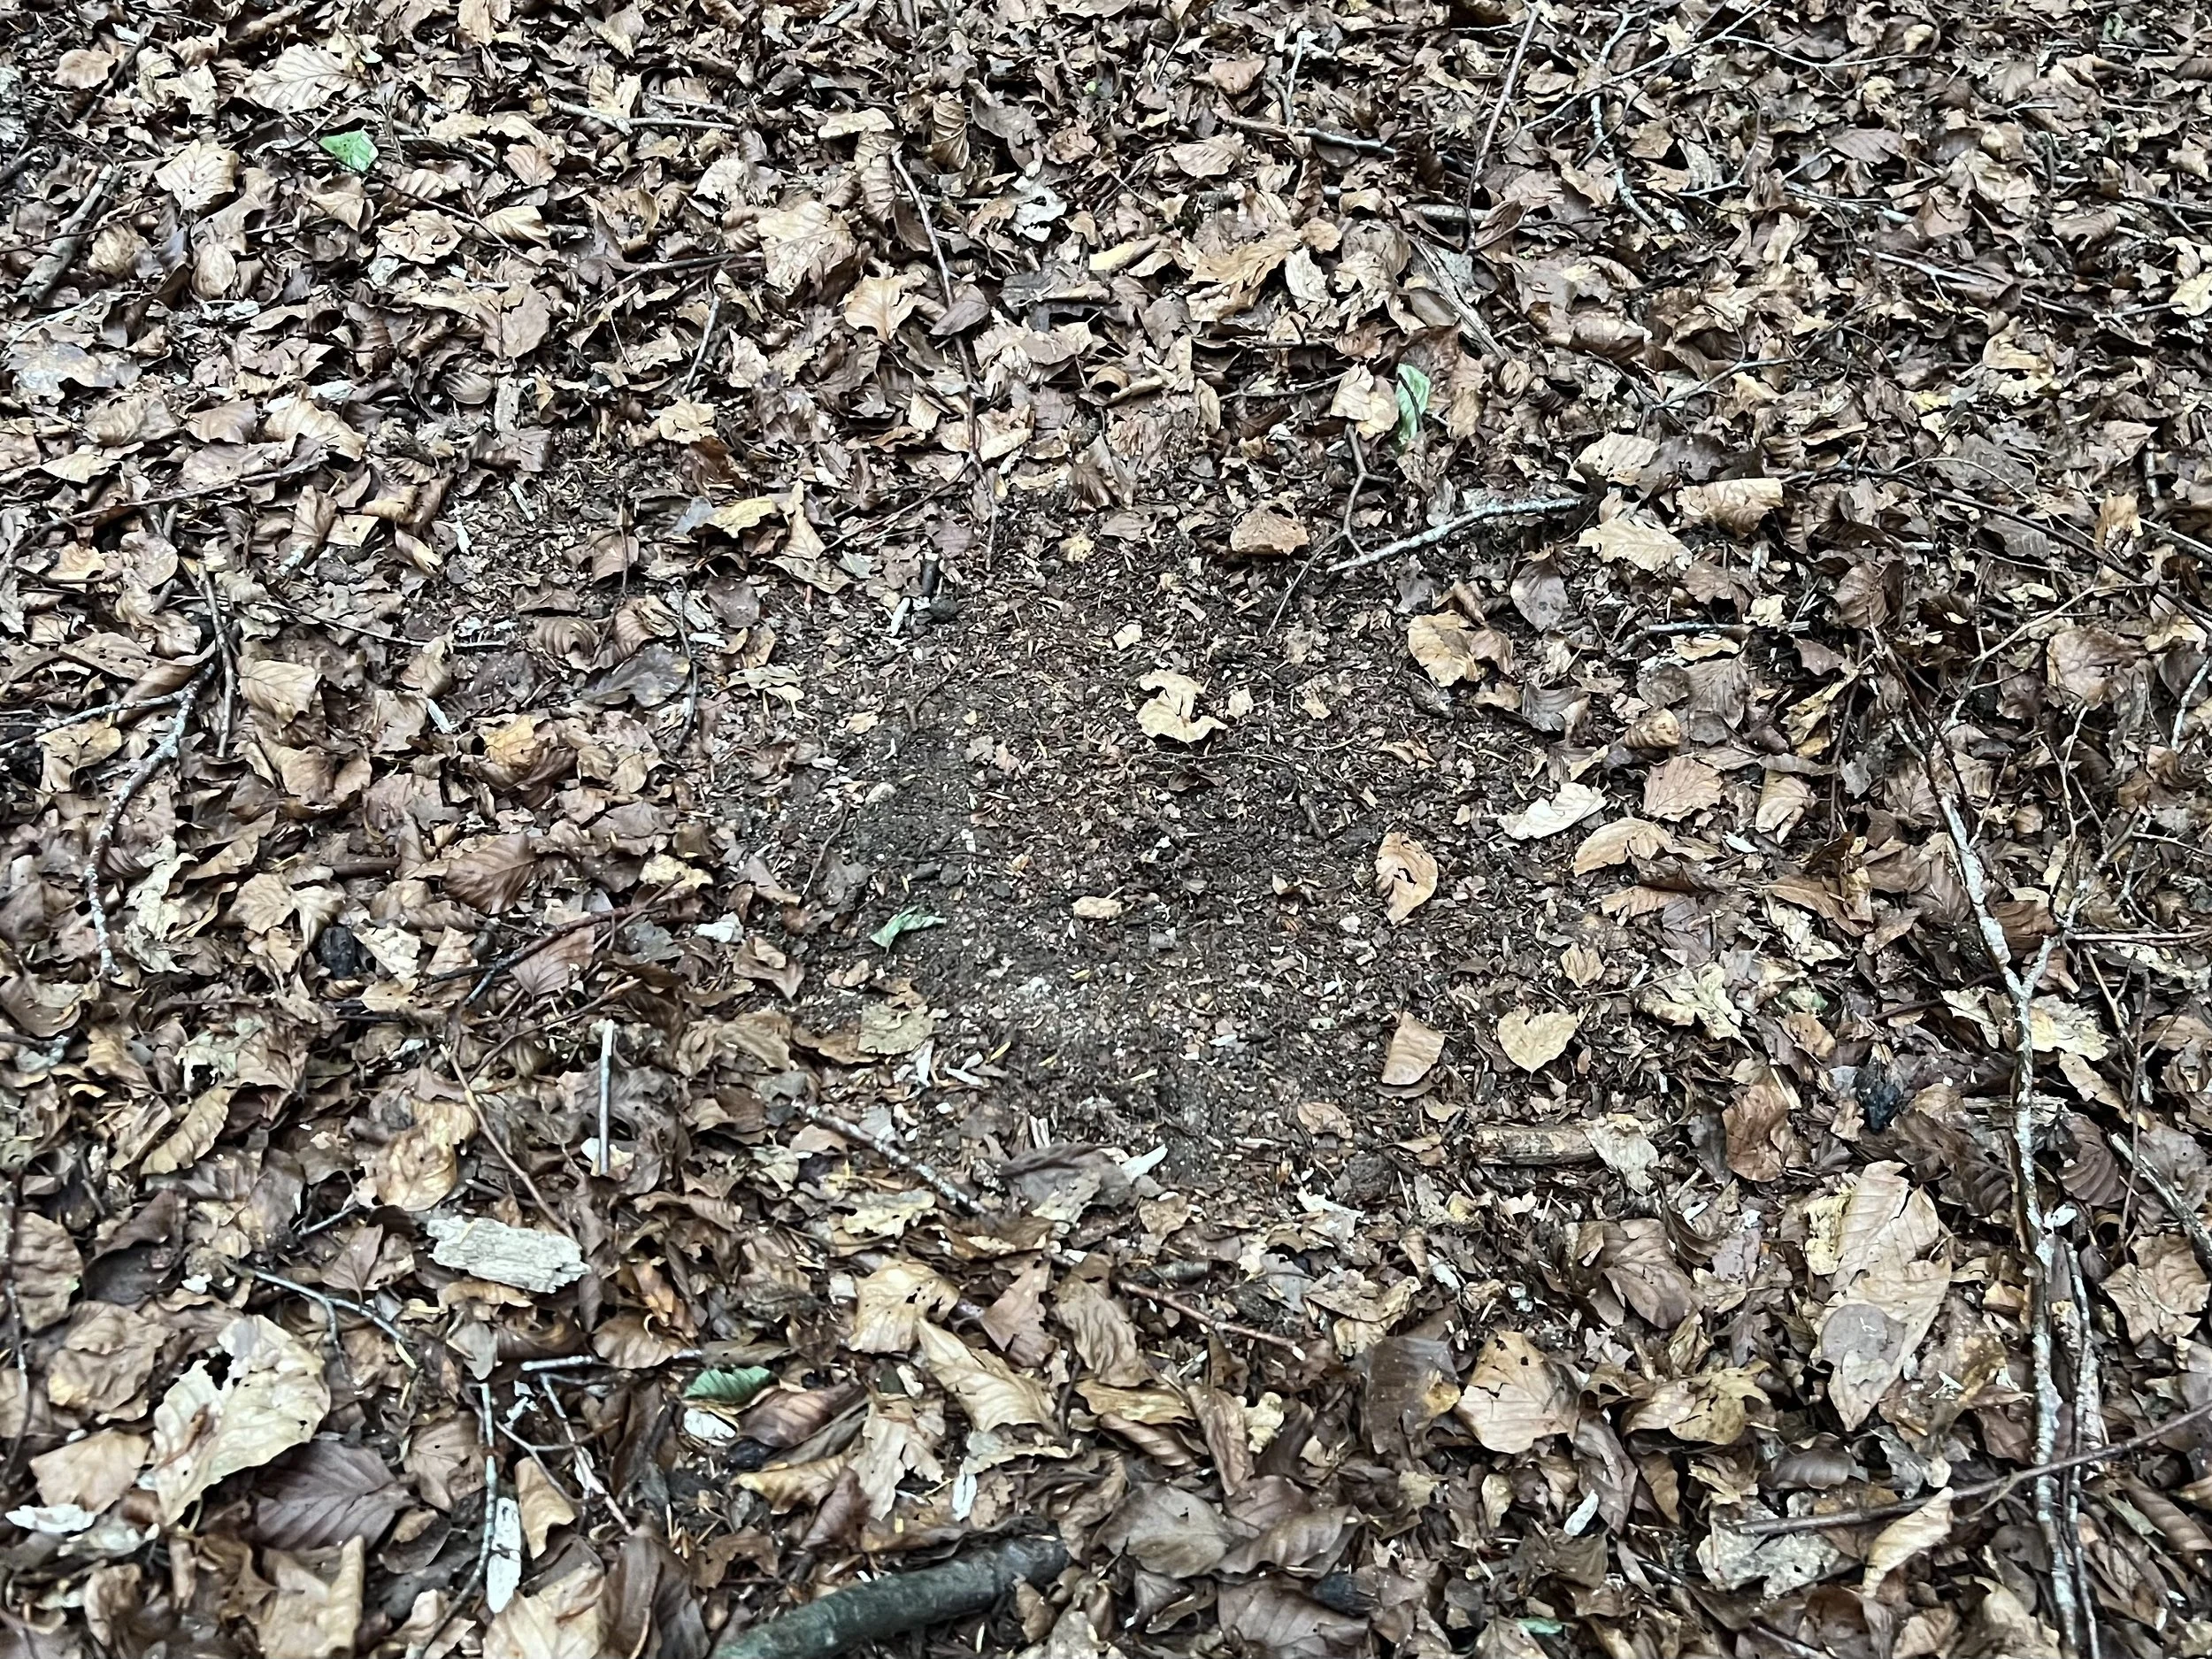
3. Resting Microhabitats — Places of Safety
These are the subtle spaces wildlife trusts for shelter or warmth:
hollows beneath root plates
sun-warmed banks
dry hummocks in wet grass
bramble or bracken cover
shaded corners of hedgerows
woodland spots out of wind and rain
The signs are small: flattened leaves, single hairs on bramble, smooth soil, faint trails. Many photographers overlook resting sites because they expect obvious signs, but in reality these are often the most delicate and easily missed microhabitats in the field.
Photography potential:
Personally I don’t stake out these spots as animals need time and space to rest and recuperate, however if I come across a resting animal I will photograph them quickly and move on. The key is respect, if they notice you, or change behaviour move on. Also bear in mind that some species resting places are protected as much as the animals themselves (for example Otters and Goshawks).
4. Territorial Microhabitats — Communication Points
These are the places animals use to leave messages:
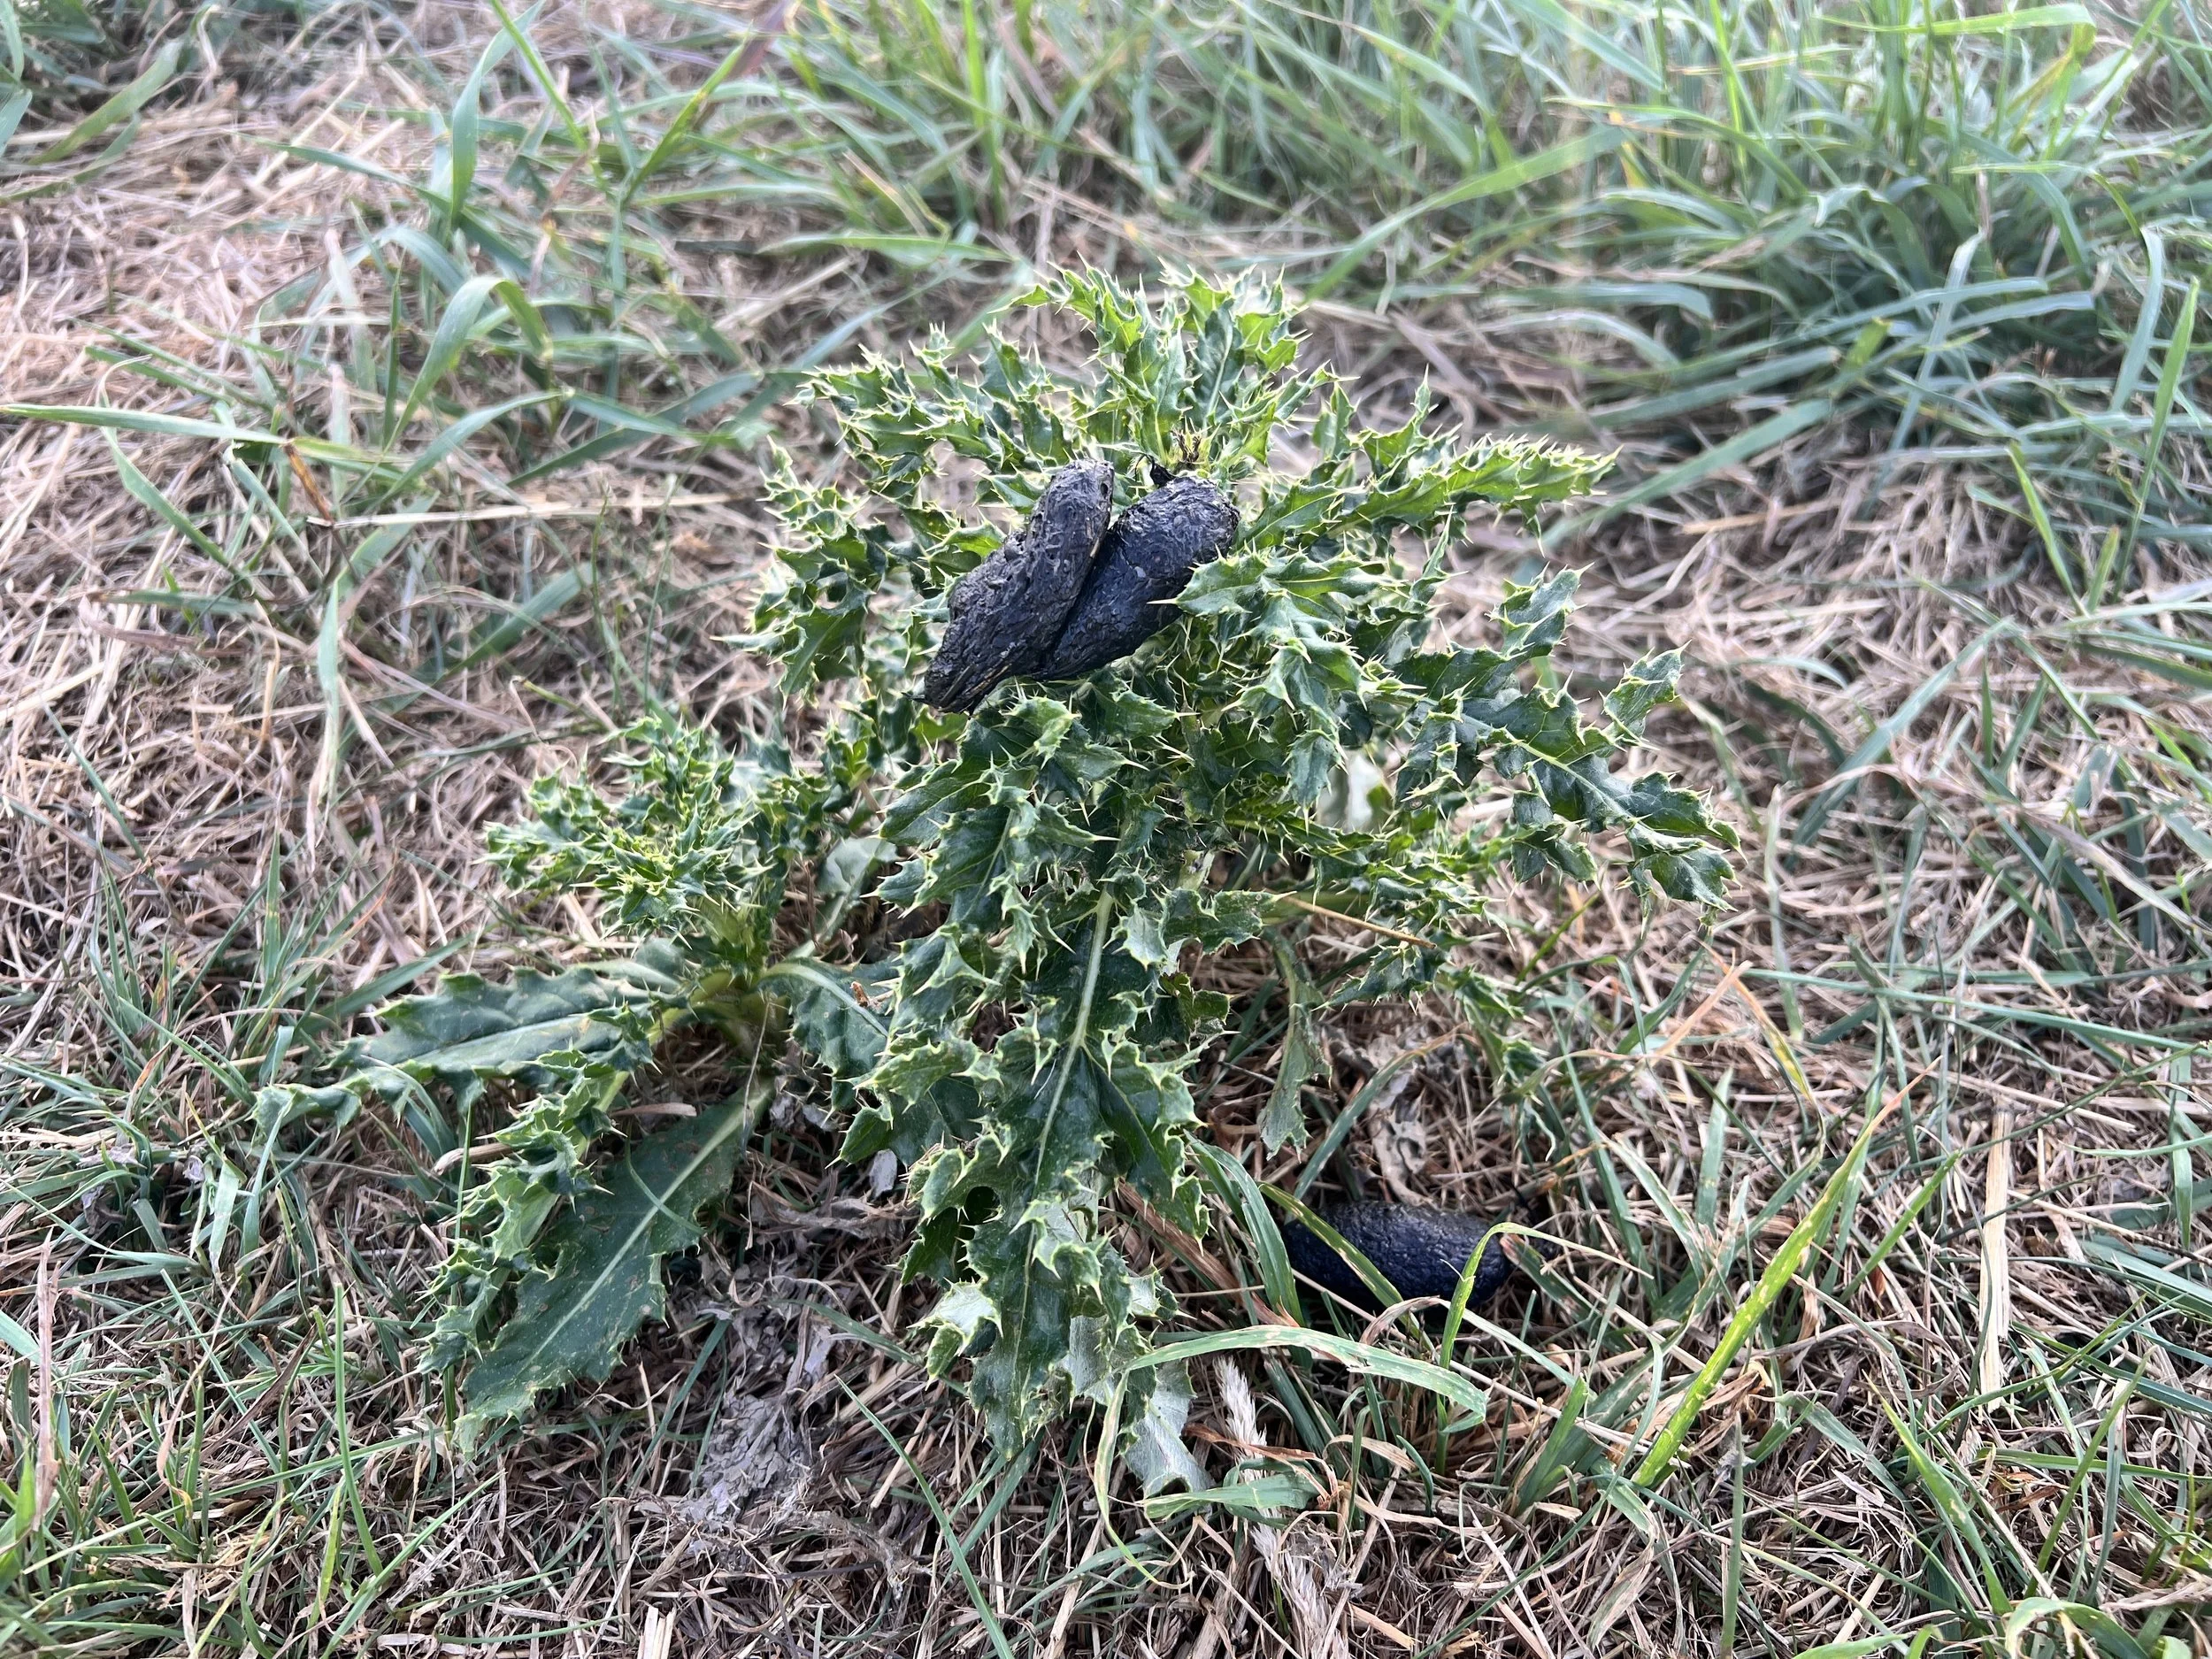
raised scats
latrines
scrapes
bark stripping
scent posts
trampled tussocks
prominent rocks used for marking
They’re excellent for understanding movement patterns, but should never be used as photography positions. Record the scat /scrape/scent post and move on.
How Microhabitats Change With Weather and Season
Microhabitats shift constantly. Some patterns that often stand out:
Rain softens ground and reveals fresh prints under gates. High water can wash away otter spraint; when levels drop, fresh territorial marking appears on exposed rocks and logs.
Frost captures small mammal prints on logs and leaf litter, revealing foraging routes and sometimes the hunting patterns of predators.
Snow allows long-distance tracking of foxes, deer and pine martens, showing major transit routes across territories.
Spring brings bedding collection, new digging and fresh insect activity.
Autumn concentrates wildlife around mast, fruit and rich feeding pockets.
Microhabitats aren’t static. They change with temperature, moisture, food cycles and sunlight. Assumption is one of the quickest ways to miss what’s really happening.
Working Microhabitats as a Photographer
Every photographer has their own preferences, but here are a few strategies that often help:
Think about wind first
Approaching with the wind in your face reduces the chances of being scented.
Work with the sun when you can
Light behind you is useful, but side-light can add atmosphere if you manage scent carefully.
Use natural cover
Banks, hedgerows and height can help break up your outline and keep scent drifting away from wildlife.
Keep a respectful distance
A buffer of around 40 feet is often enough for animals like foxes, martens and badgers to remain relaxed, though this varies by individual.
Document signs quickly
A phone is ideal for recording scat, tracks, feeding remains or quick notes to piece together patterns later.
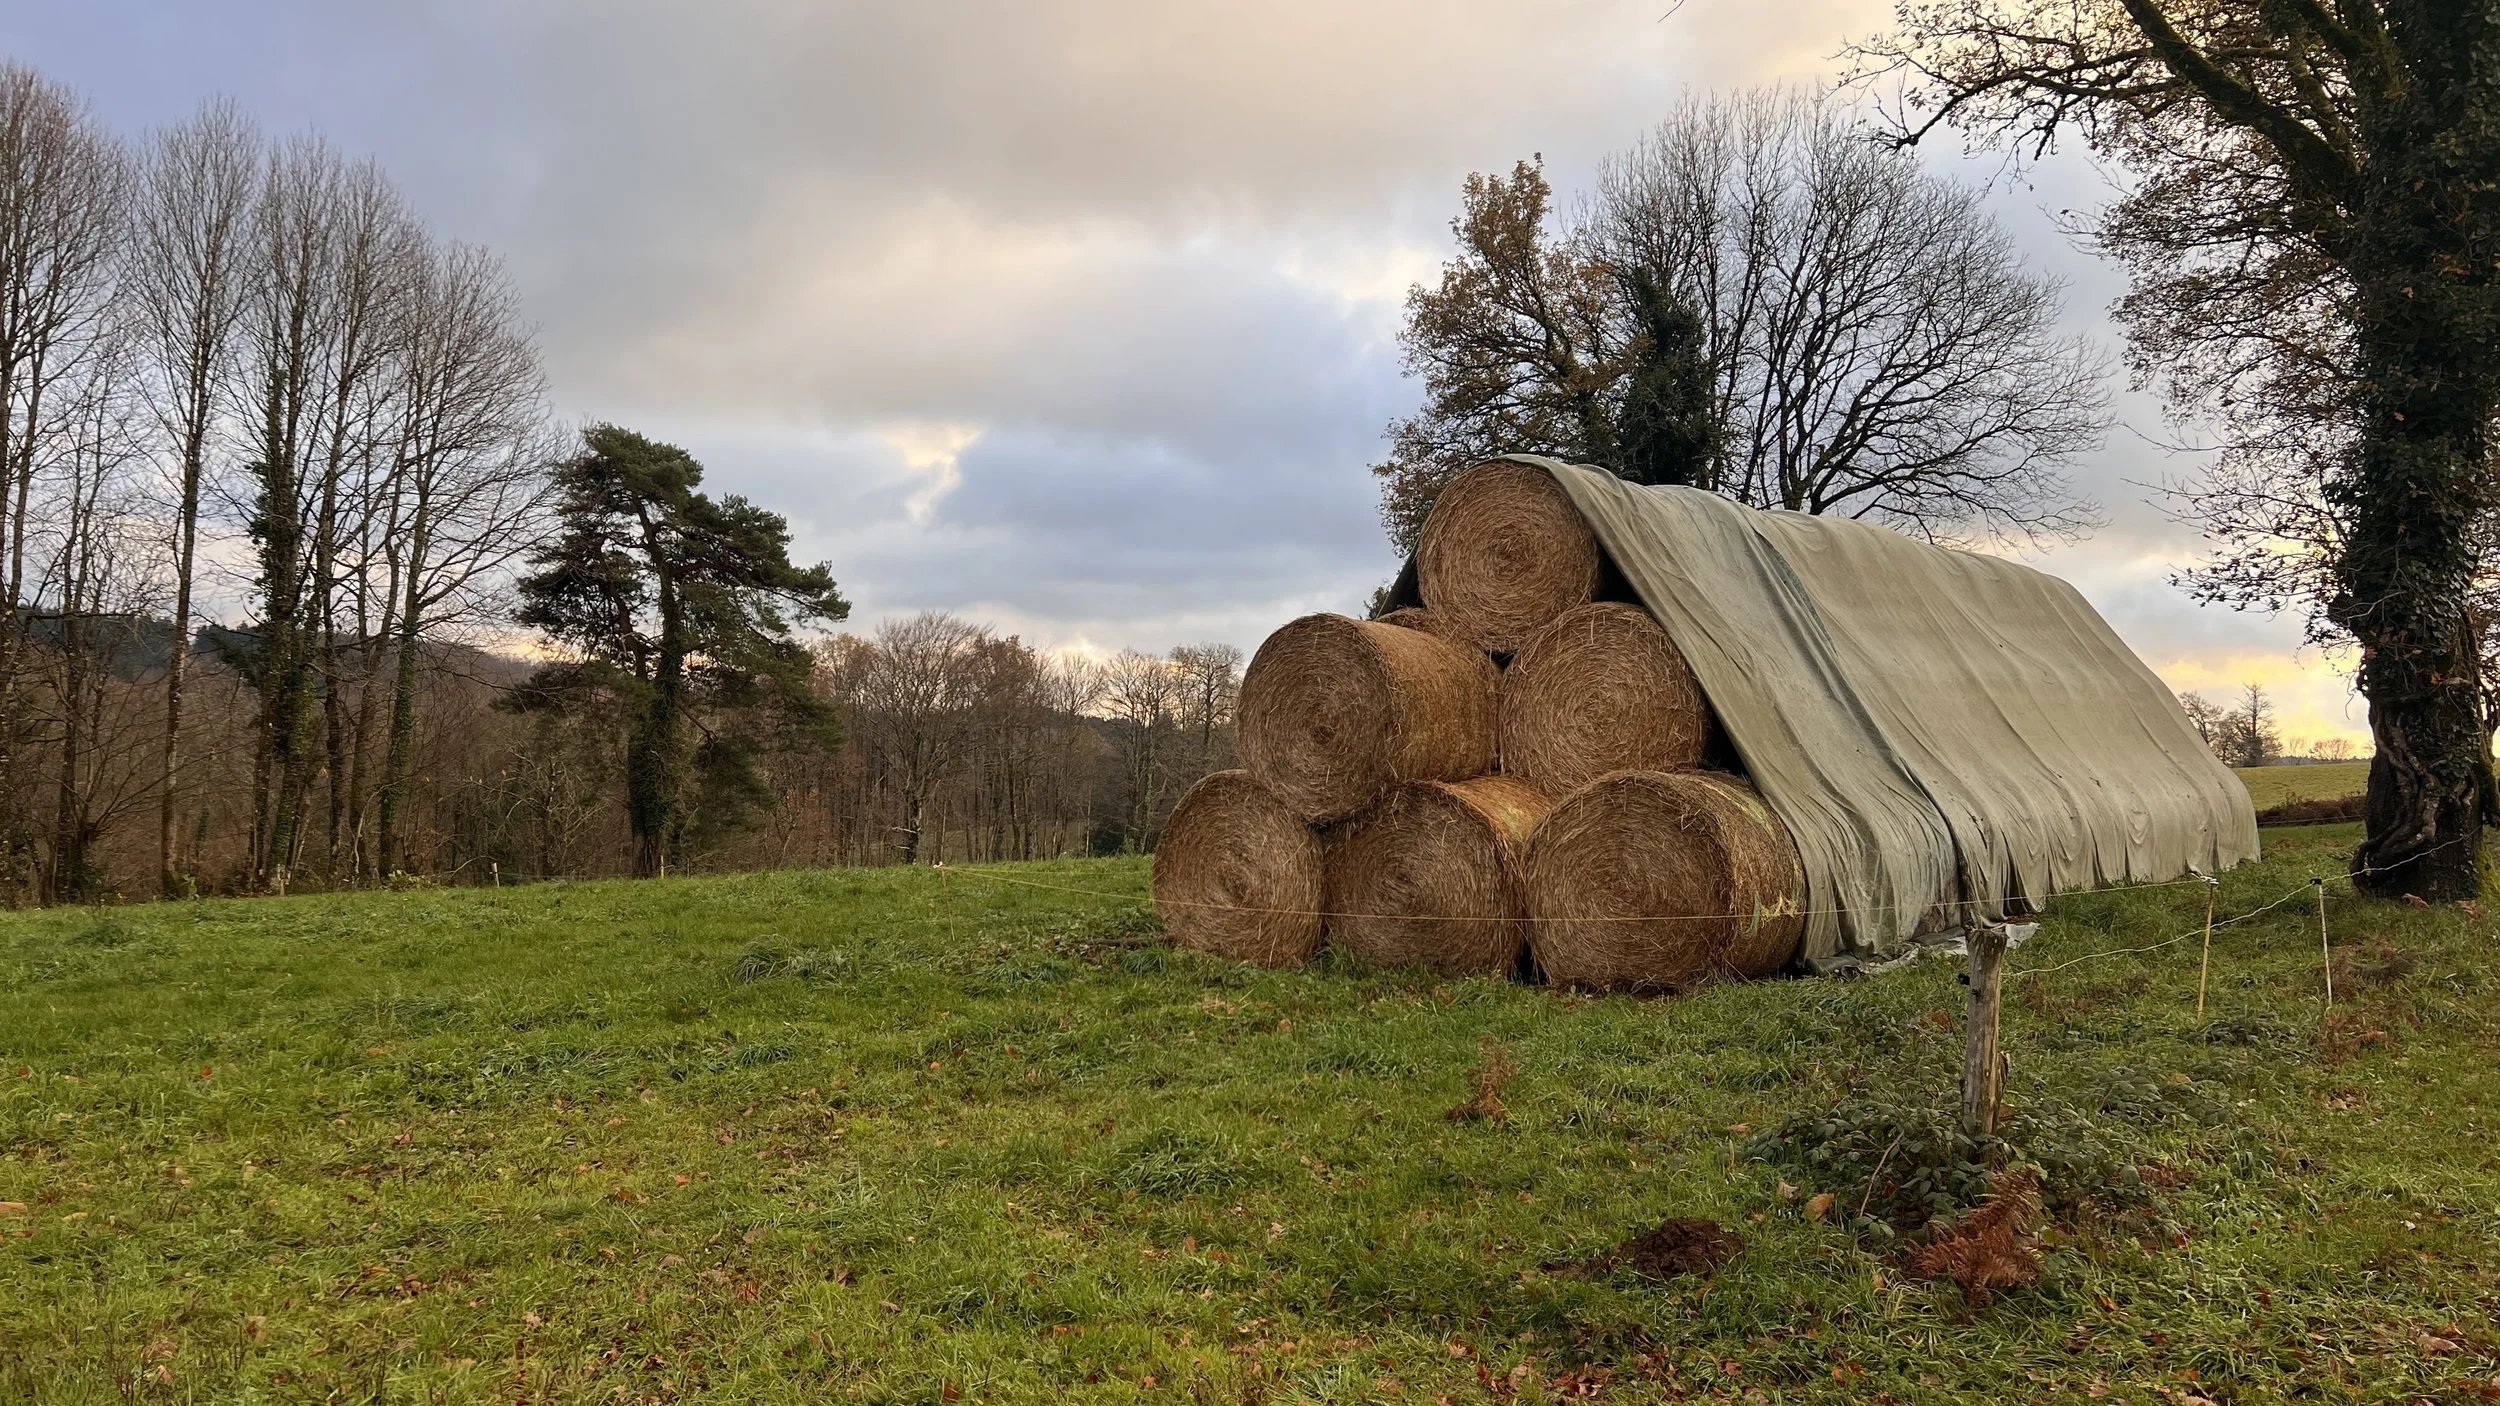
Micro habitats don’t need to be tiny! Wrapped bales are a favoured by rats and mice as a place to nest and feed (off the damp ground, plenty of nesting material, warm and dry) and as a result is also a prime hunting site for many predators.
Ethical Fieldcraft: Let Wildlife Lead
Reading microhabitats comes with responsibility. Getting to know how animals use a landscape makes it easier to minimise disturbance by arriving early, approaching from less intrusive angles, choosing alternative viewpoints, or simply avoiding areas at particular times of the year. Some areas, such as reedbeds used by otters for mating or raising young, resting spots for deer, some den entrances, and nest sites, should be avoided entirely.
A useful habit is to pause regularly and check in with your intentions. If an animal is tense, alert or changing behaviour because of you, it’s worth stepping back or stopping altogether. Many photographers use a simple decision-making pause, asking whether their actions are truthful, humane, informed, necessary and kind (the T.H.I.N.K acronym)
Good fieldcraft isn’t just about getting close, it’s about knowing when to hold back.
Common Mistakes When Reading Microhabitats
A few patterns come up again and again:
Moving too quickly to notice the small signs.
Expecting full, perfect tracks instead of partial impressions or incomplete signs.
Missing broken stems or single bent blades of grass.
Assuming animals use their territory the same way year-round.
Focusing on one side of a hedgerow and ignoring the microhabitats on the other.
Microhabitat reading is slow work. The landscape opens up when you give it time.
Think Like the Animal
Perhaps the most helpful mindset is to pause and ask:
“If I were the animal, why would I use this spot? Why this bank and not that one? Why feed here but rest there? Why travel under this fence instead of the next?”
This shift in perspective makes microhabitats come alive. The more you do it, the more the landscape reveals.
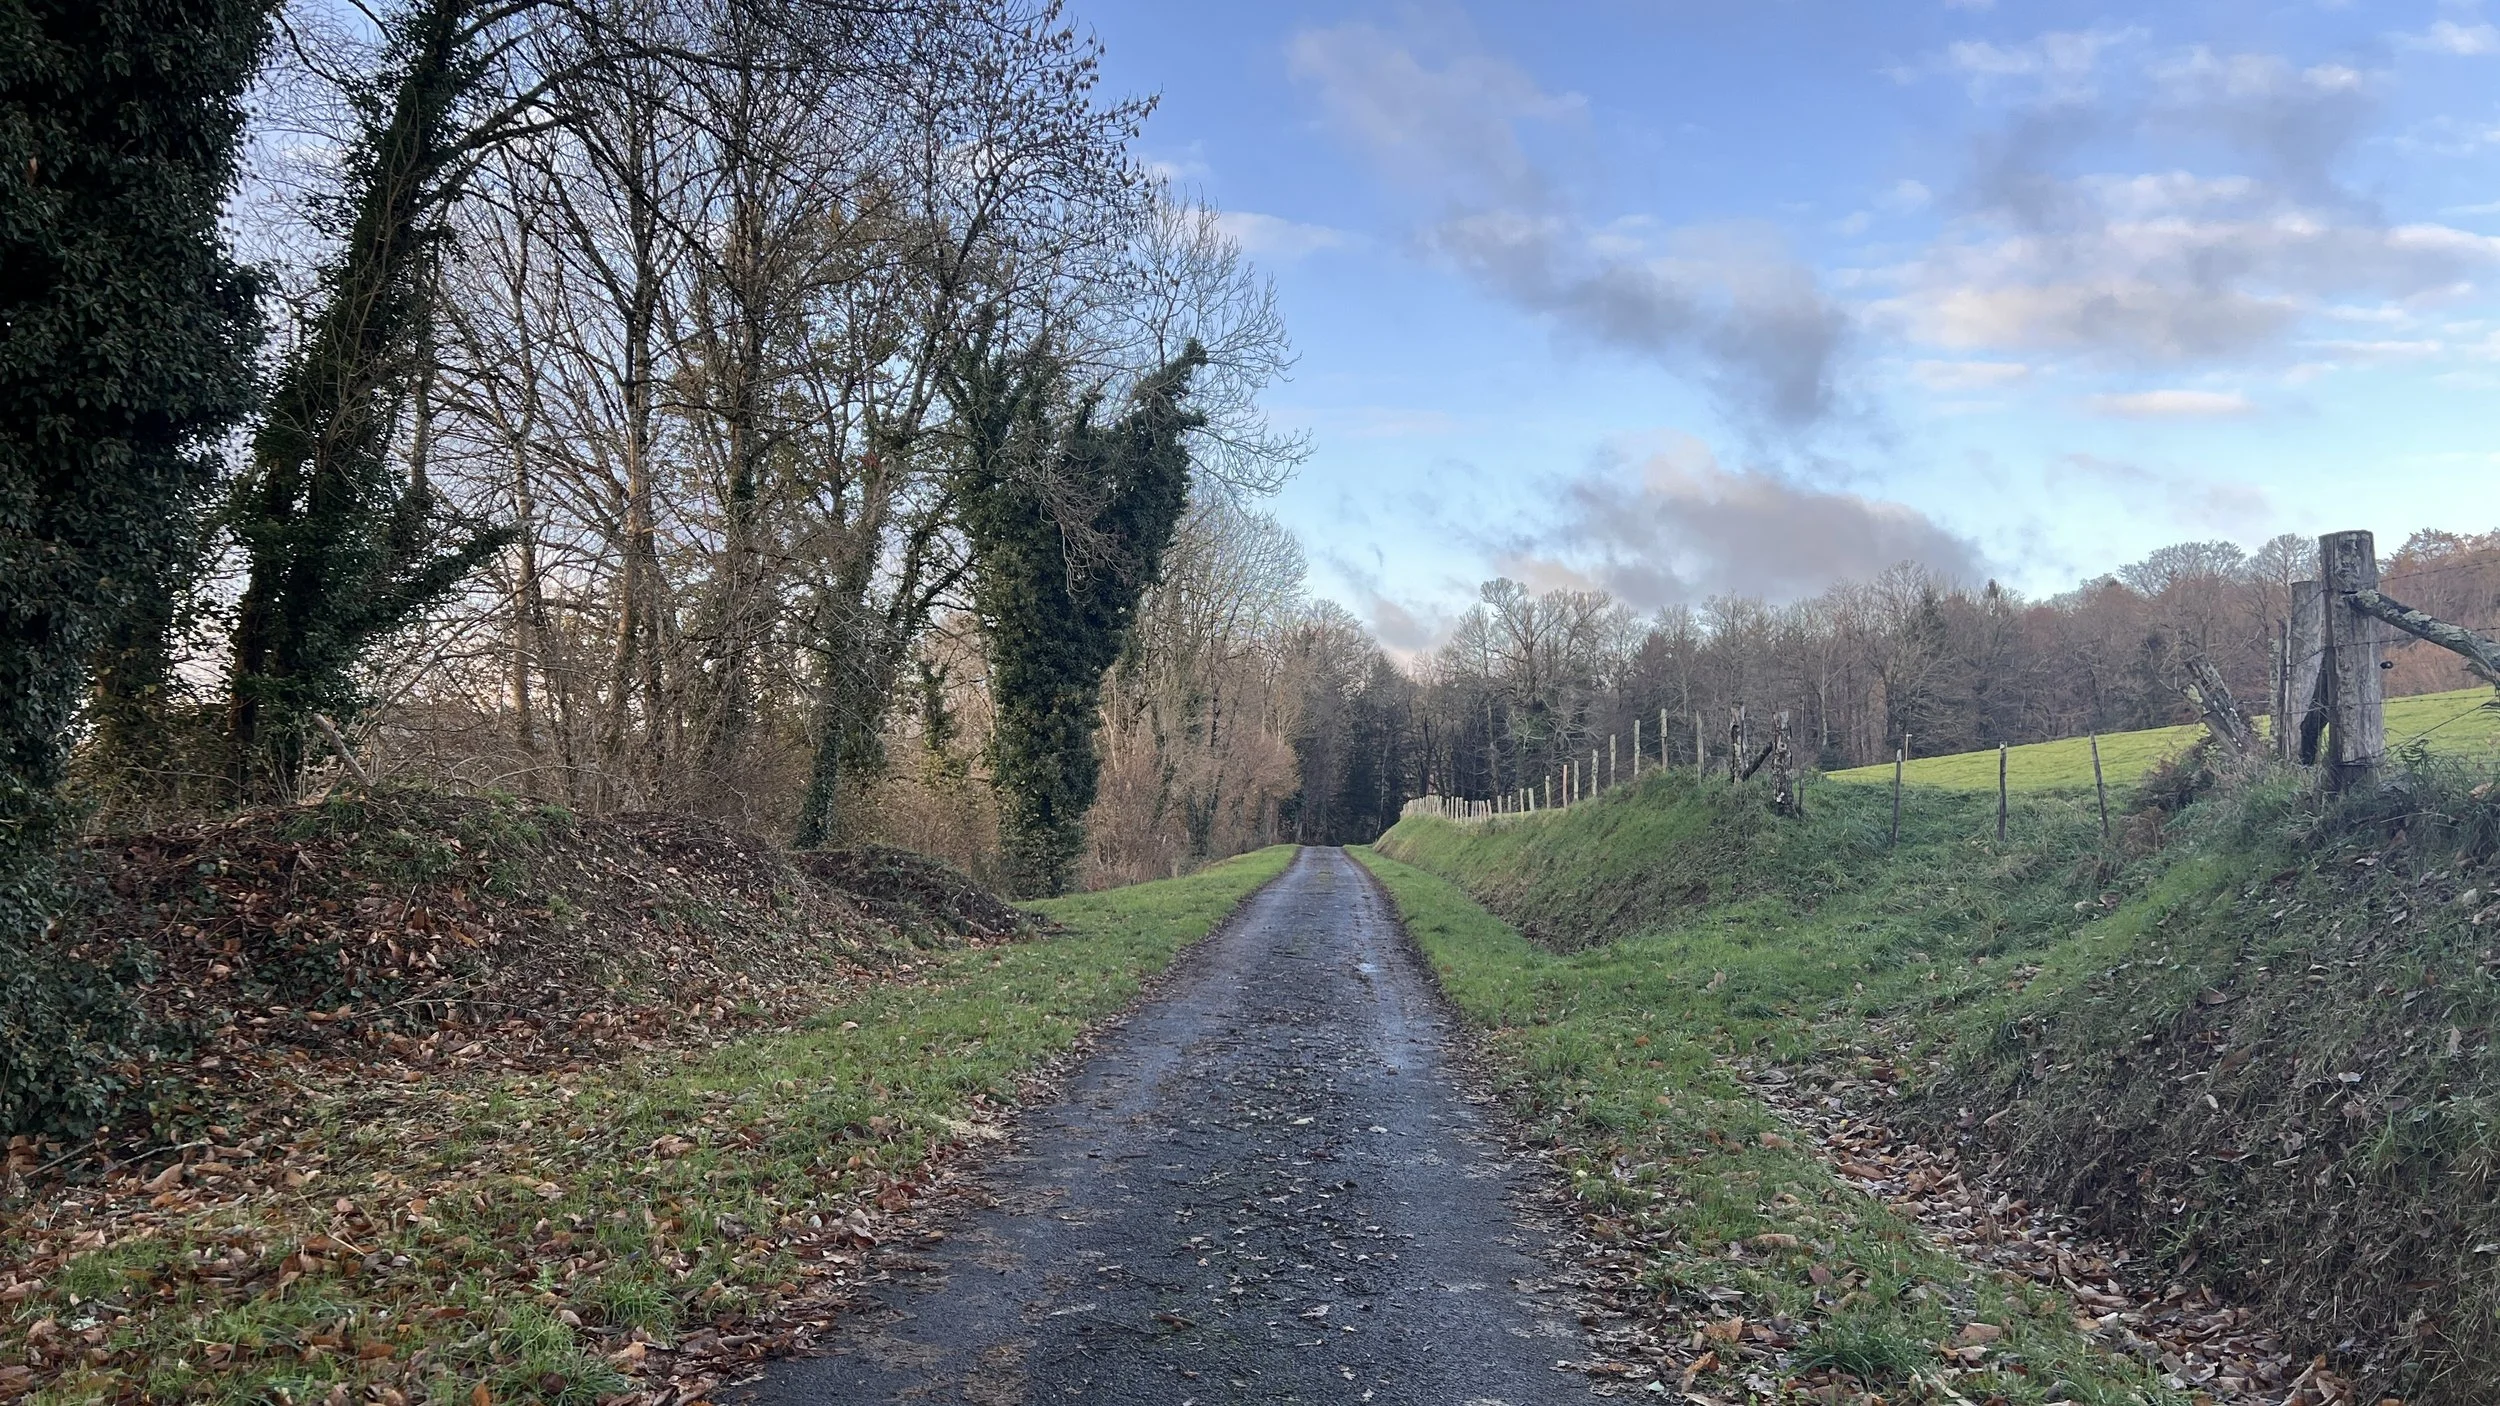
The bank on the left hand side of this image is favoured by resting foxes, mainly because it gets sun most of the day and is a few degrees warmer than the surrounding countryside. However, is also gives a great view of their hunting grounds (the field on the right), and in the opposite direction a view over the entire valley and any potential threats approaching.
Conclusion: Microhabitats Are Where Fieldcraft Begins
Reading microhabitats changes how you see the land. It turns a walk into a conversation with the landscape…….small clues building towards a bigger picture of how wildlife moves, rests, feeds and communicates. It helps you predict behaviour, choose ethical positions and work with the natural flow of an animal’s day.
Slow down. Look small. Let the microhabitats guide you.
Wildlife reveals itself in the quiet places, if you give it time.
—————————
FAQ — Reading Microhabitats & Ethical Wildlife Photography
What’s the best way to choose where to sit when you arrive at a new wood or field edge?
One good approach is to scan for likely microhabitats first: shifts in terrain, hedgerow bases, soft soil, or sheltered banks. Choose a spot that gives you cover, wind advantage, and good light, ideally where the wind is blowing toward you, and where nearby vegetation or terrain breaks your outline. Then move slowly, pause often, and let the landscape “speak.” Waiting a few minutes before raising your camera helps you observe subtle signs like animal routes, droppings or feeding remains without disturbing anything.
How can I tell when a track or print is “fresh enough” to suggest recent activity?
Some of the best clues come from moisture, sharpness of detail and context. After rain or thaw/frost:
Soft soil or mud with clear footprints or bounding marks.
Fine details like claw impressions, dew-drop shine or unsettled leaf litter.
Nearby tracks or feeding signs (like droppings, chewed vegetation, or hair).
If the print is crisp and light hasn’t softened the edges, or if the surrounding ground still holds moisture, it’s a solid sign the animal passed recently it may be worth watching or returning to.
How far should I stay away when observing shy mammals like foxes, badgers or pine martens?
There’s no universal “safe distance,” but a good starting rule in many rural or woodland settings is a buffer of roughly 10–15 m (≈ 30–50 ft). For more cautious species or when using long telephoto lenses, staying further (20–30 m or more) reduces disturbance risk. If an animal shows any alert behaviour (freezing, head lifts, ear flicks, sudden movement), it’s a sign you are too close, slowly increase distance or reposition downwind, then wait to see if normal behaviour resumes.
How does weather affect microhabitat use and when is the best time to look for tracks or signs?
Weather strongly affects both wildlife behaviour and the visibility of signs:
After rain: soft ground, damp banks and under-gate mud often reveal fresh tracks or scent-marking paths.
Following flooding (on rivers, streams, wetlands): water might wash away older spraints or droppings, prompting animals (like otters) to re-mark exposed rocks, creating fresh, visible signs.
During frost or light snow: frost highlights small mammal tracks on logs, leaf litter or muddy paths; snow can make transit lines of deer, foxes or martens more visible over larger areas.
Cold, clear mornings: animals may favour sun-warmed banks or sheltered spots for resting or foraging.
If you tailor your walk to these conditions, your chance of discovering recent animal activity (and photographing it) increases.
How can I build long-term knowledge of a patch rather than rely on random sightings?
Treat any woodland, lane, field margin or wetland as a “project.” Revisit regularly, in different seasons and conditions. At each visit: look for microhabitat signs (tracks, feeding marks, droppings, bedding, scent posts), note weather and wind direction, record time of day. Keep a simple log or visual journal (photos or notes). Over time patterns emerge (when badgers drag bedding in spring, when pine martens feed on ivy in late winter, when owls hunt a hedgerow corridor). Once mapped, these patterns shift the process from chance to informed planning: you’ll know where to go, when to arrive, and where to position yourself to observe with minimal disturbance and greater chances of capturing natural behaviour.