
Camera Smart: How to Master Low Light on the Darkest Days
By November, daylight feels like a ration. The sun never climbs high enough to warm the woods, and by mid-afternoon the world is already dimming. For most people, that’s when the camera goes back in the bag. But if you’re serious about wildlife photography, this is when you learn the craft that matters most, how to make pictures when light is scarce.
Low light strips away comfort. Autofocus hesitates, shutter speeds crawl, and ISO creeps upward until the frame looks like it’s been dusted with sand. Yet it’s also when wild Britain comes alive: owls leave their roosts, deer drift from cover, and foxes test the edge of fields. Working in these conditions isn’t about fighting the dark; it’s about understanding it.
Reading the Shadows
When light drops, every exposure choice becomes a negotiation. Open the aperture and you risk losing depth. Slow the shutter and movement turns to blur. Raise the ISO and noise marches across the image. The trick is knowing which trade-off serves your subject.
In woodland at dusk, I’ll open the lens as wide as it will go (often f/2.8 or f/4) but I’ll stop down a fraction if the lens softens wide open. I’ll lock a minimum shutter speed that matches the subject: a restless robin might need 1/500 s; a red deer in fading mist can hold at 1/250 s. Then I let ISO float, knowing it’s better to accept a bit of grain than to lose the moment entirely. Modern sensors forgive a lot if you expose carefully, and denoise software has come on leaps and bounds over the last 5 years.
What I never do is underexpose and “fix it later.” Lifting shadows in post multiplies noise faster than any ISO bump ever will.
Bracketing for Safety and Range
In the half-light, your exposure meter can’t always be trusted. A pale sky behind a dark hedgerow will fool it every time. That’s when exposure bracketing earns its keep.
I’ll fire a short burst, one frame at the metered value, one a stop under, one a stop over. It takes a second and costs nothing. Back at the computer, those frames can be merged into a single file that holds the full tonal range, highlight texture in the sky, feather detail in the shadow.
In Lightroom, select the sequence, right-click, and choose Photo Merge → HDR. Tick Auto Align and Deghost if branches swayed in the breeze. The new DNG behaves like a normal RAW but with far more headroom. Subtle differences in tone make the image feel natural instead of processed, which is exactly what you want when the light already feels fragile.
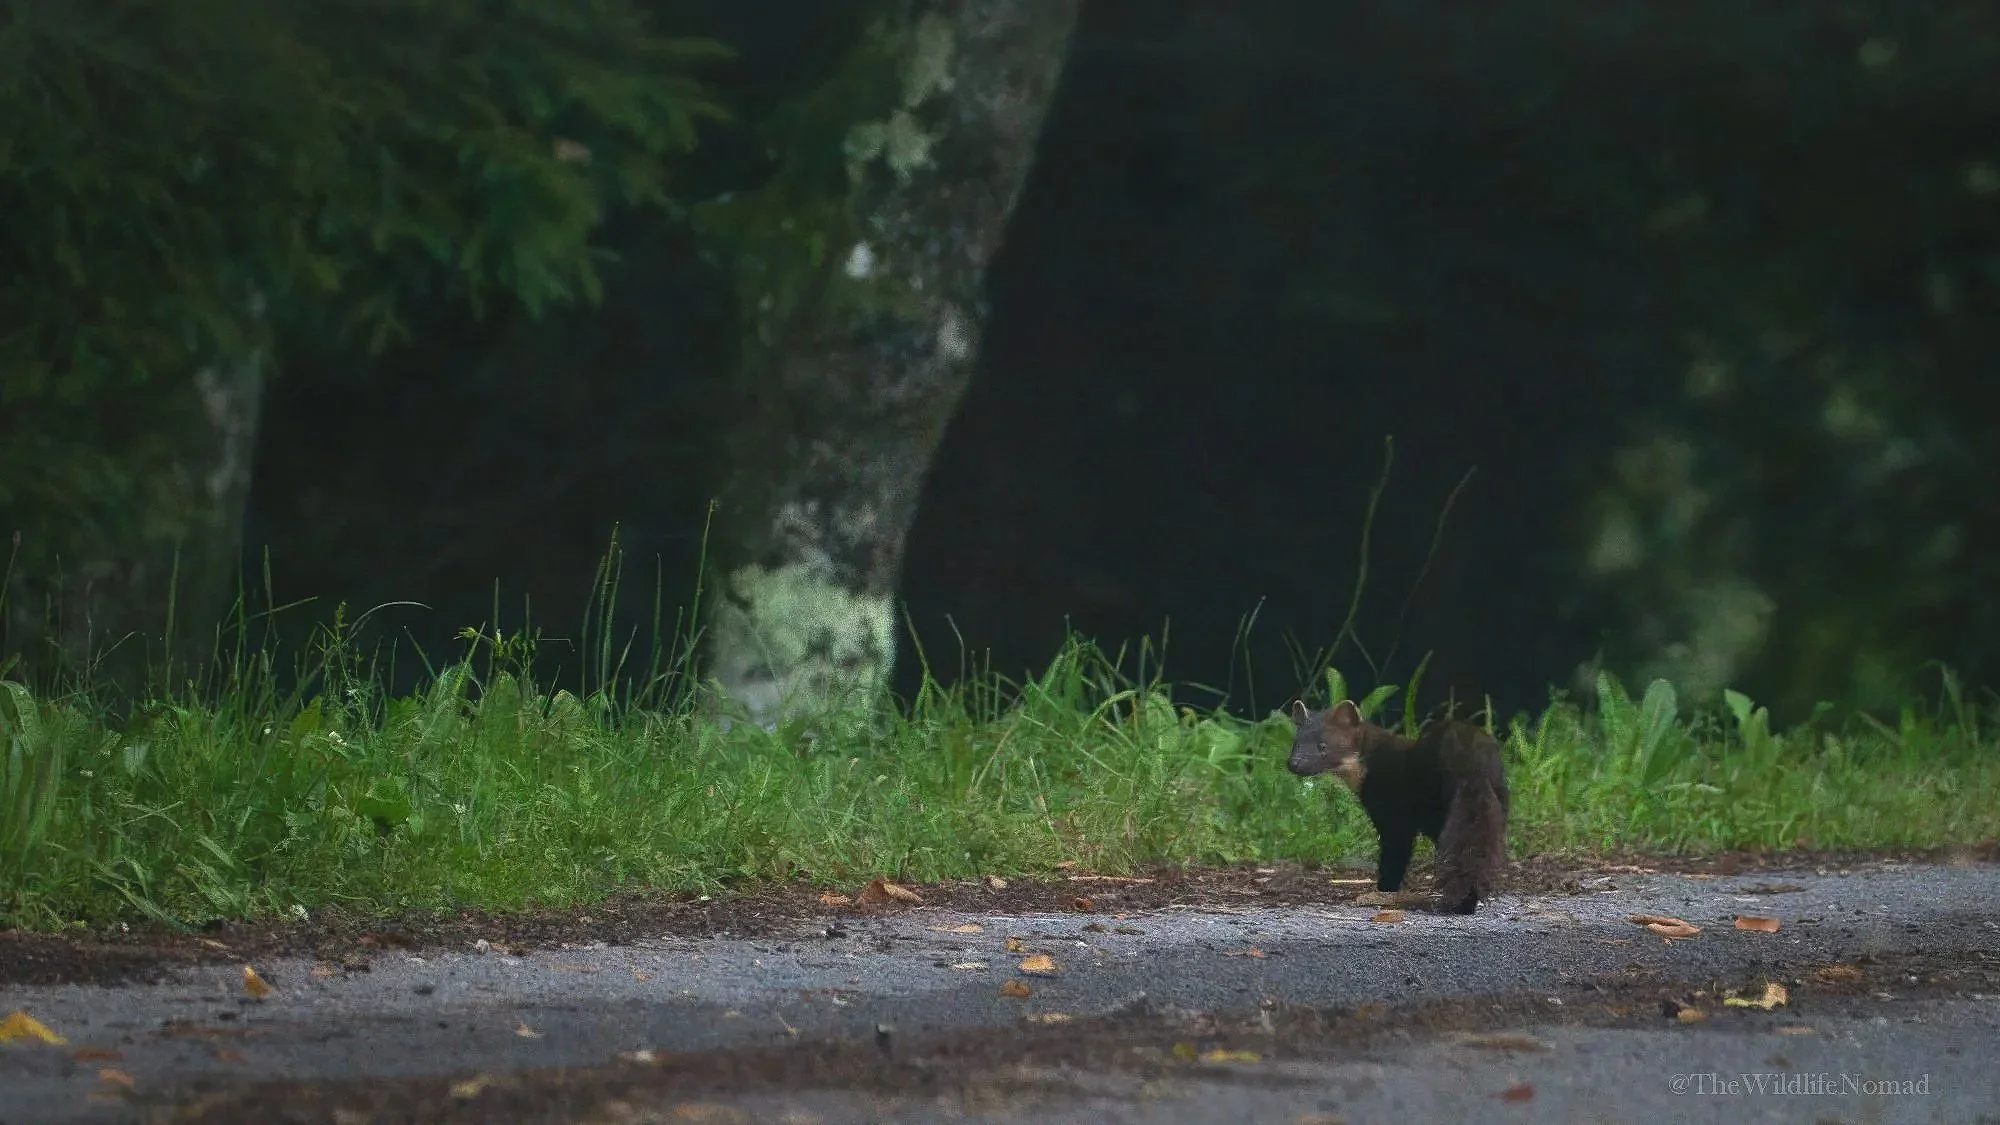
This image will never win any contests but you may be suprised to know it was shot before dawn at ISO 25600! Some subjects (like Pine Martens) don’t stay still enough to allow you to use bracketed shots, so shooting and recovering in post production may be your only choice.
Keeping It Steady
Sharpness in low light comes from stability, not luck. I use every bit of support I can find: a monopod on rough ground, a beanbag on a fence post, even my knee if I’m crouched in the grass. Image stabilisation helps, but technique matters more. You can read more about good support here
The old rule still holds: never shoot slower than the reciprocal of your focal length. At 400 mm, aim for 1/400 s or faster (at 800 mm 1/800 s and so on). If you have in-body stabilisation, you can usually push two stops slower, but take a short burst, the likelihood at least one frame will land in that brief moment of stillness between heartbeats. On average I would say I shoot three times as many shots in poor light to get the same number of keepers as in good light.
A Gentle Hand with Artificial Light
Flash divides photographers. Used well, it can rescue fine detail; used poorly, it ruins behaviour and atmosphere. In wildlife work, restraint is everything.
If I need fill, I dial flash power down to 1/32 or 1/64 and let it lift shadows without overpowering ambient light. A small diffuser or fabric softbox spreads it evenly and avoids the hard catchlight that gives everything a studio look. I never use direct flash on nocturnal species, especially owls or bats, and often prefer a dim LED panel bounced off a reflector or pale surface. Sometimes even a silver emergency blanket or an open page of your notepad will reflect enough light to shape a scene.
The goal isn’t to add light, it’s to borrow what’s already there.
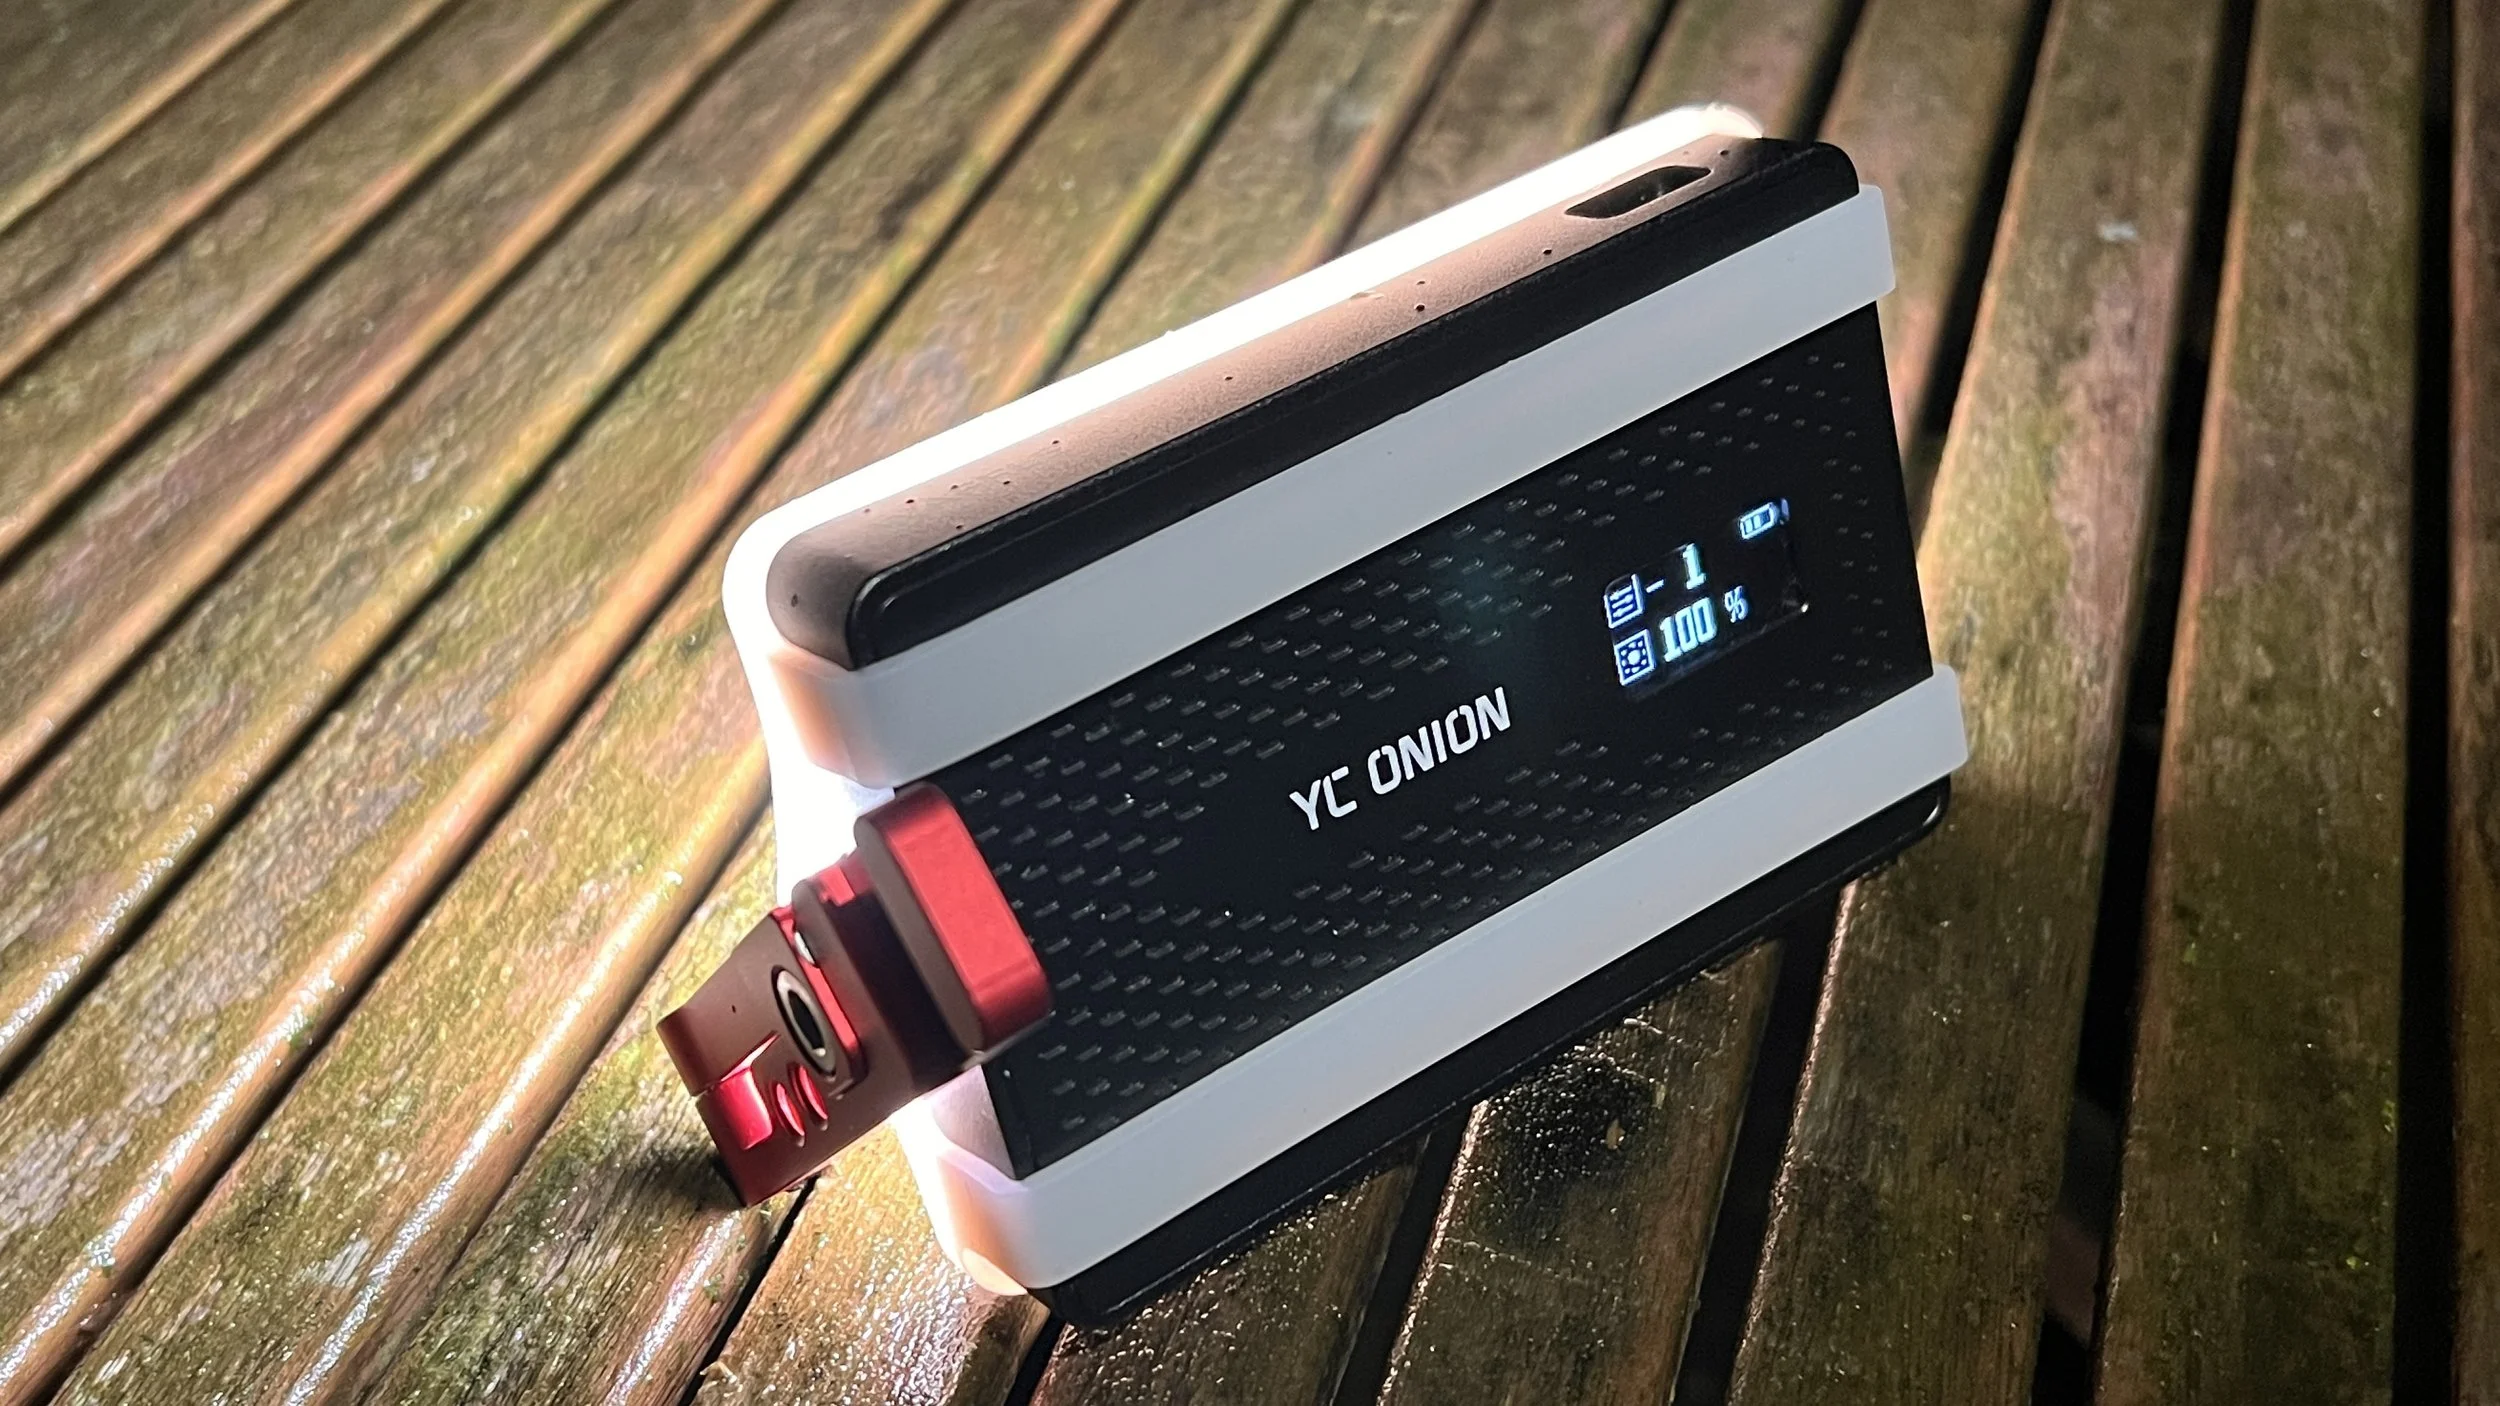
When you need to add a little fill light to a macro shot, illuminate a badger track on a soggy Tuesday afternoon, or record a low light piece to camera, the YC Onion LED panel is a great and robust tool to have in your camera bag, that I’ve used on many shoots over the last 3 or 4 years (it was used on the fungi shot at the top of this blog).
Colour, Mood, and Exposure Discipline
Winter light shifts fast; grey one moment, gold the next, then blue as temperature falls. Auto white balance often misreads this, so I’ll set Kelvin manually around 4800 K for overcast or 5200 K for clear sky. That consistency makes post-processing predictable.
Cameras tend to underexpose dark scenes, so I’ll add +0.3 EV to hold midtones. Against snow or pale sky, I pull back −0.7 EV to save the highlights. I watch the histogram more than the LCD; the screen lies in the dark, but the data doesn’t.
When It Goes Wrong (and It Will)
No matter how careful you are, some shots come back flat or noisy. That’s fine, there are some powerful recovery tools on the market, which if you work methodically (and sparingly) can do wonders to lift a shot.
Everyone has their preferred method. I start by using Denoise software, then move into lightroom. White balance is first, then I lift exposure only as far as necessary. Raising shadows by more than one stop usually looks artificial, so I prefer to nudge midtones with the Tone Curve instead.
If the image still lacks presence, a light touch of Dehaze or Clarity — no more than +10 — can restore micro-contrast lost to mist or low contrast lenses.
If the exposure really fell apart, I’ll reach for the bracketed set. A merged HDR gives you far more freedom to balance exposure without exaggerating noise.
Little Habits that Pay Off
Shoot RAW.
Check histograms, not LCDs.
Practise at ISO 6400 indoors until you know what your camera can take.
Bracket more often than you think you need to, it’s the cheapest insurance you’ll ever buy.
Low-light photography rewards the methodical. Once you learn to control exposure by instinct, you stop fighting the conditions and start composing again, paying attention to behaviour, expression, or that faint glint of eye shine that makes the whole image breathe.
Embracing the Season
Winter won’t give you easy light, but it will give you honest light that’s soft, subtle, and full of tone. When you learn to work within its limits, you start to see differently. The dark ceases to be an obstacle; it becomes part of the story.
Every time you set up in the half-light, remember: you’re not chasing brightness. You’re learning to see the world as it really is, quiet, understated, and waiting to reveal itself to anyone patient enough to stay after everyone else has packed up.
Other blogs in the “Camera Smart” series you might enjoy
Mastering Image Stabilisation for Wildlife Photography
————————————————
FAQ: Low-Light Wildlife Photography
How do I reduce noise when shooting wildlife in low light?
Expose as accurately as possible, even if that means using higher ISO. A well-exposed ISO 6400 image looks cleaner than an underexposed ISO 1600 file lifted later. Use luminance noise reduction sparingly in Lightroom and preserve texture with edge masking.
What’s the best ISO range for dusk photography?
For modern full-frame cameras, ISO 1600–6400 is ideal. Crop-sensor bodies often top out around ISO 3200 before detail falls away. Test your camera at home so you know its comfort zone.
Should I use flash for wildlife photography at night?
Only as subtle fill light and never for nocturnal species. Use the lowest power possible (1/32–1/64), diffuse it well, and avoid startling animals. LED panels or bounced light are safer and more natural.
What is exposure bracketing and why use it in low light?
Bracketing takes several shots at different brightness levels (for example −1, 0, +1 EV). It ensures at least one usable exposure and allows you to merge them later for greater dynamic range, capturing both highlight and shadow detail.
How do I merge bracketed exposures in Lightroom?
Select your bracketed files → Photo Merge → HDR → tick Auto Align and Deghost → click Merge. Lightroom creates a new RAW DNG with expanded tonal range, giving you cleaner recovery and smoother contrast.