
Camera Smart: Mastering Image Stabilisation for Wildlife Photography

In part one of the “camera Smart” series we looked at mastering custom controls on your camera. Today we turn to something much more fundamental………getting crisp, shake free images!
When you’re working at 400, 600 or even 800mm, small vibrations turn into big problems. Even the steadiest hands can’t keep a super-telephoto lens completely still, and that’s where image stabilisation (IS, VR, OSS – depending on your brand) steps in. For wildlife photographers, especially those who work handheld or in less-than-perfect light, knowing how stabilisation works and when to use it is just as important as picking the right shutter speed.
In this Camera Smart guide, we’ll break down how stabilisation works on Canon, Nikon and Sony systems, how to switch it on and off, and when each approach is most effective in the field.
How Image Stabilisation Works
The principle is the same across brands: stabilisation compensates for camera shake. It does this either by:
Shifting lens elements (optical stabilisation) to counteract vibration.
Shifting the sensor (in-body stabilisation, IBIS) to achieve the same effect.
Modern systems often combine both. The lens handles high-frequency tremors, while the body’s IBIS manages low-frequency movements. Together, you get far more stops of correction than either system alone.
High vs Low Frequency Tremors
Not all shake is created equal. Understanding what causes different types of vibration helps you avoid them before you even reach for stabilisation.
High-frequency tremors
Causes: small, rapid movements such as muscle twitches, finger tension when pressing the shutter, heartbeat vibration transmitted through your grip, or even wind buffeting long lenses.
Effect on images: fine blur, loss of sharp feather or fur detail, and “micro-jitter” that makes it harder to keep a bird centred in the frame.
Handled by: lens-based stabilisation (IS/VR/OSS), which can shift optical groups quickly to counteract these rapid vibrations.
Low-frequency tremors
Causes: slower swaying movements of the body — from standing fatigue, awkward postures in hides, crouching for ground-level shots, or gentle breathing-induced sway.
Effect on images: smearing or ghosting across the frame, often visible as a general “softness” rather than fine blur.
Handled by: in-body stabilisation (IBIS), which shifts the sensor itself to neutralise the slower arcs of movement.

Good Practice to Reduce Both
Stabilisation is powerful, but the less it has to work, the sharper your files will be. A few field techniques minimise both high- and low-frequency tremors:
Posture: keep elbows tucked into your ribcage, feet shoulder-width apart. A relaxed, balanced stance reduces sway.
Breathing control: exhale gently and pause before pressing the shutter — this avoids chest movement translating into lens drift.
Shutter press technique: roll your finger rather than jabbing, to prevent micro-vibrations. A back-button focus setup can also reduce accidental shutter pressure shake.
Lens support: cradle long lenses with your left hand under the tripod collar or lens hood, keeping weight distributed.
Contact points: use your forehead against the viewfinder and your left elbow against your body or knee for extra stability.
External aids: monopods, beanbags, and tree trunks aren’t “tripods,” but they dampen sway enough to reduce both tremor types.
Canon: IS and Coordinated Control
Lens-based IS: Most Canon RF telephotos (e.g. RF 100-500mm, RF 200-800mm) have physical switches on the barrel:
Stabilizer ON/OFF
IS Modes: Mode 1 (general), Mode 2 (panning), Mode 3 (activates only during exposure).
In-Body IS: Canon EOS R5 and R6 bodies feature IBIS. Combined with IS lenses, you get “Coordinated IS” with up to 7.5–8 stops of correction.
When to use it:
Handheld wildlife photography: keep both ON.
Tripod, completely locked down: switch both OFF to prevent “feedback shake.”
Panning birds in flight: use Mode 2 (the camera ignores horizontal shake).
How to switch:
Lens barrel: flick the switch.
Camera menu: Setup → IS Settings → enable/disable IBIS.
Nikon: Vibration Reduction (VR)
Lens-based VR: Many F-mount and Z-mount telephotos (e.g. 500mm f/5.6 PF, Z 100-400mm) have a switch for VR ON/OFF and NORMAL/SPORT modes.
Normal: everyday handheld use.
Sport: for panning or erratic subjects – steadies the viewfinder but avoids “fighting” your movement.
In-Body VR (IBIS): Found on newer Z-series bodies (Z6, Z7, Z8, Z9). Works in tandem with lens VR for extra stabilisation.
When to use it:
Handheld, low-light mammals: Normal mode.
Birds in flight or running deer: Sport mode keeps the viewfinder stable without introducing lag.
On a gimbal or tripod: switch off, unless you’re hand-holding on a monopod where slight movement still benefits from VR.
How to switch:
Lens barrel: VR switch.
Camera menu: Photo Shooting Menu → Vibration Reduction.
Sony: SteadyShot and OSS
Optical SteadyShot (OSS): Found in Sony G and GM telephotos (e.g. 200-600mm, 100-400mm). Physical switches for OSS ON/OFF and Mode 1/2/3.
Mode 1: standard all-round.
Mode 2: panning.
Mode 3: activates only during exposure, like Canon’s Mode 3.
In-Body IS (SteadyShot): Available in most Alpha bodies (A7 III/IV, A9, A1). Works with OSS lenses to give combined stabilisation.
When to use it:
Handheld static wildlife: Mode 1.
Panning in flight shots: Mode 2.
Fast, erratic subjects where you need maximum responsiveness: Mode 3.
Tripod: switch OSS off.
How to switch:
Lens barrel: OSS switch.
Camera menu: Camera Settings → Stabilisation (SteadyShot) ON/OFF.
When to Use Stabilisation, and When Not To………some general rules!
Use it when:
Handholding at long focal lengths.
Working in low light (dawn/dusk).
Shooting from unstable positions (boats, hides, vehicles).
Tracking subjects through the EVF/OVF — stabilisation steadies the view and makes composition easier.
Turn it off when:
Using a rock-solid tripod with no subject movement (e.g. long exposure landscapes).
Shooting with very high shutter speeds (1/2000s+) where shake is irrelevant.
Doing deliberate motion blur shots where stabilisation can interfere.
Practical Field Example
Imagine you’re photographing a barn owl hunting at dusk:
Canon R6 + RF 200-800mm: IS ON, IBIS ON, Mode 2 if you’re panning.
Nikon Z8 + 500mm PF: VR ON, Sport mode.
Sony A1 + 200-600mm: OSS ON, Mode 2.
Now swap that owl for a tripod-mounted long-exposure of a badger sett at night:
All systems: stabilisation OFF. Let the tripod do its job.

Final Thoughts
High-frequency tremors, low-frequency sway, and external vibrations are the unseen enemies of long-lens wildlife photography. Modern stabilisation systems are designed to combat them, but the sharpest files come from combining good technique with smart use of IS/VR/OSS.
Camera Smart takeaway:
Prevent the tremor first with posture, breathing, and support.
Use stabilisation intelligently: ON for handheld work, match the mode to the subject, OFF when the camera is locked down.
Know your system — Canon, Nikon, and Sony each give you slightly different tools, but the goal is the same: sharper wildlife images in the toughest conditions.
———————————————————————————-
FAQ: Image Stabilisation for Wildlife Photography
What is image stabilisation and how does it help me shoot wildlife?
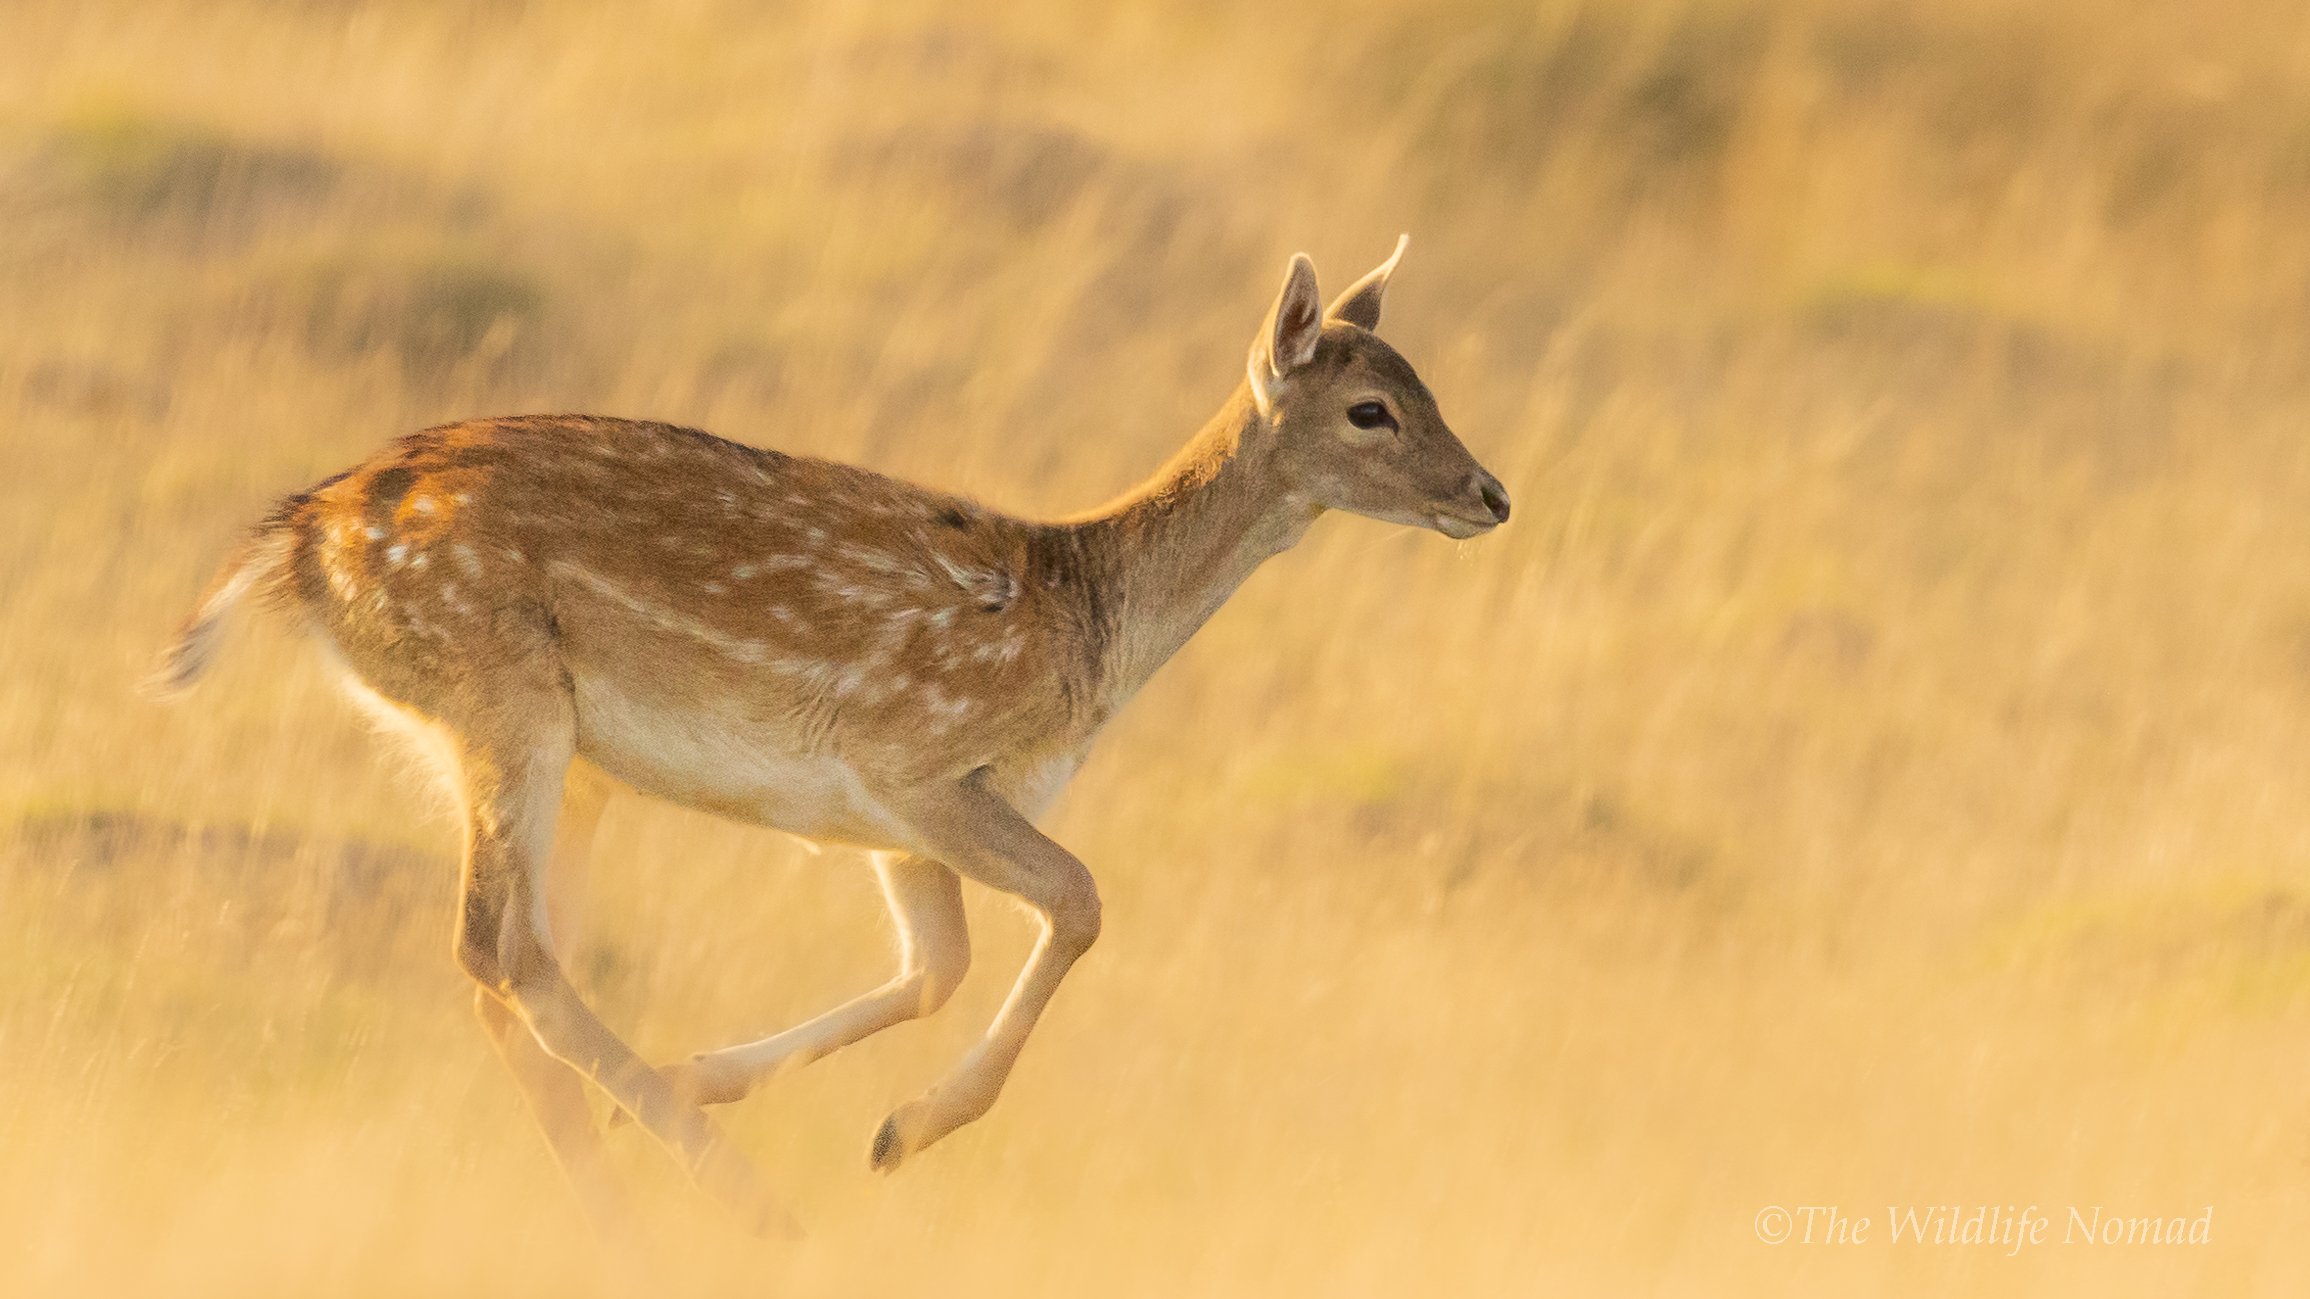
Image stabilisation (IS) reduces blur caused by small camera movements during exposure. In wildlife photography—especially when using long telephoto lenses handheld—it allows you to shoot at slower shutter speeds without introducing shake. It’s ideal for static or slow-moving animals, but remember: IS won’t freeze fast motion, so you’ll still need high shutter speeds for running or flying subjects.
When should I turn off image stabilisation for wildlife or birds in flight?
If you’re photographing fast-moving subjects such as birds in flight or running mammals, stabilisation offers little benefit and can even hinder autofocus tracking. Turn IS off when using very fast shutter speeds or when the camera is mounted on a tripod. When panning, use the dedicated “panning” mode on lenses that offer it—this keeps horizontal stabilisation active but disables vertical correction.
How many “stops” of stabilisation does my lens or camera provide?
Manufacturers describe IS performance in “stops” (e.g., 4-stop or 5-stop stabilisation). Each “stop” means you can handhold at a shutter speed twice as slow as you could without IS. In real-world wildlife photography, the true benefit depends on lens length, body stabilisation, and your own steadiness—but even a few stops can make a major difference when shooting handheld at dawn or dusk.
Does image stabilisation help with low-light or dawn/dusk wildlife shots?
Yes. In low light, when shutter speeds naturally drop, IS helps prevent blur from hand movement, allowing you to maintain sharpness without increasing ISO too high. This is particularly useful for early morning or evening wildlife sessions when light levels are low. Just remember that IS won’t stop motion blur if your subject itself moves.
Do all cameras and lenses have image stabilisation, and how do they work together?
Not all cameras or lenses include stabilisation. Some lenses have optical IS (inside the lens), while others rely on in-body image stabilisation (IBIS) built into the camera. Modern mirrorless systems often combine both to create hybrid stabilisation for even greater effect. It’s worth checking how your specific lens and body interact, as performance can vary between brands and models.